


This quick tutorial is going to show you how to install the latest FFmpeg multimedia library 3.3 “Hilbert” in Ubuntu 16.04, Ubuntu 14.04 via PPA.
FFmpeg 3.3 “Hilbert” is a new major release that features:
- Apple Pixlet decoder
- NewTek SpeedHQ decoder
- QDMC audio decoder
- PSD (Photoshop Document) decoder
- FM Screen Capture decoder
- ScreenPressor decoder
- XPM decoder
- DNxHR decoder fixes for HQX and high resolution videos
- ClearVideo decoder (partial)
- 16.8 and 24.0 floating point PCM decoder
- Intel QSV-accelerated VP8 video decoding
- native Opus encoder
- DNxHR 444 and HQX encoding
- Quality improvements for the (M)JPEG encoder
- VAAPI-accelerated MPEG-2 and VP8 encoding
- MPEG-7 Video Signature filter
- Intel QSV video scaling and deinterlacing filters
- Support MOV with multiple sample description tables
- Pro-MPEG CoP #3-R2 FEC protocol
- Support for spherical videos
- CrystalHD decoder moved to new decode API
- and many more, see release note.
How to Install FFmpeg 3.3 via PPA in Ubuntu:
1. Open terminal via Ctrl+Alt+T or by searching for “Terminal” from the dash. When it opens, run command to add the PPA repository (unofficial):
sudo add-apt-repository ppa:jonathonf/ffmpeg-3
Type in password (no visual feedback due to security reason) and hit Enter.

2. (For Ubuntu 14.04 only), you also need to add another PPA for the dependencies:
sudo add-apt-repository ppa:jonathonf/tesseract
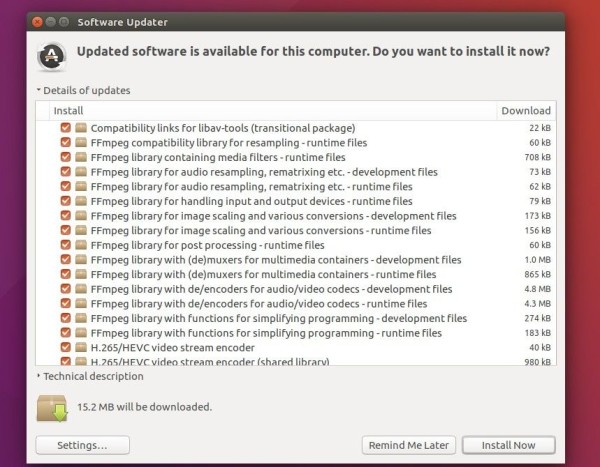
3. Then upgrade FFmpeg using Software Updater:
Or simply run command:
sudo apt update && sudo apt upgrade
How to Restore:
To undo the changes and restore to the stock version of FFmpeg in main Ubuntu repositories, purge the PPA via command:
sudo apt install ppa-purge && ppa-purge ppa:jonathonf/ffmpeg-3


Wow, thanks a lot. I needed to render an animation, and the only way i could do that was by installing the FFmpeg on my Ubuntu. This really helped. It also saved a lot of time, especially since I’m not that skilled of a coder, and this guide just put the directions straight forward without any fancy words.
Hi, Sorry, I am new to linux and am trying to setup Zoneminder.
It is askling me for the loxcation where the ffmpeg encoder is installed (ZM_PATH_FFMPEG)
/usr/bin/ffmpeg
This following command not working in my java module (this takes snap from live stream and save it)
Runtime.getRuntime().exec(“ffmpeg -i \”rtmp://127.0.0.1:1935/live/mytest live=1 timeout=2\” -f image2 -vframes 1 /snaps/testo.jpg”);
If I use same command on Ubuntu 14.0.4 console it works. Same command working in my red5pro module on Window but not on Ubuntu.
When I use
String[] execStr = {“/usr/local/bin/ffmpeg”,”-i”,”rtmp://127.0.0.1:1935/live/mytest”,”live=1″,”timeout=2″,”-f”,”image2″,”-vframes”,”1″,”/snaps/tt.jpg”};
ProcessBuilder pb = new ProcessBuilder(“ffmpeg -i rtmp://localhost/live/mytest live=1 timeout=2 -f image2 -vframes 1 /snaps/testo.jpg”);
It always throw stream not found ( in red5pro console)