Has a webcam connected in your Linux PC or laptop? Here’s a graphical tool to configure the camera exposure, white balance, brightness, contrast, power line frequency, gamma, etc.
It’s cameractrls, a new open-source tool that provides Python CLI and GUI (GTK, TK) to set the Camera controls in Linux. It can set the V4L2 controls and it is extendable with the non standard controls.
Currently, it has a Logitech extension (Led mode, led frequency), Kiyo Pro extension (HDR, HDR mode, FoV, AF mode, Save), Systemd extension (Save and restore controls with Systemd path+service).

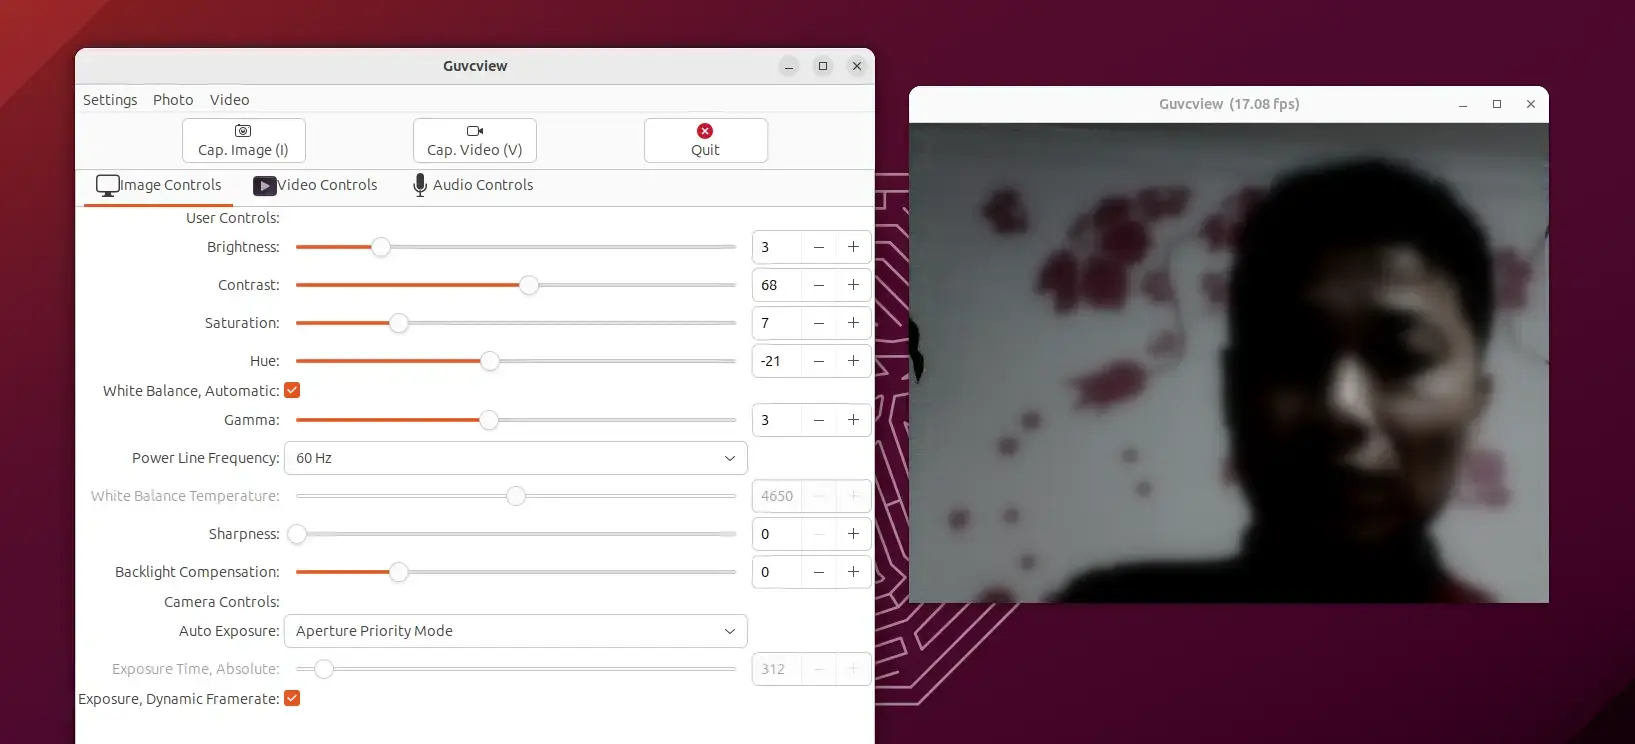
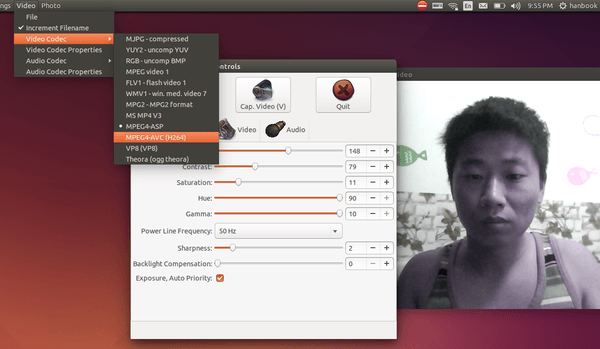
Cheese and Cameractrls
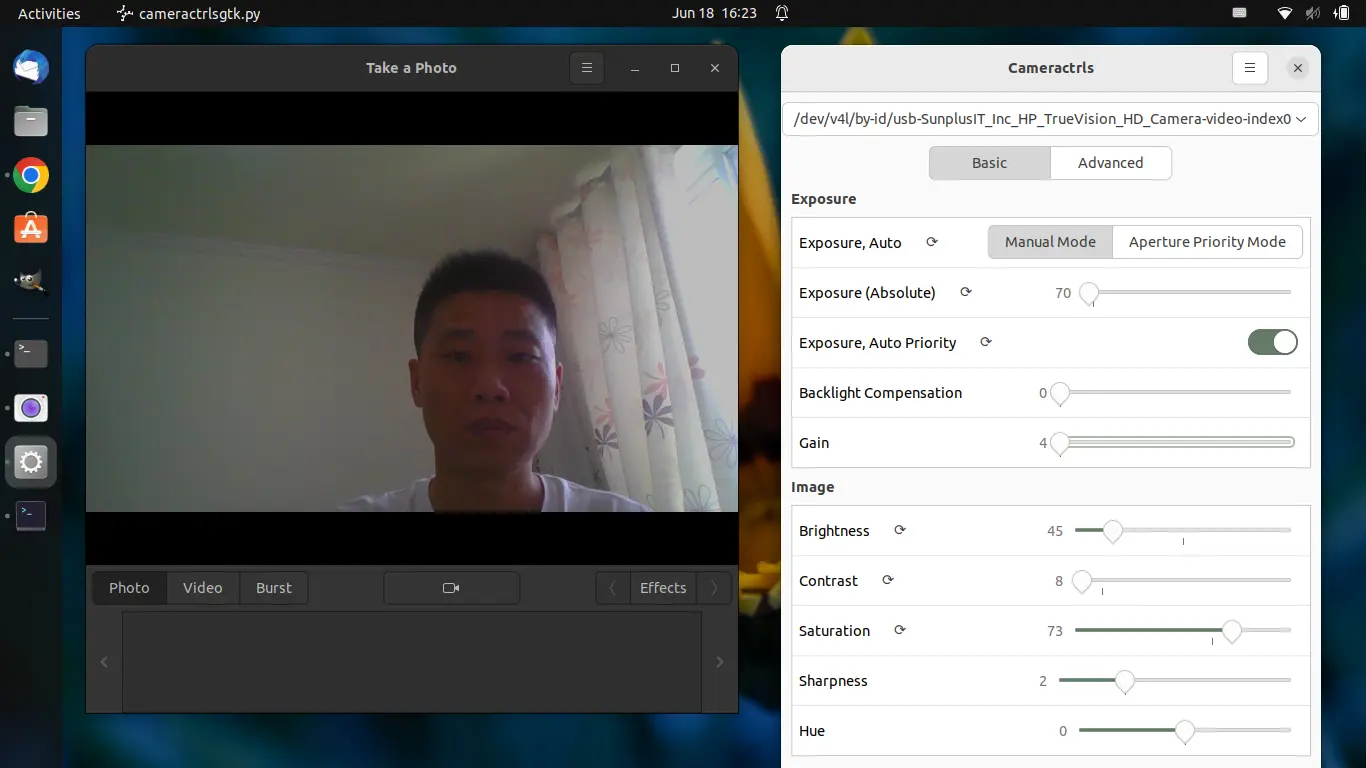
As the picture shows, it has the slider bars to adjust the brightness, contrast, saturation, sharpness, and hue, which also configurable via the default Cheese app.
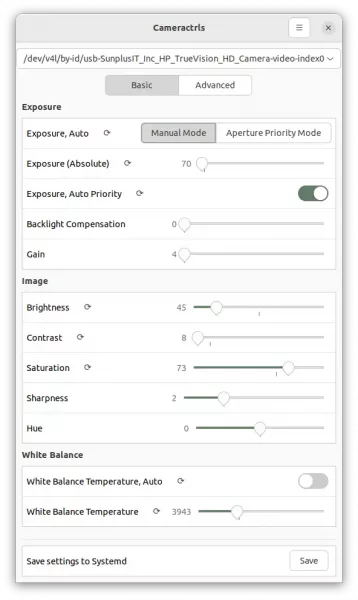
Basic settings page
There are as well options to switch between Aperture Priority Mode and Manual Mode to adjust camera exposure, backlight compensation, toggle HDR. White Balance temperature is also configurable in both auto and manual mode.
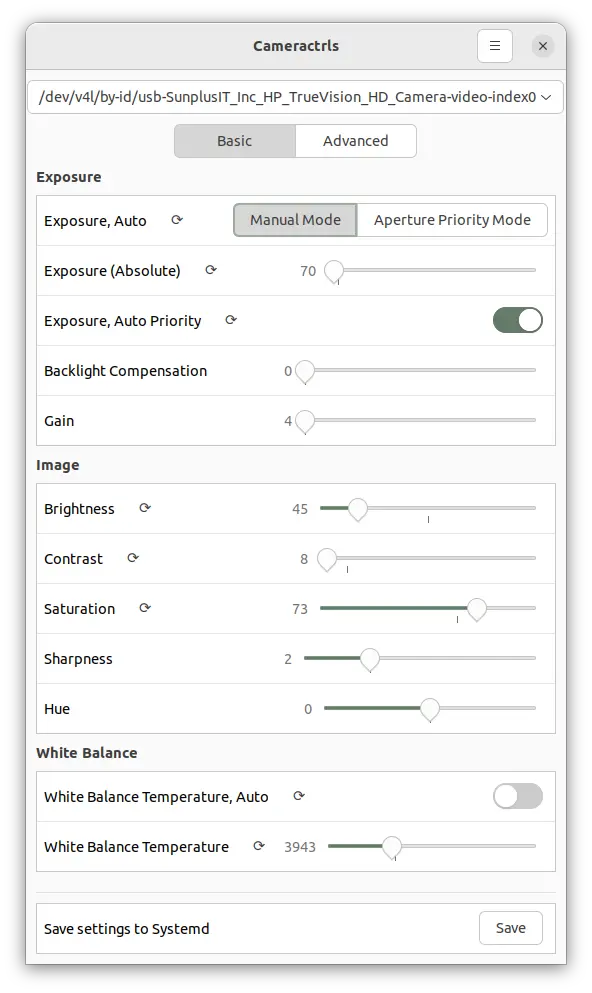
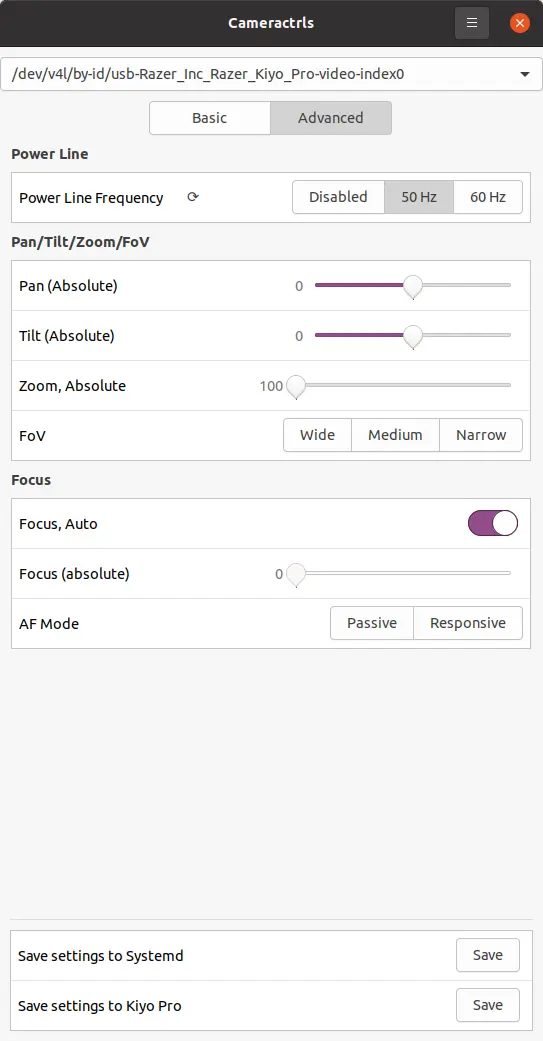
Advanced settings page lets you select power line frequency, toggle focus, AF mode, and adjust Pan, Tilt, Zoom, FoV if your web camera support them.
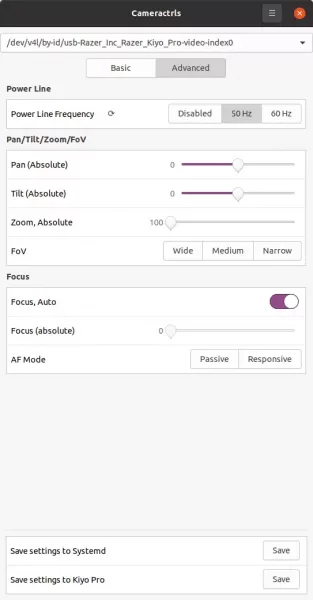
Cameractrls Advanced
How to Install the Camera Control App in Ubuntu & Other Linux:
This is a Python app that should work on all recent Linux distributions. To install it, open terminal from start menu (Ubuntu user may just press Ctrl+Alt+T on keyboard) and run the command below one by one:
1. Firstly, run command to install git in case you don’t have it:
sudo apt install git
The command is only for Debian, Ubuntu, Linux Mint based systems. Fedora user replace apt with dnf.
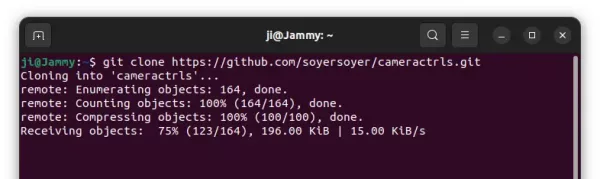
2. Grab the source by running command:
git clone https://github.com/soyersoyer/cameractrls.git
After downloaded the tool, run command to verify if it works for you!
./cameractrls/cameractrlsgtk.py
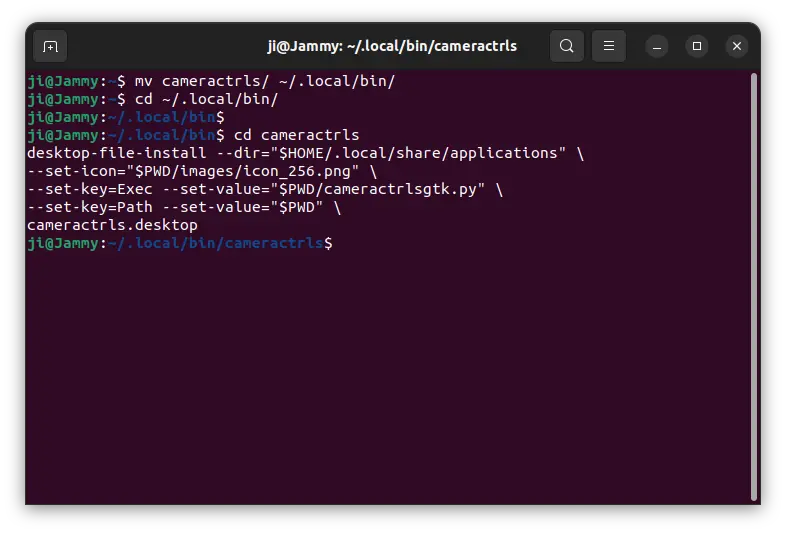
3. If the app launches and works, you may then run command in the same terminal window (close the app to continue) to install the app shortcut icon.
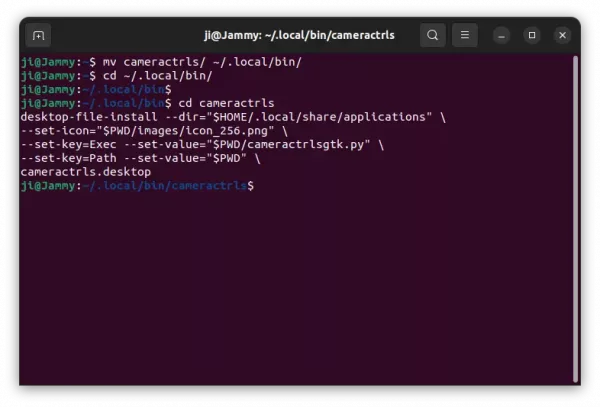
- First, create local bin folder if not exist, and move the app folder into that directory:
mkdir -p ~/.local/bin/ && mv cameractrls/ ~/.local/bin/
- Navigate to the local bin:
cd ~/.local/bin/
- Finally, install the app shortcut (this is a single command, just copy & paste into terminal and hit run):
cd cameractrls
desktop-file-install --dir="$HOME/.local/share/applications" \
--set-icon="$PWD/images/icon_256.png" \
--set-key=Exec --set-value="$PWD/cameractrlsgtk.py" \
--set-key=Path --set-value="$PWD" \
cameractrls.desktop
Finally, you can search for and open the app from start menu ('Activities' overview):

How to Remove this Camera Control App:
To remove it, first open terminal and run command to remove the shortcut icon file:
rm ~/.local/share/applications/cameractrls.desktop
And remove the source folder via command:
rm -rf ~/.local/bin/cameractrls