Archives For November 30, 1999

This tutorial shows how to turn off your laptop’s built-in display for using external monitors in Ubuntu Desktop.

When working with multiple monitors, it can be useful to disable the built-in screen for saving power. You can set lid close action to do nothing then just close the laptop lid.

However, the lid close action may not work properly in some laptops, or you need to use the built-in keyboard and touch-pad. In the cases, here are a few other ways to do the job.
Continue Reading…

Want to control screen brightness, color preset, contrast etc for your external monitor connected in Desktop PC or laptop? Here’s how to do the trick in both graphical and command line ways in Ubuntu & other Linux!

I know there are physical buttons to do the job. But for lazy men and/or software developers, few mouse clicks and/or a single command can be more effective. And ddcutil is the tool for Linux users.

ddcutil is a free and open-source tool that uses DDC/CI protocol to control settings for most external monitors. It also support some monitors (e.g. Eizo ColorEdge, Apple Cinema) through USB.

NOTE: Most modern monitors support DDC/CI protocol, but it may NOT enabled by default. Check the menu via the physical buttons.

Step 1: Install ddcutil & ddcui

The ddcutil package is available in most Linux’s system repositories, including Ubuntu, Arch Linux, Fedora, Debian. User can directly search for and install it from system App Store (Software App, Package Manager)

The package in Ubuntu repository is however always old. For the most recent version, there’s an official PPA maintained by the software developer, so far with support for Ubuntu 20.04, Ubuntu 22.04, and Ubuntu 22.10.

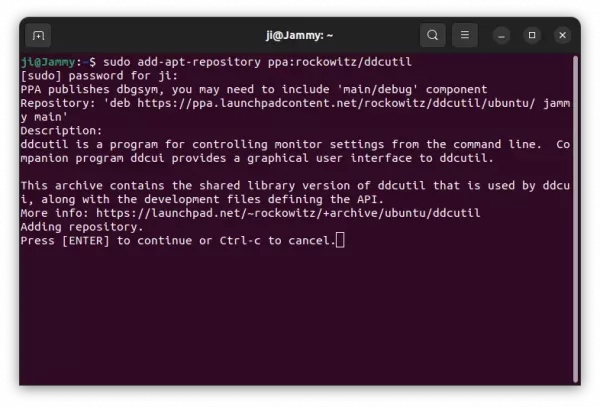
    1. First, press Ctrl+Alt+T on keyboard to open a terminal window. When it opens, run command to add the PPA:
      sudo add-apt-repository ppa:rockowitz/ddcutil

      Type user password (no asterisk feedback) when it asks and hit Enter to continue.
    2. After adding PPA, update system package index via command:
      sudo apt update
    3. Finally, install the command line utility and graphical interface by running command:
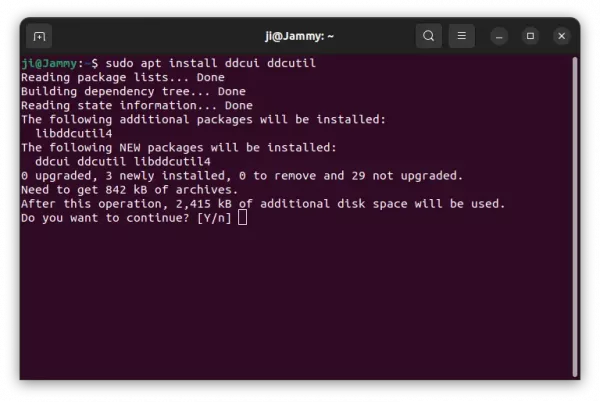
      sudo apt install ddcui ddcutil
Step 2: Control brightness & other monitor settings via Graphical tool

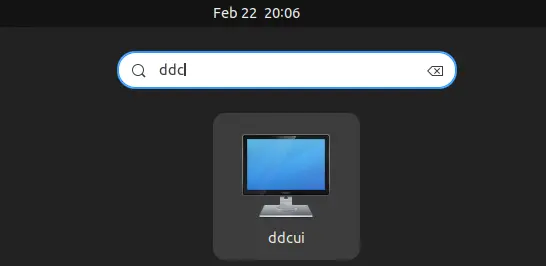
After installation, search for and open “ddcui” from Activities overview or start menu depends on your desktop environment.
NOTE: for “error access: permission denied” issue, either start the app via sudo ddcui command, or run command to add current user to i2c group (need system restart):

sudo gpasswd --add $USER i2c

When the app starts, choose your monitor (if more than one available) from the drop-down box.
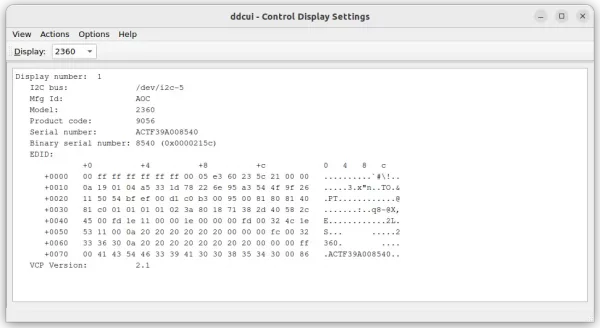
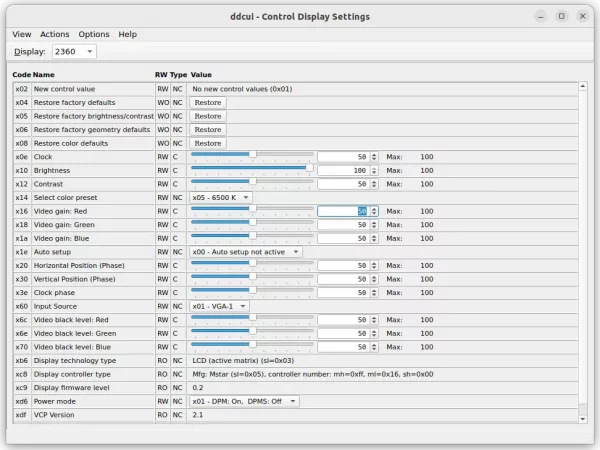
Then go to menu View -> Features. There you’ll see the options to control screen brightness, color preset, contrast, RGB colors, clock, restore factory, etc settings!
Step 3: Control Monitor Settings from Command line

For those who are familiar with Linux commands, things can be done via following steps. NOTE: sudo is NOT required after adding user into i2c group and reboot.

1. First, open a terminal window and run command to report all connected monitors:

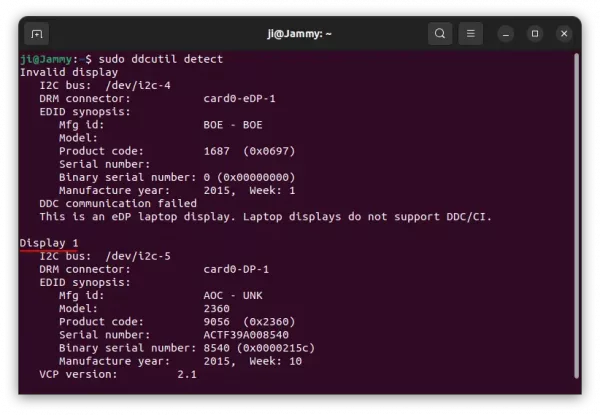
sudo ddcutil detect

In my case, I have built-in laptop display and external “Display 1”.
2. Then query the monitor’s capabilities string, for display 1 (-d 1) in my case:

sudo ddcutil -d 1 capabilities

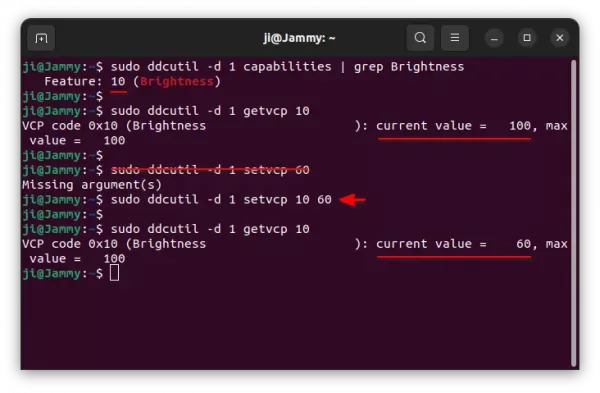
In the screenshot, I added grep option to filter the ‘Brightness’ and the output code 10 is what I need.

3. Get the current value of feature code 10 (“brightness” in the case) for display 1:

sudo ddcutil -d 1 getvcp 10

3. Set the brightness level (code 10) to 60 for example:

sudo ddcutil -d 1 setvcp 10 60
Besides settings brightness to custom level, you may also increase or decrease brightness via ‘+’, ‘-‘ options. For example, increase brightness (code 10) with level 5 up.

ddcutil -d 1 setvcp 10 + 5

Or decrease brightness with level 5 down:

ddcutil -d 1 setvcp 10 - 5

This can be useful for binding to keyboard shortcut for controlling your monitor brightness. For more options, read the man page by running man ddcutil command in terminal.

Going to buy a new monitor or laptop, or want to calculate whether it’s a HiDPI display? Here’s a handy app can help!

I previously thought that 4K and 8K displays are HiDPI, but 720p that I’m being using is LoDPI. It’s 100% wrong! HiDPI, stands for High Dots Per Inch, also known by Apple’s “Retina Display”. Meaning screens with a high resolution in a relatively small format.

A HiDPI monitor may be good for displaying photo images or playing FPS games, but not all software behaves well in high-resolution mode yet. If you’re going to buy a monitor or calculate existing display DPI, then here’s a good app for choice.

It’s ‘Dippi’, a free and open-source GTK4 application developed by a GNOME Foundation member.

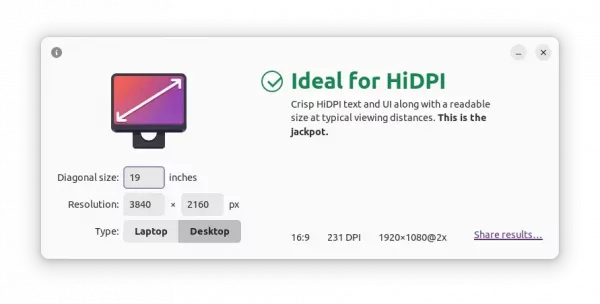
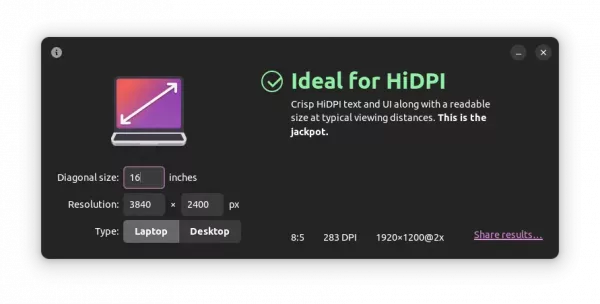
With it, you just need to tell: laptop or desktop, monitor size (inches), and screen resolution. Then, it shows you aspect ratio and DPI value, as well as display’s density.

They include:

  • Very Low DPI,
  • Fairly Low DPI,
  • Ideal for LoDPI,
  • Potentially Problematic,
  • Ideal for HiDPI,
  • Fairly High for HiDPI, or
  • Too High DPI

Each value has some texts below to tell the text and UI feeling (too small or too large) at typical viewing distances. As a GTK4 app, it looks good in Ubuntu, Fedora and other Linux with GNOME desktop. And, it automatically changes the UI color between light and dark mode, to follow system color scheme.

How to Install Dippi

Dippi is also available as an online service, you can visit this page to analyze your display.

For most Linux users, it’s available to install as universal flatpak package in Flathub.org.

Ubuntu user can do following steps one by one to install the package:

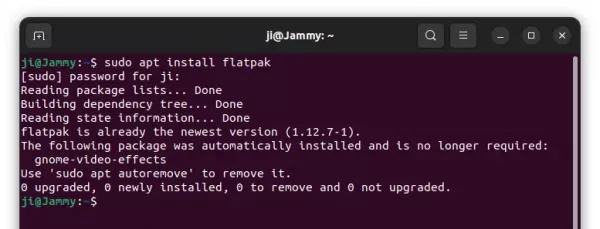
  1. Firstly, press Ctrl+Alt+T on keyboard to open terminal. When it opens, run command to make sure Flatpak is enabled:
    sudo apt install flatpak

    For the old Ubuntu 18.04, add this PPA repository before running apt install command.

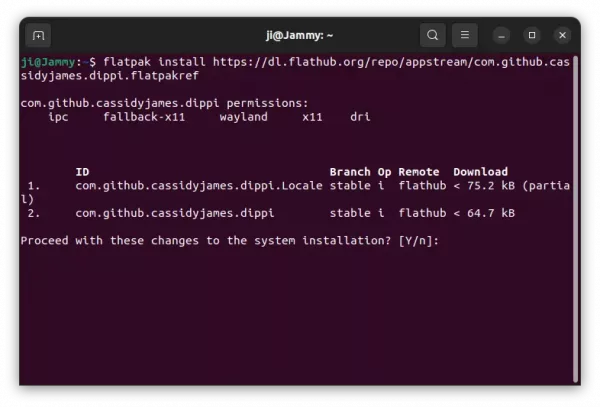
  2. Then, install the application by running command:
    flatpak install https://dl.flathub.org/repo/appstream/com.github.cassidyjames.dippi.flatpakref

    Like normal apps, you can search for and launch it from either start menu or ‘Activities’ overview depends on your desktop environment.

How to Remove Dippi

To remove the app installed as Flatpak, open terminal and run command:

flatpak uninstall --delete-data com.github.cassidyjames.dippi

Also clear useless runtime via flatpak uninstall --unused.

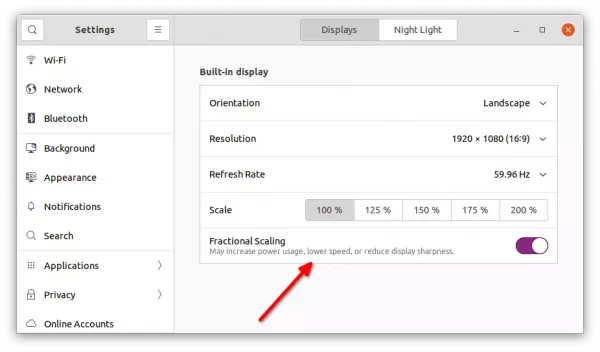
As you may know, Gnome control center (aka settings) has “Fractional Scaling” option since Ubuntu 20.04, allows to change scaling level for HiDPI displays.

By default, user may scale up to 125%, 150%, 175% and 200% to make Ubuntu (or other GNOME based Linux, such as Fedora) to be read easily. In this tutorial, I’m going to introduce “BetterScale”, a command line tool gives more scaling levels.

GNOME by default has 125%, 150%, 175%, 200% scaling levels

BetterScale:

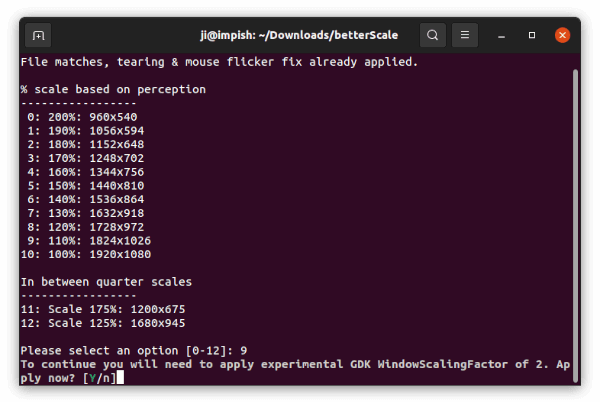
BetterScale is a group of bash scripts that helps Gnome & Budgie x11 users perfectly scale their desktop. With it, user may scaling via 110%, 120%, 130%, 140%, 150%, 160%200% levels.

BetterScale uses a similar concept for scaling as macs do by enabling Gnomes experimental scaling support & increasing the graphics framebuffer. It makes your system easily readable while remaining fully clear, crisp and sharp.

BetterScale with more scaling levels

The tool uses xrandr to scale the framebuffer. Which means, it only works for GNOME / Budgie on Xorg. Ubuntu 21.10+ needs to switch to Xorg session at Login Screen for using the tool.

Install & Use BetterScale:

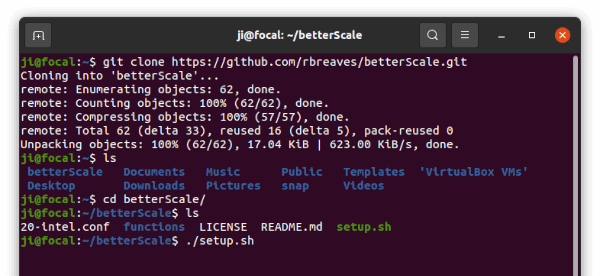
The tool is hosted on Github page. Ubuntu user may press Ctrl+Alt+T on keyboard to open terminal, and run command to grab the source:

git clone https://github.com/rbreaves/betterScale.git

Install git via sudo apt install git for those don’t have it.

Next, run cd command to navigate to the source folder:

cd betterScale

Finally, start the script via command:

./setup.sh

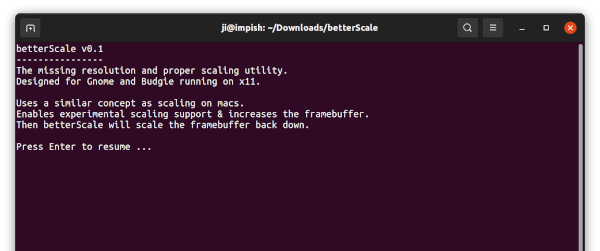
Grab and start BetterScale

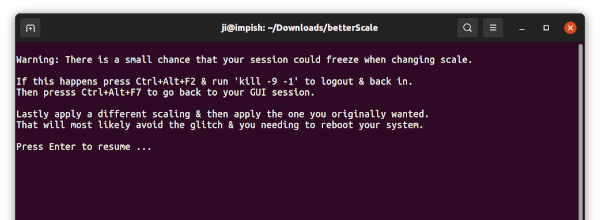
When it starts, read the description and warning before hitting Enter.

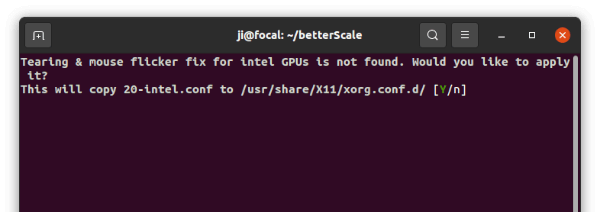
And, it will ask if to install the fix for tearing & mouse flickering for intel GPU. Type “n” to skip it if you don’t have this issue, or answer “Y” and type user password to install the fix.

If you answered ‘Y’ to fix tearing and flicker, log out and back in. Then, re-run the script to get the scaling level selection screen and type number to choose your favorite scaling factor.

BetterScale with more scaling levels

How to Restore:

The tool is in quite earlier stage. It might not work sometimes. I tested it in Ubuntu 21.10 with normal HD display without system’s ‘Fractional Scaling’ enabled. It works mostly but NOT occasionally.

To restore the changes, simply re-run the script and select 10 to set scaling to 100%. Do it twice if it does not work properly!

And remove the “20-intel.conf” file via the command below if you’ve installed the fix for tearing and mouse flickering:

sudo rm -rf /usr/share/X11/xorg.conf.d/20-intel.conf

That’s all. Enjoy!