


This simple tutorial is going to show you how to install and setup Google Authenticator to secure your Ubuntu SSH remote login by two-factor authentication.
Google provides this application for various smartphone platforms. With it, you can secure your account by logging in with a frequently-changing authentication code. So far, I’m using this in WordPress Login, Ubuntu Server SSH Login, Linode VPS Login. As I know, Google Authenticator also works on Amazon Web Services, App.net, Dropbox, and more.
Install Google Authenticator in Ubuntu:
Since Ubuntu 12.04 Precise, the Google Authenticator PAM module is available in the universe repository by default. Just open Ubuntu Software Center, search for and install libpam-google-authenticator package
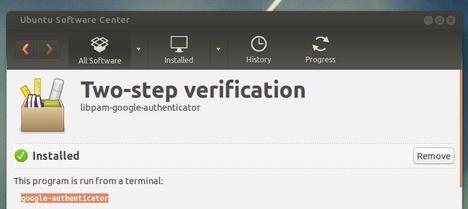
Once installed, press Ctrl+Alt+T to open terminal. Run below command to create a key and display a QR code which you can scan using the smartphone app. The emergency codes can be used when you don’t have your phone.
google-authenticator

To enable two-step authentication for SSH login, add the line “auth required pam_google_authenticator.so” (witout quotes) into /etc/pam.d/sshd. To do so, run below command in terminal:
sudo sh -c 'echo "auth required pam_google_authenticator.so" >> /etc/pam.d/sshd'
Also add the line “ChallengeResponseAuthentication yes” (without quotes) to /etc/ssh/sshd_config, you can do it by running below command:
sudo sh -c 'echo "ChallengeResponseAuthentication yes" >> /etc/ssh/sshd_config'
Finally restart SSH service on Ubuntu:
sudo /etc/init.d/ssh restart

