Archives For November 30, 1999

Budgie Desktop 10.4 for Ubuntu and Debian users was released earlier today. It has been made into main repositories of Ubuntu 17.10. And here’s how to install it in Ubuntu 16.04, Ubuntu 17.04 via PPA.

Budgie 10.4 is considered a major release on our 10.x series, with significant improvements to applets, panels, and personalization of Budgie. This release also introduces polish to Alt+Tab, animations, and Budgie Menu!

Budgie 10.4 features:

  • maximize and unmaximize animations for applications.
  • Alt+Tab switcher now prefer the theme icon instead of the X11 icon
  • New ‘Night Light’ applet which can help reduce eye strain
  • Places indicator, workspace applet, and other applet improvements.
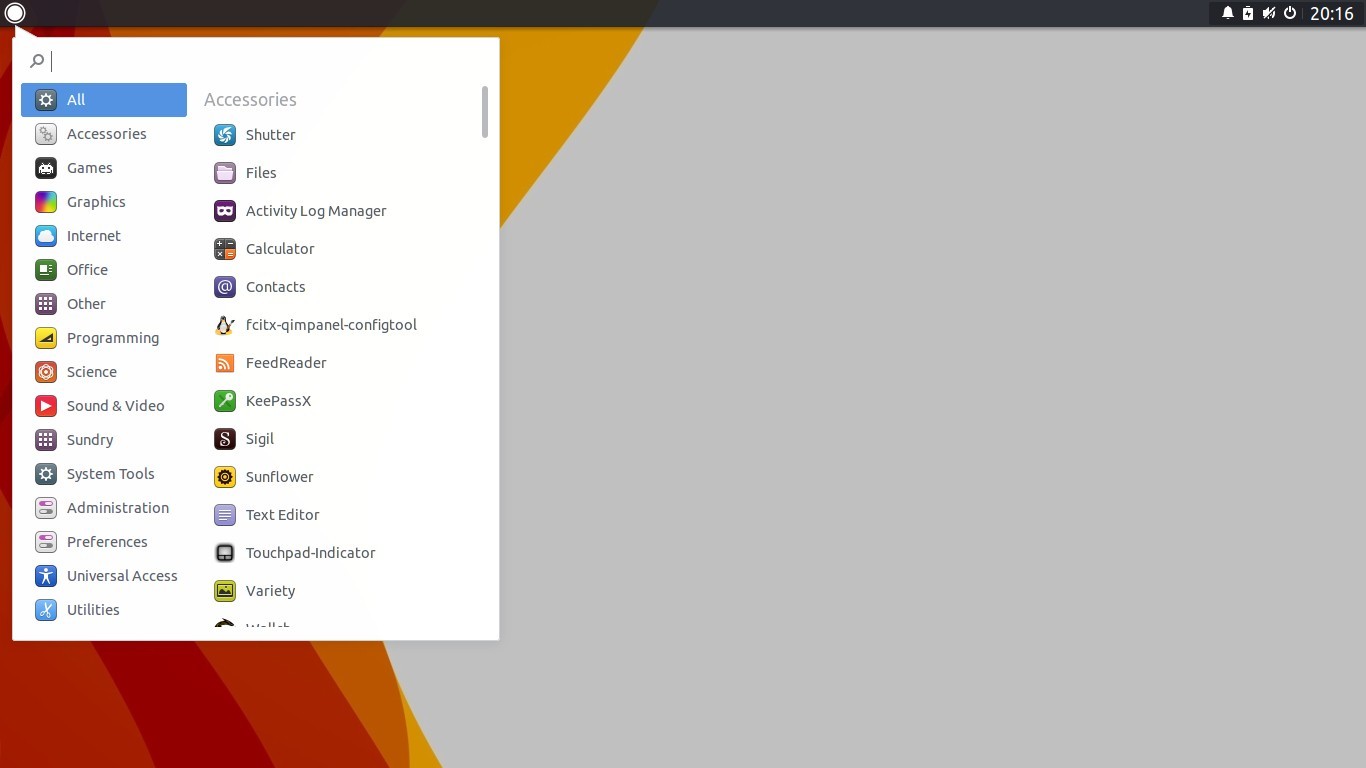
  • Searching in App Launcher has been completely overhauled.
  • vertical panels can be set on the left or right.
  • Budgie panel now has dock mode.
  • Budgie Settings now is a dedicated application
  • See other more changes in the release note.

How to Install Budgie 10.4 in Ubuntu via PPA:

1. Open terminal via Ctrl+Alt+T or by searching for “Terminal” from app launcher. When it opens, run command to add the PPA:

  • For Ubuntu 16.04, run command:
    sudo add-apt-repository ppa:budgie-remix/ppa
  • For Ubuntu 17.04, use another PPA:
    sudo add-apt-repository ppa:ubuntubudgie/backports

Input your password (no visual feedback while typing) when it prompts and hit Enter.

2. Then check updates and install budgie desktop 10.4 via commands:

sudo apt-get update

sudo apt-get install budgie-desktop

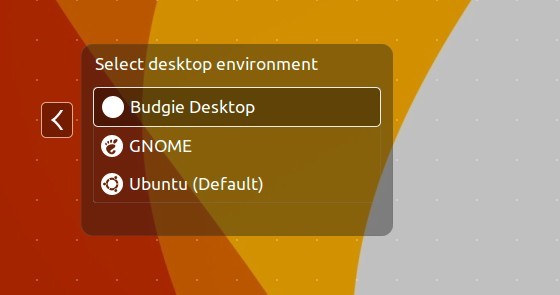
Once installed, log out and select login with Budgie Desktop session:

Uninstall:

To remove Budgie desktop, run command:

sudo apt-get remove --autoremove budgie-desktop budgie-indicator-applet

The PPA can be removed via “Software & Update” utility under Other Software tab.

The Budgie desktop environment 10.3 was released a few days ago. Here’s how to install it in Ubuntu 16.04, Ubuntu 16.10, and/or Ubuntu 17.04.

The Ubuntu Budgie team announced the release of Budgie 10.3 as the final release of the 10.x series. And the Qt 5-based Budgie Desktop 11 is now under development.

Budgie 10.3 features:

  • Supports the downloading of artwork for the MprisClient.
  • New and improved Alt-Tab keyboard app switcher.
  • Adds a couple of customization options for the Clock Applet.
  • Option to choose a left or right window button layout.
  • Various Budgie applets bug fixes and more.

How to Install Budgie 10.3 in Ubuntu:

For Ubuntu 16.04 & Ubuntu 16.10:

The budgie-remix PPA contains the Budgie Desktop 10.3 for Ubuntu 16.04, Ubuntu 16.10 and derivatives.

1. Open terminal via Ctrl+Alt+T or by searching for “Terminal” from start menu. When it opens, run command to add the PPA:

sudo add-apt-repository ppa:budgie-remix/ppa

Type in your password (no visual feedback due to security reason) when prompts and hit enter.

2. Then check updates and install the desktop environment via commands:

sudo apt update && sudo apt install budgie-desktop budgie-indicator-applet

3. After that, you may remove the PPA repository because it contains a newer version of Nautilus for Ubuntu 16.04. To do so, go to System Settings -> Software & Updates -> Other Software tab.

For Ubuntu 17.04:

For Ubuntu 17.04 Zesty, the backports PPA is available.

1. To add the PPA, open terminal via Ctrl+Alt+T and run command:

sudo add-apt-repository ppa:ubuntubudgie/backports

2. Then check updates and install the desktop via commands:

sudo apt update && sudo apt install budgie-desktop budgie-indicator-applet

Once installed, log out and choose log in back with Budgie.

Uninstall:

To remove the Budgie desktop environment, simply run following command in terminal:

sudo apt remove budgie-desktop budgie-indicator-applet && sudo apt autoremove

To remove the PPAs, go to System Settings -> Software & Updates -> Other Software tab.