![]()
Linux Mint team announced the second point release for Mint 20 today. Features Kernel 5.4, Ubuntu 20.04 package base, and Cinnamon 5.0, Xfce 4.16, MATE 1.24 for each desktop edition.
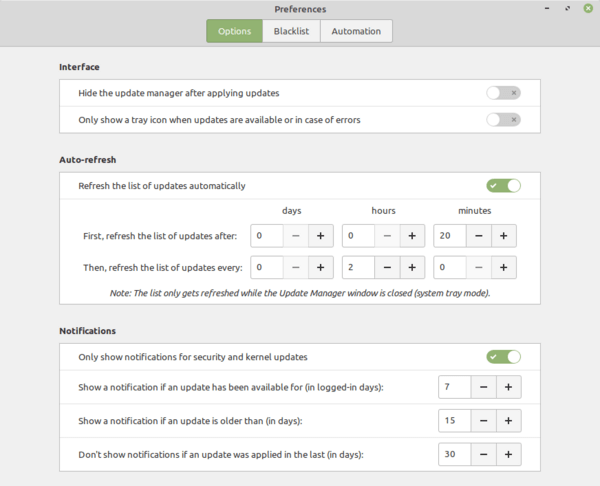
Linux Mint 20.2 will be supported until 2025. It comes with improved Update Manager that supports installing updates for applets, desklets, themes, and extensions.
As well, it now displays software update notifications if it has been available for more than 7 logged-in days or older than 15 calendar days. However, you can change the time period or disable the notification entirely.
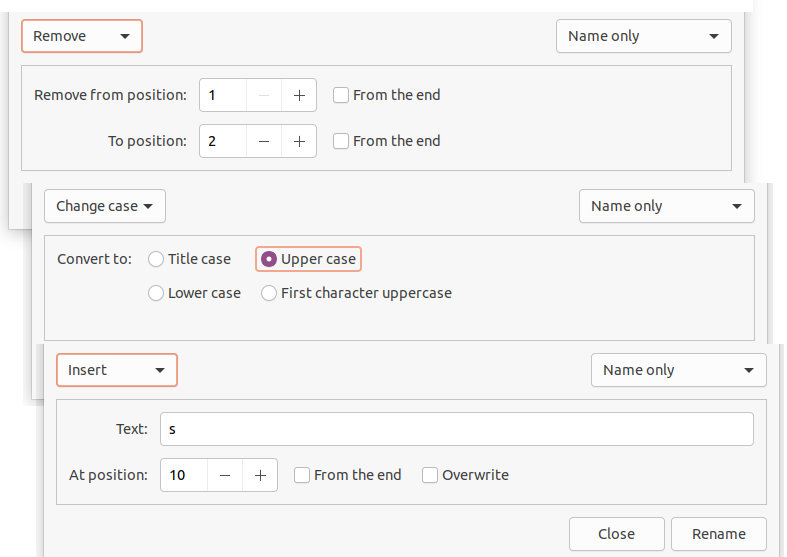
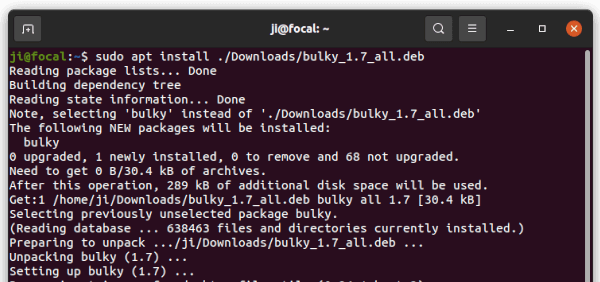
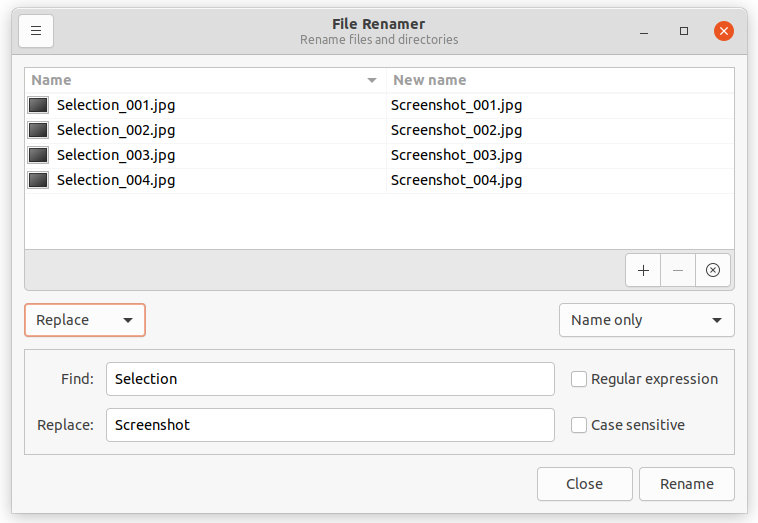
The release comes with the new Bulky batch file renamer out-of-the-box. As a desktop independent app, you can install it on Ubuntu easily via the .deb package.
For Cinnamon edition, the new Cinnamon 5.0 features file search and content search in Nemo file manager, memory limit for the desktop usage, new CLI and python3 module.
Other changes include:
- Automated Flatpak updates in Update Manager preferences. It will automatically remove unused flatpak run-times to free up your disk space.
- Replace GNote with Sticky Notes as default note taking app.
- Improvements for the ‘Warpinator’ file transfer app.
- HPLIP 3.21.2 as well as the latest ipp-usb and sane-airscan
- The WebApp manager now supports for incognito/private browsing.
- The NVIDIA Prime applet can now switch between AMD onboard chipsets and discrete GPUs.
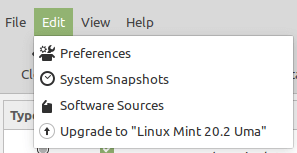
How to Get Linux Mint 20.2:
You can get the Linux Mint 20.2 upgrade wizard easily via “Edit->Upgrade to Linux Mint 20.2 Uma” menu in Update Manager. However, it’s recommended to backup, disable screensaver, and update Cinnamon spices (applets, desklets, extensions, themes) before getting started.
For the ISO images as well as release notes, go to linuxmint.com.