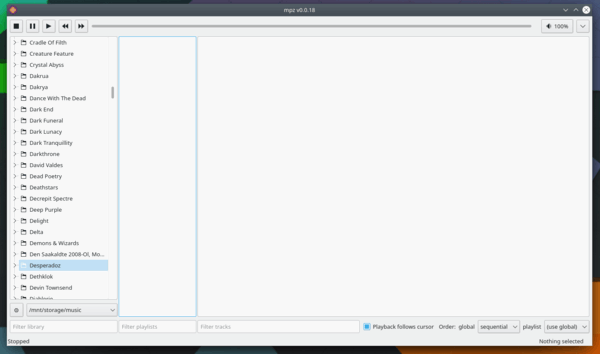
Looking for a Linux music player to manage large local collections? Mpz is a new open-source player that does the job.
If you like to organize your music in folders, then this player might be for you. It doesn’t try to index all the files into a library, but rather treats your files and folders as a library and provides a convenient way to create playlists directly from folders. Similar to Foobar2000’s Album List, but it’s not an attempt to clone.
The main feature is 3-columns UI allows you to quickly create playlists from folders via middle-click and switch between playlists.
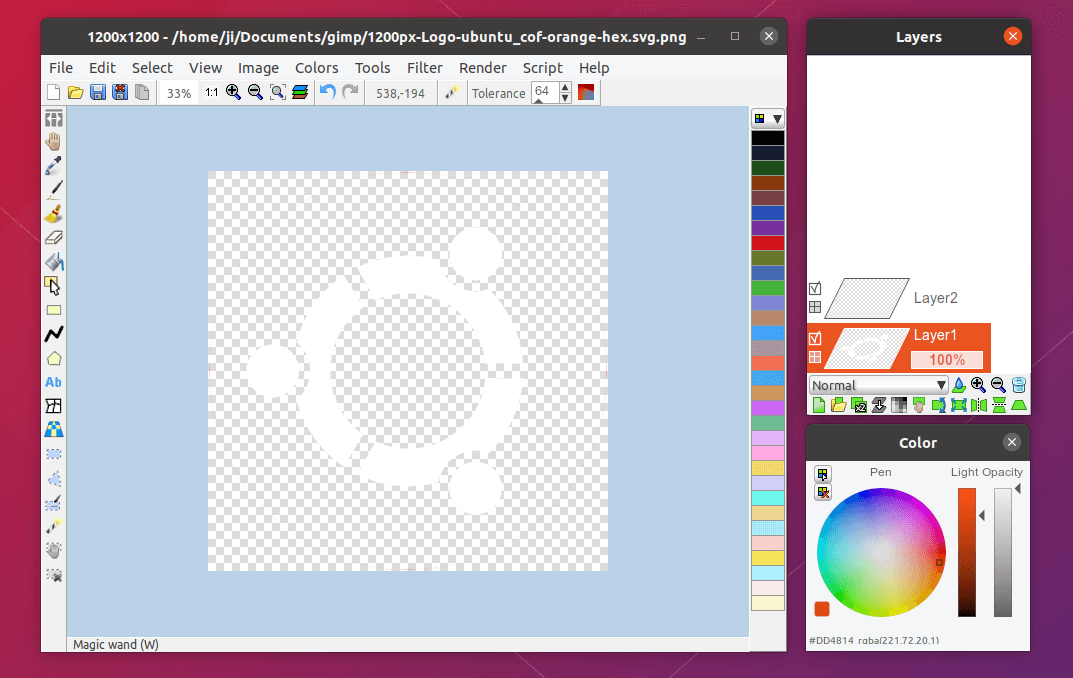
Looking for an image editor similar to Windows Paint.Net or Mac OS PaintBrush? LazPaint is the open-source image editor that works on Linux.
LazPaint is an image editor with layers and transparency. It’s written in Lazarus (Free Pascal) and uses BGRABitmap library. With OpenRaster format support it can interoperate with MyPaint, Gimp and Krita.
Features include:
Read and write a variety of file formats, including layered bitmaps and 3D files.
Tools: many tools are available to draw on the layers.
Select parts of an image with antialiasing and modify the selection as a mask.
View: color window, layer stack window and toolbox window.
Command line support.
Keyboard shortcuts support.
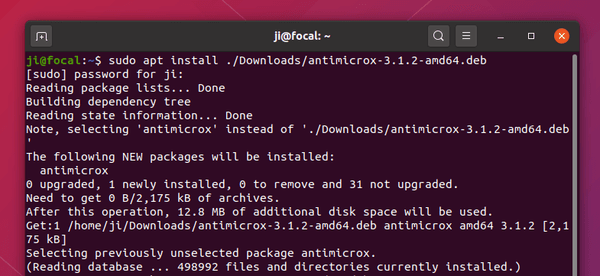
How to Install LazPaint in Ubuntu:
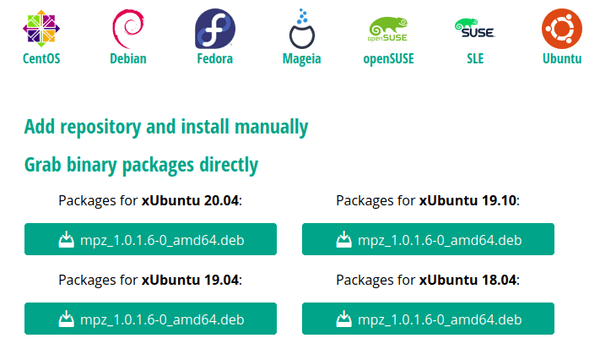
The image editor offers .deb packages available to download at the link below:
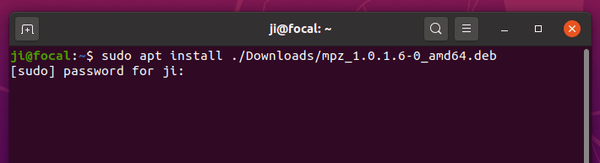
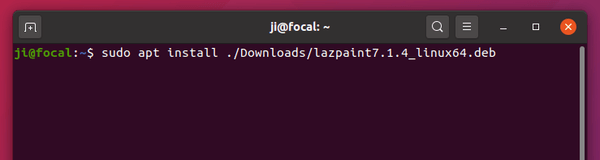
Just grab the latest deb package, and install it by running command in terminal:
sudo apt install ./Downloads/lazpaint*.deb
Once installed, open it from system application launcher and enjoy!
(Optional) To remove LazPaint simply run command in terminal:
Familiar with Linux commands? You may already know many tips and tricks that will save you a lot of time.
Here are some that I have been using for a long period of time, including Tab auto-completion, when you type something in Linux terminal and hit Tab, it auto-completes the command or file path, or outputs all possible options.
And Ctrl+Shift+V will do paste text to terminal instead of Ctrl+V. Without copying to the clipboard, you can simply select / highlight the text and use mouse middle-click to paste into terminal.
Today I found a new terminal tips that I didn’t know before. Thanks to the reddit, I’m going to share it with you by following steps.
1. Drag and drop file or folder to paste the path into terminal.
Just drag and drop a file or folder into terminal, and you’ll see the full path pasted with single quotes. It’s useful if there’s special character in file path or you just don’t want to type …
2. Drag and drop a selection of text into terminal.
You can also drag and drop a selection of text into terminal, so you don’t need to do copy and paste with context menu clicks or keyboard shortcuts.
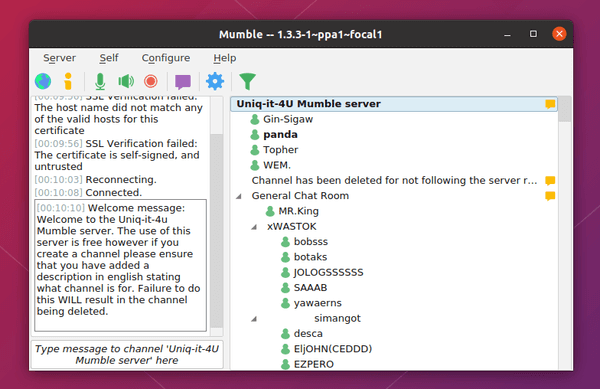
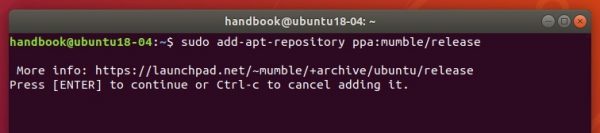
Mumble, open source, low-latency, high quality voice chat software, released version 1.3.3 a few days ago. PPA updated for Ubuntu 16.04, Ubuntu 18.04, and Ubuntu 20.04.
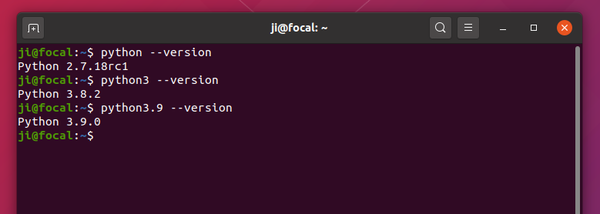
Python programming language 3.9.0 was released with new features and optimizations. Here’s how to install it in Ubuntu 16.04, Ubuntu 18.04, and Ubuntu 20.04 via PPA.
Python 3.9.0 is the first version default to the 64-bit installer on Windows. Windows 7 is unsupported.
Support for the IANA Time Zone Database in the Standard Library
String methods to remove prefixes and suffixes
New PEG parser for CPython
Garbage collection does not block on resurrected objects;
os.pidfd_open added that allows process management without races and signals;
Unicode support updated to version 13.0.0;
when Python is initialized multiple times in the same process, it does not leak memory anymore;
A number of Python built-ins (range, tuple, set, frozenset, list, dict) are now sped up using PEP 590 vectorcall;
A number of Python modules (_abc, audioop, _bz2, _codecs, _contextvars, _crypt, _functools, _json, _locale, operator, resource, time, _weakref) now use multiphase initialization as defined by PEP 489;
A number of standard library modules (audioop, ast, grp, _hashlib, pwd, _posixsubprocess, random, select, struct, termios, zlib) are now using the stable ABI defined by PEP 384.
How to Install Python 3.9.0 in Ubuntu:
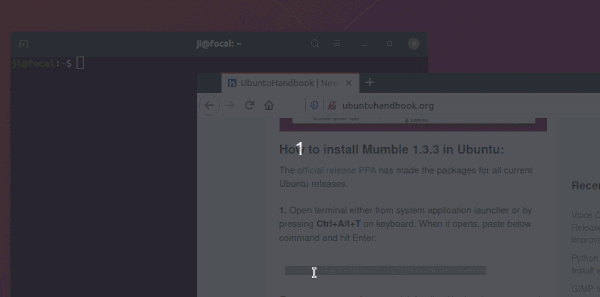
1.) Open terminal either by pressing Ctrl+Alt+T on keyboard, or by searching for ‘terminal’ from system application launcher.
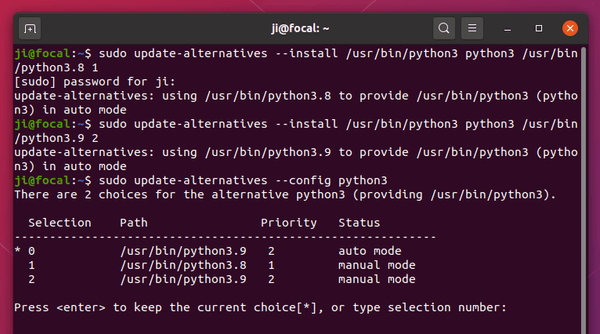
For Ubuntu 16.04 and Ubuntu 18.04, replace python3.8 in the code with system’s default python3 version..
And you can then switch between the two Python3 versions via command:
sudo update-alternatives --config python3
NOTE: Due to known bug, terminal won’t open if you changed python3 symlink. An workaround is recreate a symlink via command (Replace python 3.8 with your system default python3 version):
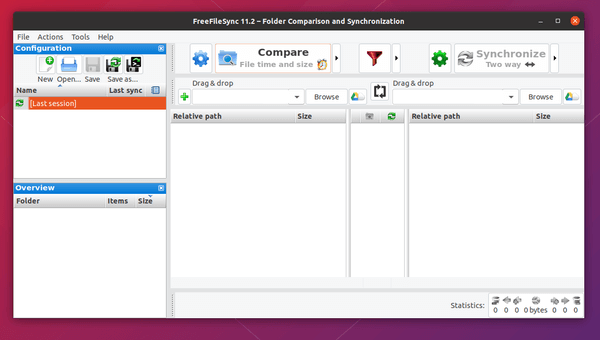
FreeFileSync 11.2, folder comparison and synchronization software to create and manage backup copies of all your important files, was released a few days ago.
Changes in FreeFileSync 11.2 include:
Improved grid layout with file icons hidden
Improved rendering of inactive and disabled grid items
Remember last user-selected paths for file and folder pickers
Fixed folder name hidden in “item name” view type
Fixed determination of unsupported trash folder (Linux)
Fixed copying broken symlinks (macOS)
Fixed default action when pressing Enter in popup dialogs
Fixed default popup dialog size (macOS)
Use localized start of week for %WeekDay% (Linux, macOS)
Swap sides using CTRL+W instead of F10
Show confirmation dialog before swapping sides
How to Install FreeFileSync in Ubuntu:
The software offers official Linux package (portable tarball contains executable and most run-time libraries) available to download at the link below:
You can either grab the single executable .appimage package that runs the program without install, or download the .deb package and install it by opening terminal (Ctrl+Alt+T) and run command:
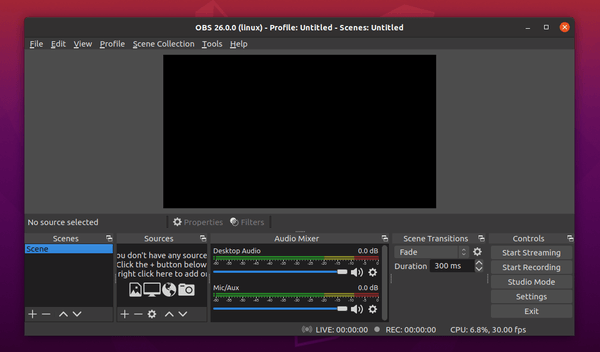
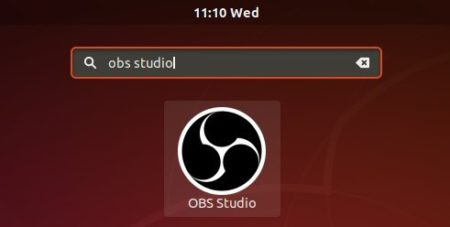
How to Install OBS Studio 26.0 in Ubuntu 20.04, 18.04:
The official PPA offers the latest release packages for Ubuntu 18.04 and Ubuntu 20.04:
1. Open terminal either by pressing Ctrl+Alt+T on keyboard or by searching for “terminal” from app launcher. When it opens, run command to add the PPA:
sudo add-apt-repository ppa:obsproject/obs-studio
Type user password (no asterisk feedback) when it prompts and hit Enter.
2. Then either upgrade OBS Studio from an existing version via Software Updater, or run command in terminal to install the software: