HPLIP 3.20.9, HP print, scan, and fax drivers for Linux, now is available to download.
Though the release note is not ready at the moment of writing, HPLIP 3.20.9 package is already available to download in its website.
New printers supported in the release:
- HP LaserJet MFP M234dw
- HP LaserJet MFP M234dwe
- HP Color LaserJet Managed MFP E57540dn
- HP Color LaserJet Managed Flow MFP E57540c
- HP Color LaserJet Enterprise MFP M578dn
- HP Color LaserJet Enterprise MFP M578f
- HP Color LaserJet Enterprise Flow MFP M578c
- HP Color LaserJet Enterprise Flow MFP M578z
- HP Color LaserJet Managed E55040dw
- HP Color LaserJet Managed E55040dn
- HP Color LaserJet Enterprise M554dn
- HP Color LaserJet Enterprise M555dn
- HP Color LaserJet Enterprise M555x
This release also added support Linuxmint 20, OpenSuse 15.2, and Debian 10.4
How to Get HPLIP 3.20.9:
1. To install the software, download the package “hplip-3.20.9.run” from the link below:
2. Then open terminal either via Ctrl+Alt+T or by searching for “terminal” from app launcher. When it opens, run command to give executable permission:
chmod +x ~/Downloads/hplip-3.20.9.run
3. Finally run command to start installing the driver:
./Downloads/hplip-3.20.9.run


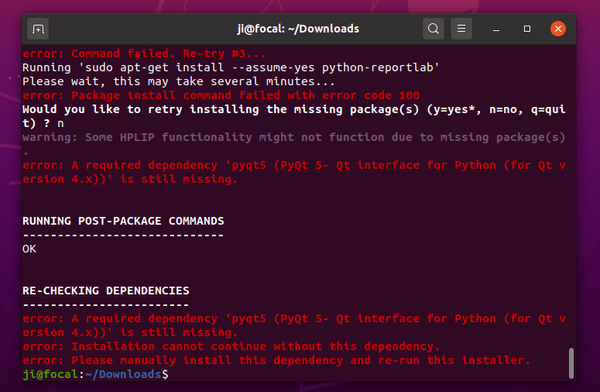
Follow the terminal output and answer some questions. If everything goes OK, plug or re-plug your HP devices and enjoy!