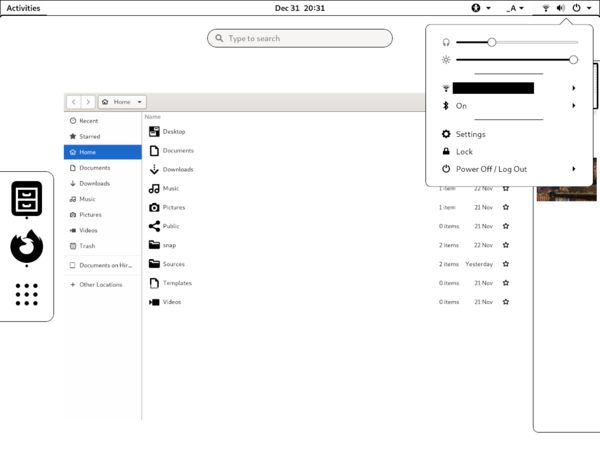
Run Ubuntu or other Linux with Gnome Desktop on E-Ink Displays? There’s now an E-Ink Mode Gnome Shell extension allows to easily toggle desktop appearance suitable for the monitors.
What does E-Ink Mode extension do:
- Switch shell theme to built-in light high contrast one (User Themes extension is not required).
- Switch GTK and icon theme to High Contrast
- Switch Cursor theme to DMZ-White
- Disable shell animations
- Restore previous themes and animation settings when disable this extension
Though the things can be done manually step by step, the extension make it as easy as a toggle switch in Extensions tool. And so far only Gnome 3.36 (Ubuntu 20.04), GNOME 49 are supported.
How to Install E-Ink Mode extension:
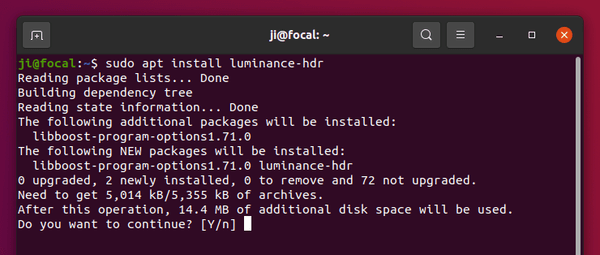
1.) For Ubuntu, first make sure chrome-gnome-shell package is installed. And for the Extensions tool, install thethe gnome-shell-extension-prefs package:
sudo apt install chrome-gnome-shell gnome-shell-extension-prefs

2.) Go to the extension web page and turn on the toggle icon to install it.
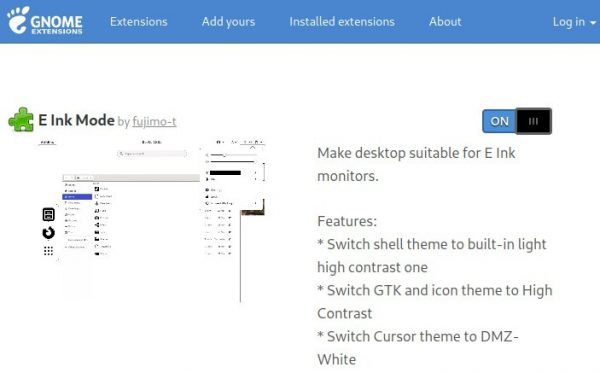
Don’t see the toggle icon? Click the link which says “Click here to install browser extension” to install browser extension and refresh the web page.

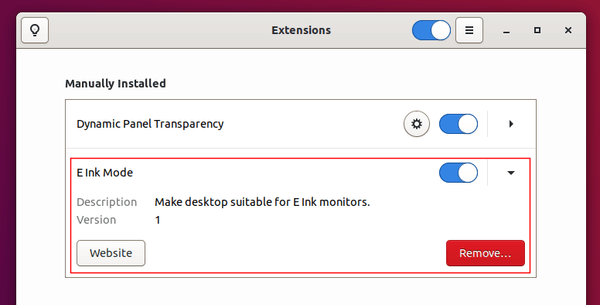
It should enable E-Ink Mode once you installed the extension. To toggle off or remove it, use Extensions tool.