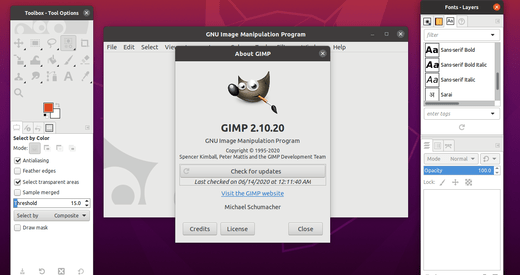
This simple tutorial shows how to install the latest GIMP image editor 2.10.20 in Ubuntu 20.04, Ubuntu 18.04, Linux Mint 19.x, and 20 via new PPA repository.
Although GIMP is available as both the containerized Snap and Flatpak packages, I prefer installing GIMP deb package via apt repository and receiving updates via Software Updater.
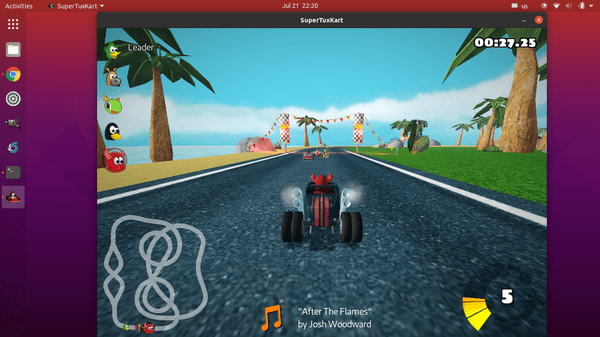
SuperTuxKart 1.2 Release Candidate, free and open-source kart racing game, was released today with many great new features and performance improvements.
SuperTuxKart 1.2 release highlights according to the change-log:
The kart racing game is available as SNAP package which can be installed from Ubuntu Software. Flatpak package is also available in flathub.org repository.
SuperTuxKart team PPA will build the DEB package for apt install. Check the PPA Link before getting started.
At that time, open terminal from application launcher and run following commands one by one:
1.) Run command to add the PPA:
sudo add-apt-repository ppa:stk/dev
Type user password, no visual feedback, when it asks and hit Enter to continue.
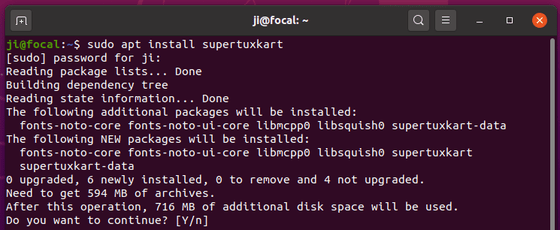
2.) After adding the PPA, either upgrade from an old version via Software Updater, or run commands in terminal to install the game:
Ubuntu 19.10 Eoan Ermine reached end of life on July 17 2020. Users are recommended to upgrade to Ubuntu 20.04 LTS.
Ubuntu 19.10 was released 9 months ago, on October 17, 2019. As a non-LTS release, it has 9 months support. Now it is no longer supported by Canonical. No more security and package updates will be accepted to 19.10.
Users are argued to upgrade to Ubuntu 20.04, a LTS release with 5-year support. To get started, do following steps one by one:
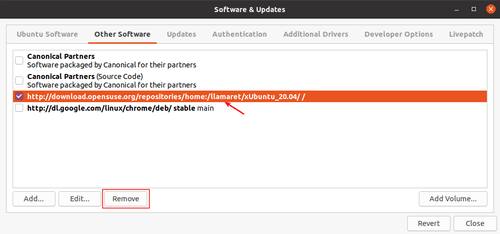
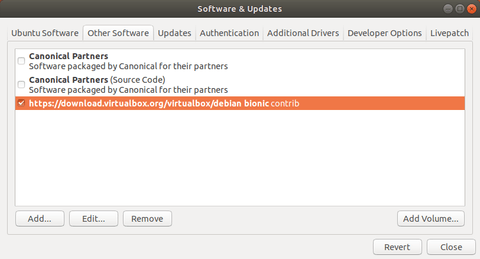
Disable third-party repositories by Software & Updates -> Other Software.
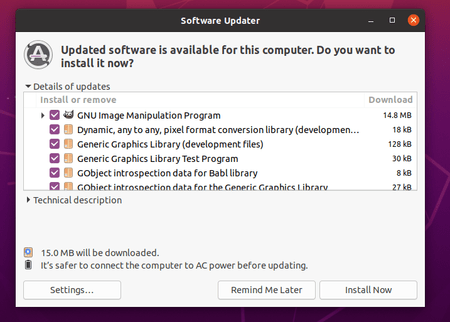
Launch Software Updater and install all the updates after checking for updates.
You may restart your computer to complete updates.
Launch Software Updater again, and you’ll see option to upgrade to Ubuntu 20.04
Full instructions and caveats for the upgrade may be found at:
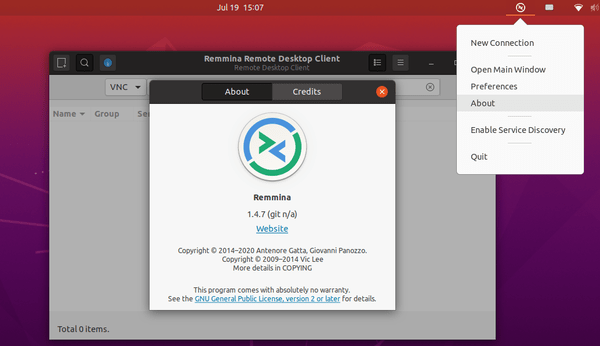
Prefer installing app via apt rather than the containerized Snap or Flatpak package? Here’s how to install the latest Remmina Remote Desktop Client 1.4.7 via PPA in Ubuntu 20.04.
Remmina is a GTK+ remote desktop client that supports RDP, VNC, SPICE, NX, XDMCP, SSH and WWW. It’s pre-installed in Ubuntu 20.04 but old.
Besides installing the Snap (or Flatpak) package from Ubuntu Software. You can get the latest .deb packages from the “Remmina PPA Team” PPA. So far Ubuntu 16.04, Ubuntu 18.04, Ubuntu 19.10, Ubuntu 20.04 are supported.
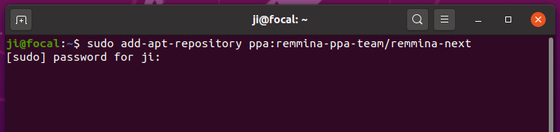
1.) Open terminal from your system application launcher. When it opens, run command to add the PPA:
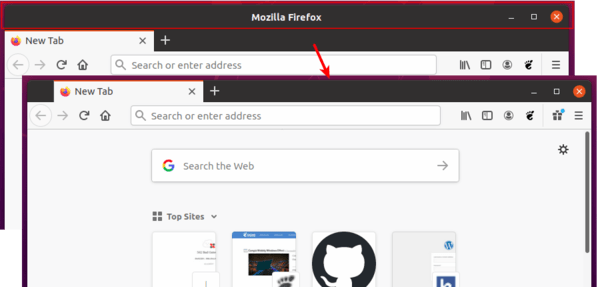
This quick tutorial shows Ubuntu beginners how to remove / hide the header bar (title bar) in the default Firefox web browser.
Firefox title bar, the bar above the tabs, does not look good in Gnome desktop. You can easily remove it as well as the top white corners so it will look like:
1. Remove Firefox header bar in Ubuntu:
The following steps works in all Ubuntu releases, though the title says for Ubuntu 20.04 only.
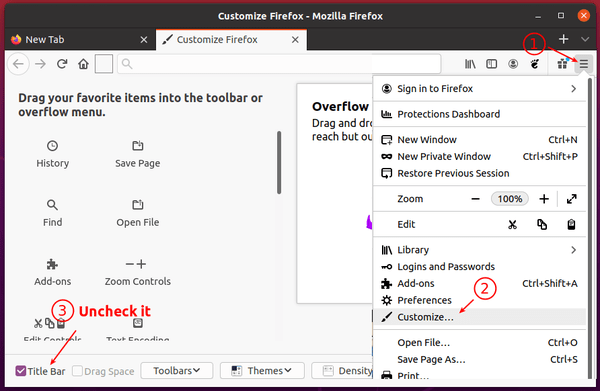
Click on the 3 lines icon to open Firefox menu.
Click “Customize …” menu option to open new Customize Firefox tab.
Finally un-check the “Title Bar” check-box in the bottom-left.
2. Remove top-left & top-right white corners in Firefox:
After removed the header bar, you’ll see the white top corners. And it can be fixed by doing following steps.
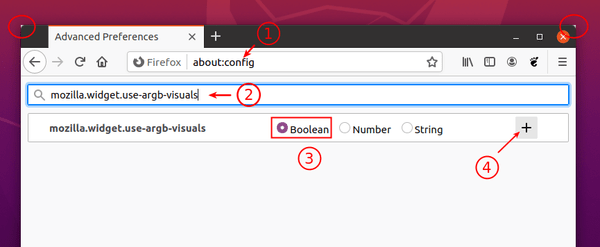
Type about:config in address bar and hit Enter.
Click the “Accept the Risk and Continue” button.
Type mozilla.widget.use-argb-visuals in the search field
Check that ‘Boolean‘ is selected
Finally click on ‘+‘ button to add the setting.
The white corners will gone once you restart Firefox web browser.
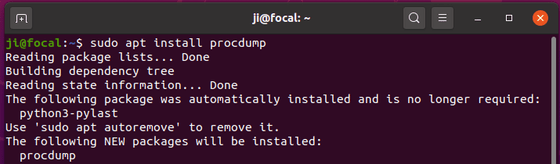
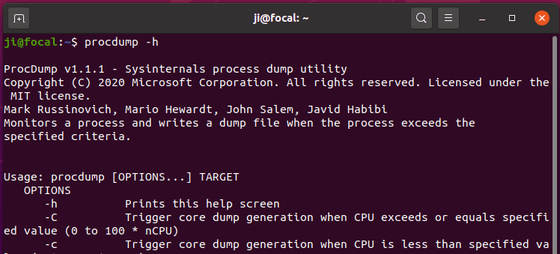
This quick tutorial shows how to install the latest ProcDump for Linux via the official Microsoft apt repository in Ubuntu 20.04, Ubuntu 19.10, Ubuntu 18.04, Ubuntu 16.04, and Linux Mint.
“ProcDump is a Linux reimagining of the classic ProcDump tool from the Sysinternals suite of tools for Windows. ProcDump provides a convenient way for Linux developers to create core dumps of their application based on performance triggers.”
1. Setup Microsoft apt repository in Ubuntu:
Open terminal from your system application launcher. When it opens, run command to download the official .deb package:
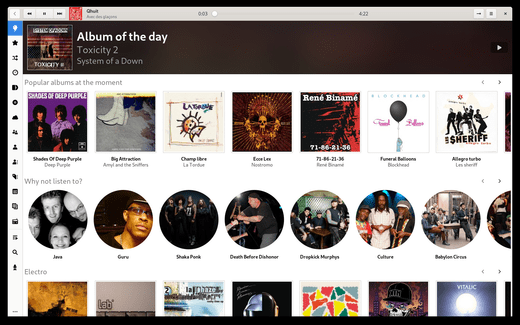
This simply tutorial shows how to install the latest Lollypop, a lightweight modern Gnome music playing application, in Ubuntu 20.04 and Linux Mint 20 via PPA.
“Lollypop features a party mode which will automatically select party-related playlists to play; a full-screen view which lets you visually access the player from your couch thanks to its HiDPI support; and native support for replay gain.”
1.) Open terminal from your system application launcher. When it opens, run command to add the PPA:
sudo add-apt-repository ppa:gnumdk/lollypop
Type user password (no asterisk feedback) when it asks and hit Enter to continue. The PPA so far provides the latest packages for Ubuntu 20.04, Ubuntu 19.10, and an old version for Ubuntu 18.04.
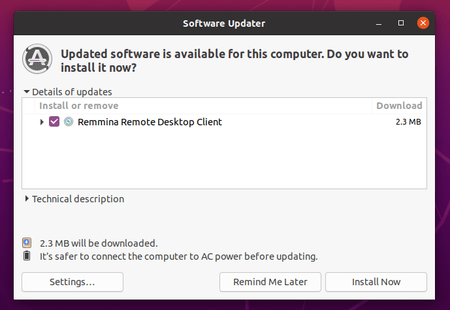
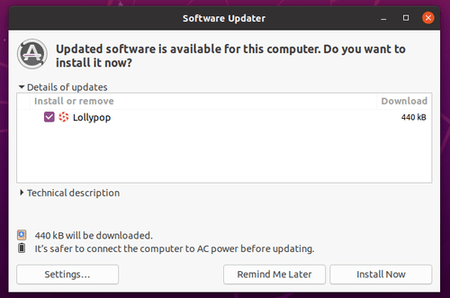
2.) After adding the PPA, either upgrade the player from an existing release via Software Updater:
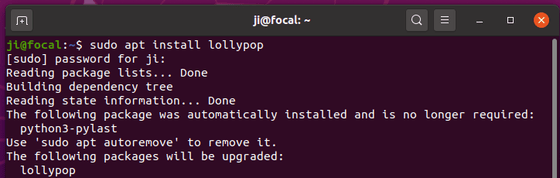
or run command in terminal to install the software package:
sudo apt install lollypop
Uninstall:
To uninstall the PPA repository, run command in terminal:
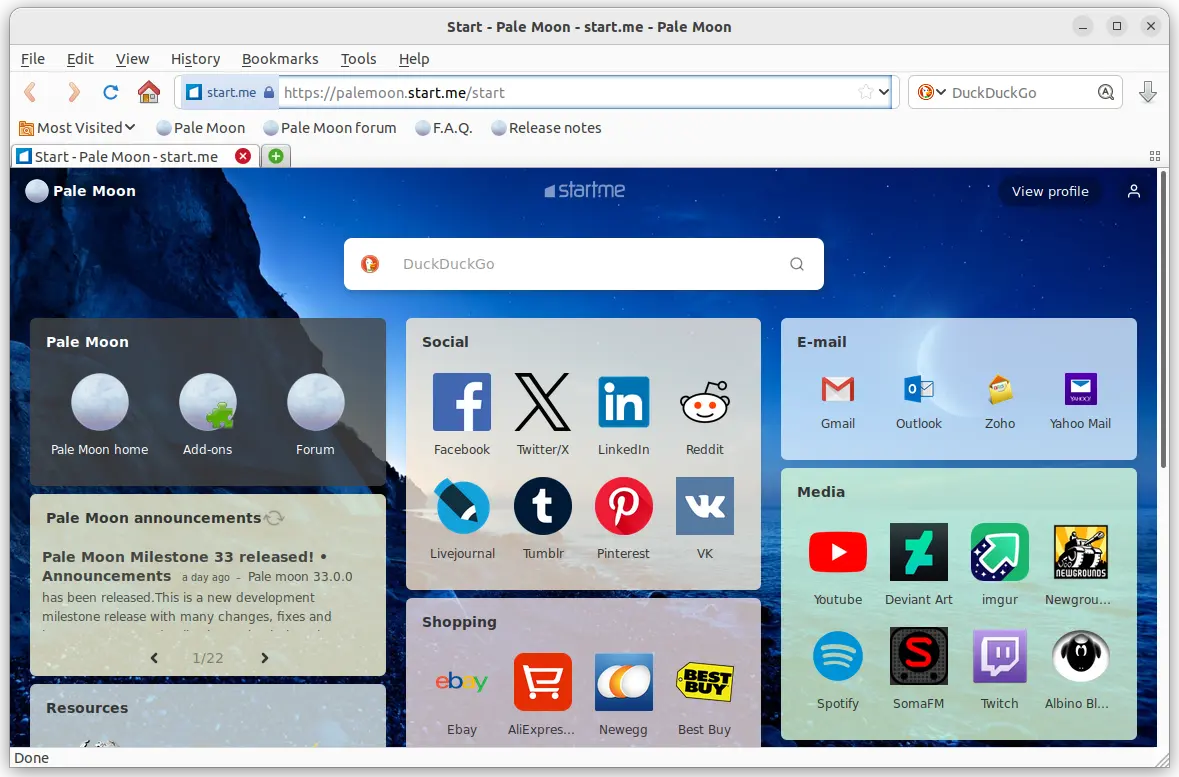
This simple tutorial shows how to install the latest Pale Moon web browser via .deb package and keep up-to-date via Software Updater in Ubuntu 20.04 and Ubuntu 22.04.
Pale Moon is an open-source web browser with an emphasis on customizability. The latest release so far is version 33.0.0 which was released a few days ago and features:
Implement a restricted version of the asynchronous clipboard API (navigator.clipboard).
Add support for SHA-2 (SHA-256/SHA-512/etc.) signatures for OCSP stapled responses.
Add an option to restrict DOM full-screen mode to the existing browser window.
New options (Preference -> Privacy -> Tracking) to allow users to more easily control several privacy-impacting features
Implement PromiseRejectionEvent.
The browser provides official Linux tarball, available to download in its website. The web browser is open-source, but the binary package is NOT. And, I’ve written a step by step tutorial shows how to install the tarball.
How to Install Pale Moon from apt repository:
The opensuse repository offers the most recent .deb packages for Debian and all current Ubuntu releases. It’s open-source but unofficial, and so far supports Ubuntu 18.04, Ubuntu 20.04, Ubuntu 22.04, and Ubuntu 23.10.
Option 1: Download & Install .deb package
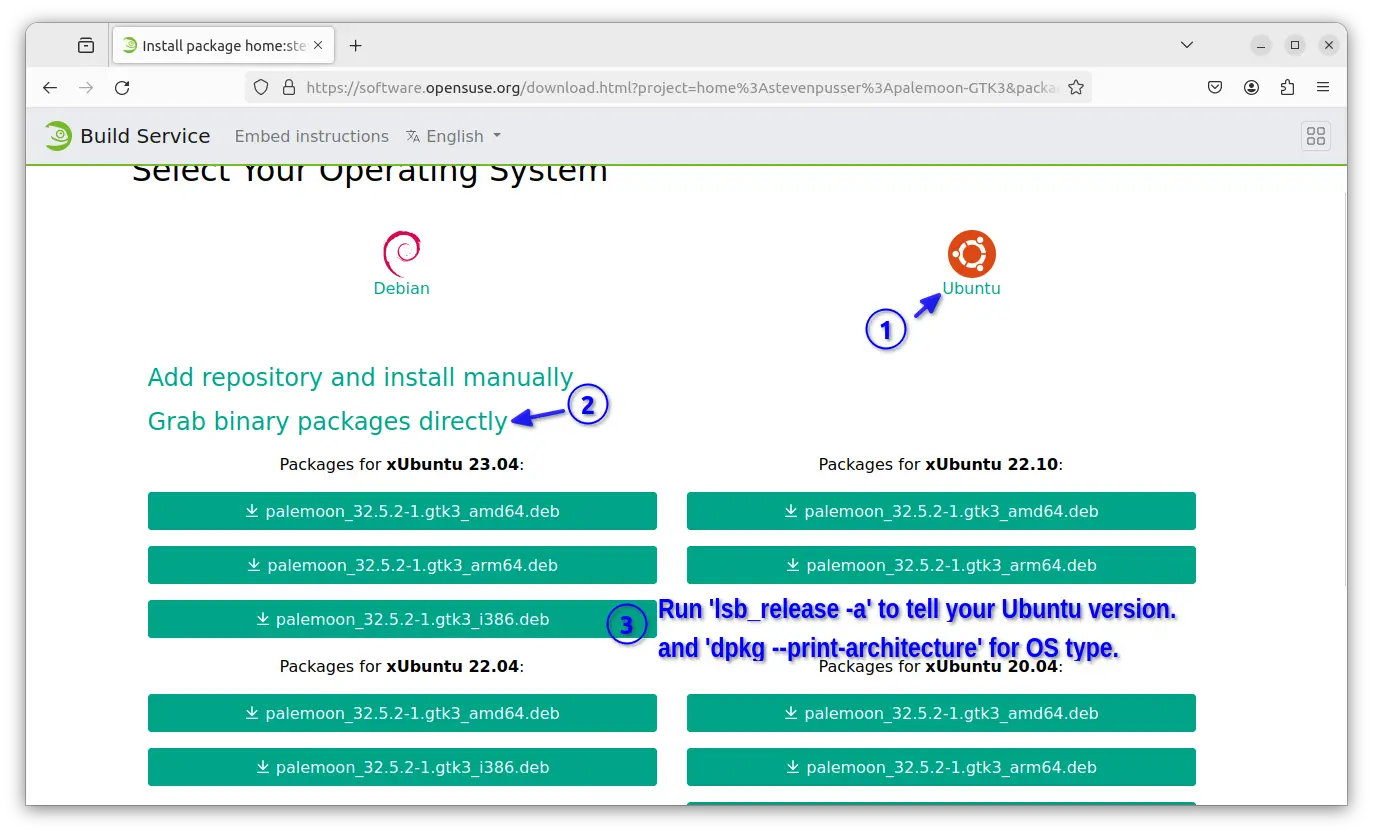
First, go to the OBS repository web page via the link button below:
For the GTK2 version, go to this page instead. After opening the web page, click Ubuntu logo, select “Grab binary packages directly“, finally you can click download the .deb package for your Ubuntu version and os type.
Don’t know which Ubuntu is running? Press ctrl+alt+t to open terminal, then run lsb_release -a command to tell. Also, run dpkg --print-architecture if you don’t know which one of ‘amd64’ or ‘arm64’ to choose.
After downloaded the package, either click open with “Software & Install” then install, or open terminal (Ctrl+Alt+T) and run command to install it:
sudo apt install ~/Downloads/palemoon*.deb
In case you didn’t save the file in Downloads folder, just type sudo apt install plus a blank space then drag’n’drop the file into terminal instead.
Option 2: Add the repository for receiving updates
To keep the package up-to-date, you may click “Add repository and install manually“, then follow the commands to add the repository into your system.
However, the instruction in that page still works at the moment, but insecure according to new Debian/Ubuntu policy. So, here’s updated commands to do the same job:
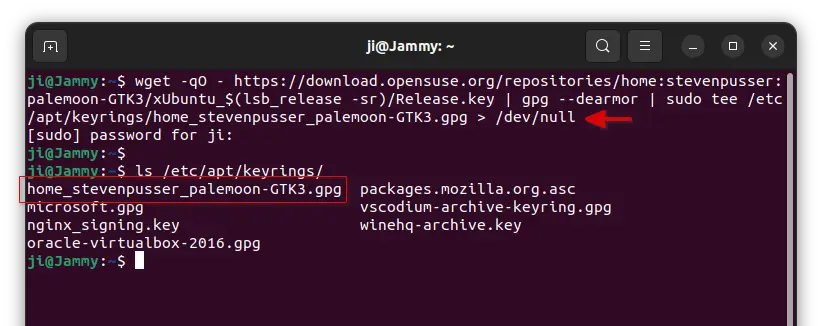
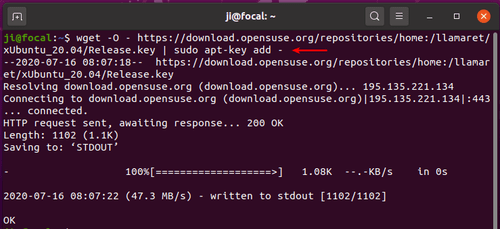
1.) First, press Ctrl+Alt+T on keyboard to open terminal. When it opens, copy and paste following single command and hit run to get the key file:
NOTE: This command is for Ubuntu (and official flavors, such as KUbuntu, XUbuntu) only. For its based systems, such as Linux Mint, you have to replace $(lsb_release -sr) with 22.04, 20.04, etc, depends on which Ubuntu version your system is based on!
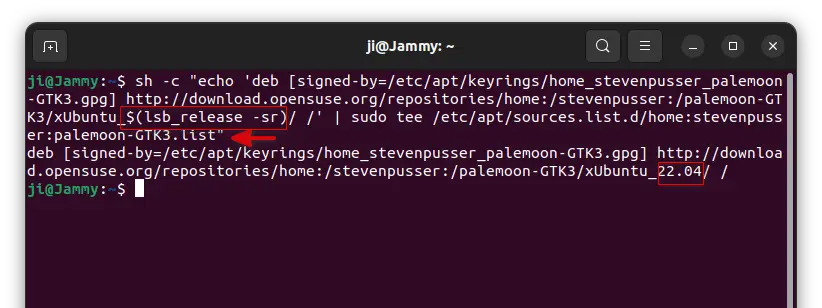
2.) Then run the single command below to create config file & add source repository into it.
sh -c "echo 'deb [signed-by=/etc/apt/keyrings/home_stevenpusser_palemoon-GTK3.gpg] http://download.opensuse.org/repositories/home:/stevenpusser:/palemoon-GTK3/xUbuntu_$(lsb_release -sr)/ /' | sudo tee /etc/apt/sources.list.d/home:stevenpusser:palemoon-GTK3.list"
Also, this command is for Ubuntu (and official flavors) only. For other based system, you need to replace $(lsb_release -sr) with 22.04, 20.04, etc, accordingly.
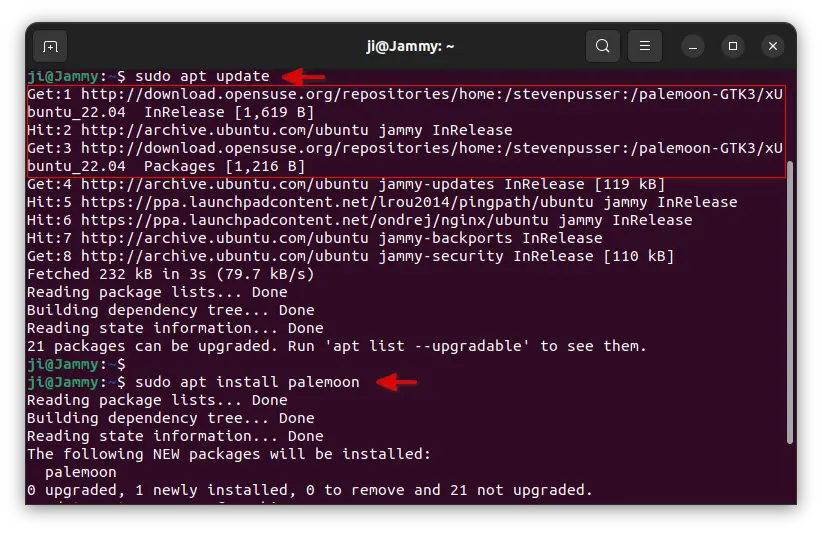
3.) Finally refresh system package cache by running command:
sudo apt update
The output should include something says “Get : x http://download.opensuse.org/repositories…”, meaning your system is successfully reading packages list from that repository.
Finally, install the web browser via command:
sudo apt install palemoon
You can then use “Software Updater” to receive future updates for this package.
Uninstall:
To remove the web browser, open terminal (Ctrl+Alt+T) and run command:
sudo apt remove --autoremove palemoon
Also, remove the repository by deleting both the source and key files.
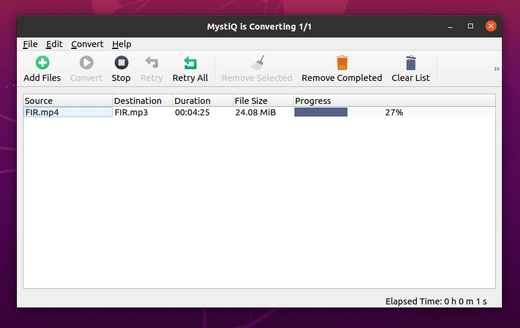
MystiQ is a Qt5 UI for FFmpeg media converter that features an intuitive graphical interface and a rich set of presets.
MystiQ is a new project written in C++ with Qt5 framework. It is a product of the effort of the SWL-X Project community with help of the KaOS Linux project community.
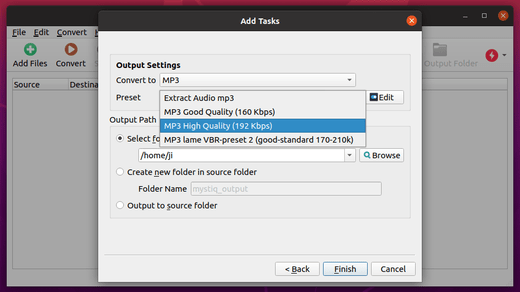
The software comes with a rich set of presets to help you convert media files within a few clicks. Advanced users can also adjust conversion parameters in detail. Also it offers automatic shutdown, suspend, hibernate when all tasks done.
Oracle Virtualbox 6.1.12 was released a day ago as the sixth maintenance release for the 6.1 series.
Oracle Virtualbox 6.1.12 release highlights:
UI fixes for Log-Viewer search-backward icon
Fixes and improvements for the BusLogic SCSI controller emulation
Regression fixes in FIFO data handling
Experimental new type of network attachment, allowing local VM to act as if it was run in cloud
Improved resource management in the guest control functionality
Fixed command option parsing for the “snapshot edit” sub-command
Fix crash of ‘VBoxManage internalcommands repairhd’ when processing invalid input.
Guest Additions:
New experimental 3D GLX graphics output
Fixed releasing texture objects, which could cause guest crashes
Fixed writes to a file on a shared folder not being reflected on the host when the file is mmap’ed and the used Linux kernel is between version 4.10.0 and 4.11.x
Fixed the shared folder driver on 32bit Windows 8 and newer returning an error when flushing writes to a file which is mapped into memory under rare circumstances
Improve resize coverage for VMSVGA graphics controller
Fix issues detecting guest additions ISO at runtime
Fixed German translation encoding for Windows GA installer
How to Install VirtualBox 6.1.12 in Ubuntu:
The official .deb packages are available for download at the link below:
If you’ve already added the Oracle apt repository for Linux, install the updates simply via Software Updater.
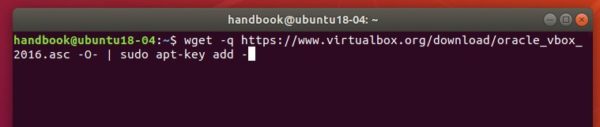
Or add the apt repository by running following commands one by one:
1. Open terminal (Ctrl+Alt+T), paste below command and run to add the repository: