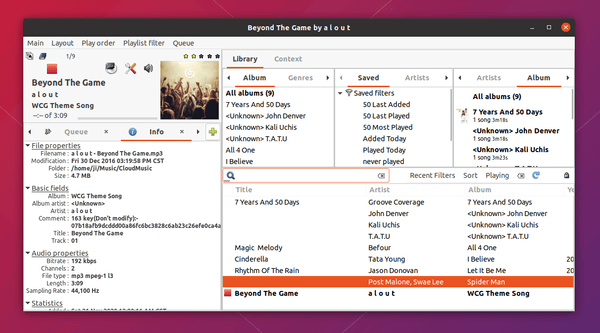
Gmusicbrowser, an open-source jukebox for large music collections, released version 1.1.16 a few days ago. Here’s how to install it in Ubuntu 20.04, Ubuntu 20.10, Linux Mint 20.
Gmusicbrowser 1.1.16 is the first release in over 5 years. And now it’s working on GTK3 port.
Changes in version 1.1.16 include:
- Fix not working with perl >=5.24
- Add support for .opus files
- Add option to simplify tree in folder pane
- Add option to ignore articles when sorting
- Add has_picture and has_lyrics optional fields
- Add artist_has_picture and album_has_picture virtual fields
- PictureBrowser: add embedded picture mode (+ all files mode)
- PictureBrowser: add “Reset view position when file changes” option
- Add option to some fields to show a “find songs with same …” menu item
- Add support for mp2 extension and change mp3 filetype
- Update AppStream metadata
- Update picture sources for picture finder plugin
- Add musixmatch.com for lyrics plugin
- Various bug-fixes and translation updates
How to Install gmusicbrowser 1.1.16 in Ubuntu:
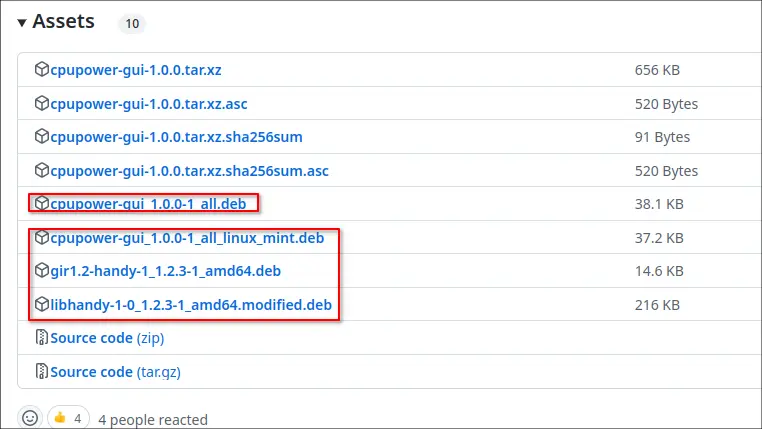
The software offers official .deb binary package available to download at the link below:
gmusicbrowser-1.1.16_all.deb
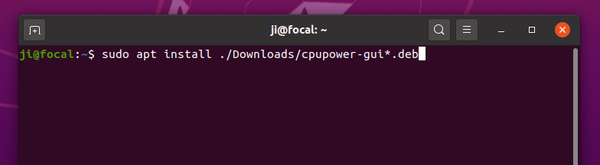
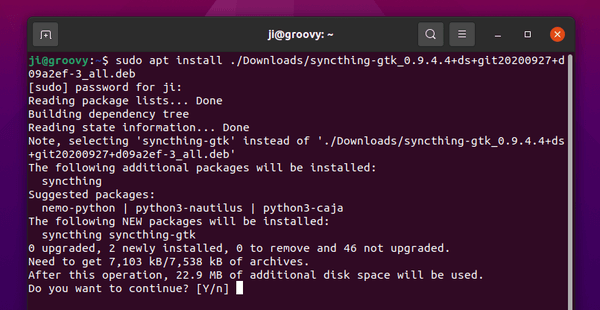
Just grab the package and click install either via Gdebi package installer or “Software Install” context menu.
Install gmusicbrower via its official apt repository.
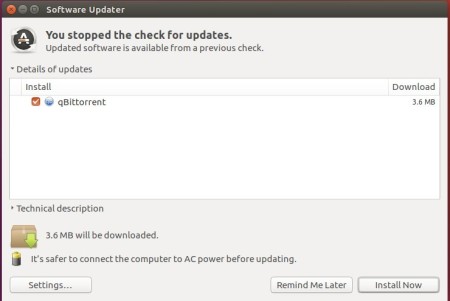
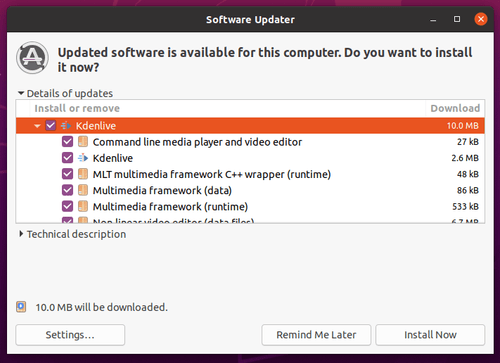
The software has an official apt repository for Debian, Ubuntu, Linux Mint based systems. You can add the repository then install the software and receive future package updates via Software Updater utility.
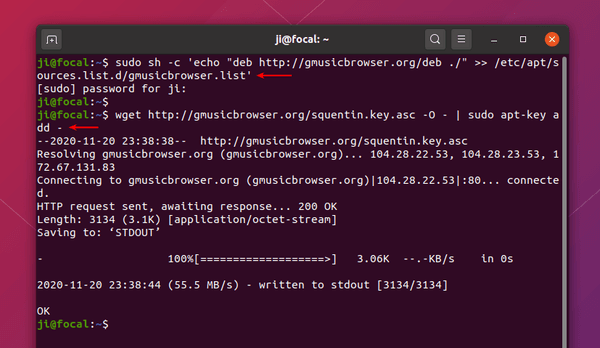
1. Add gmusicbrowser apt repository:
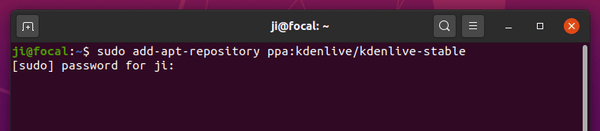
Run command in terminal to add its official repository:
sudo sh -c 'echo "deb http://gmusicbrowser.org/deb ./" >> /etc/apt/sources.list.d/gmusicbrowser.list'
Type user password (no asterisk feedback) when it asks for sudo prompt and hit Enter.
Then download & install the key via command:
wget http://gmusicbrowser.org/squentin.key.asc -O - | sudo apt-key add -
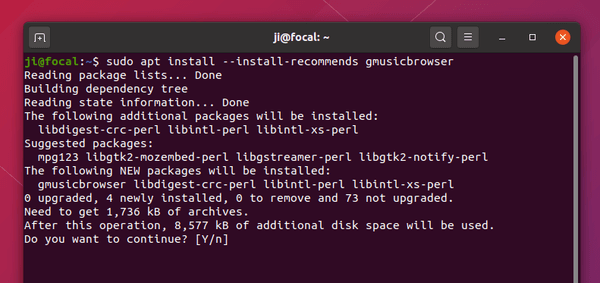
2. Refresh package cache & install the software:
Run command in terminal to update your system package cache:
sudo apt update
And finally install it via command:
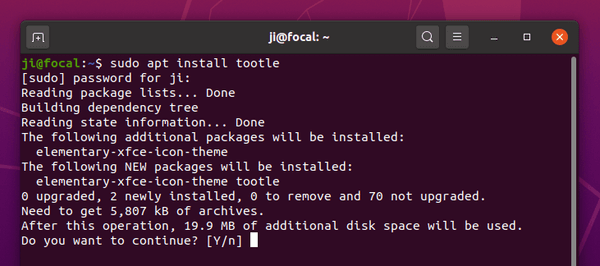
sudo apt install gmusicbrowser
Uninstall gmusicbrowser:
To remove the music collections manager, simply open terminal and run command:
sudo apt remove --autoremove gmusicbrowser
To remove its apt repository, open Software & Updates -> Other Software tab and remove the repository line.