![]()

This quick tip shows how to enable Secure Shell (SSH) service in Ubuntu 20.04 LTS, both desktop and server, to allow secure remote login and other network communications.
Ubuntu includes OpenSSH, a suite of secure networking utilities based on the Secure Shell protocol, in its main repositories. While OpenSSH client is installed out-of-the-box, you can do following steps to install and setup OpenSSH server in Ubuntu 20.04.
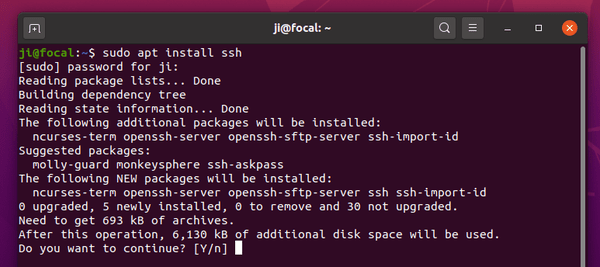
1. First open terminal and run command to install the packages:
sudo apt install ssh
Type user password (no asterisk feedback) for sudo prompt and hit Enter.

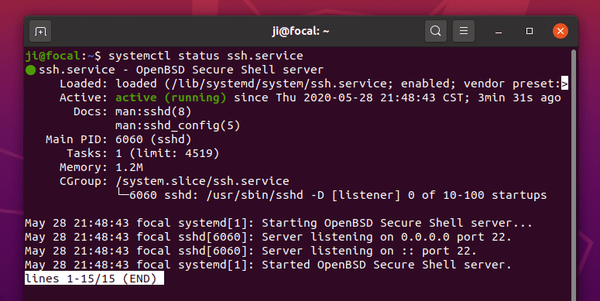
2. Once installed, SSH services start in background silently. You can check its status by running command:
systemctl status ssh.service
You may replace status in the code with stop, reload, restart to stop, reload, or restart the service.

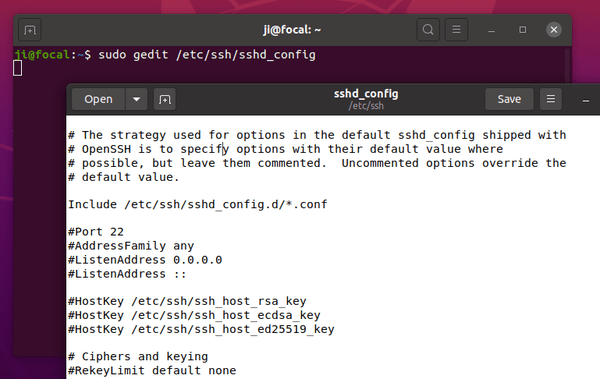
3. The SSH service should be working good now for basic use! If you want to change the listening port, root login permission, or other authentications, run command to edit the configuration file:
sudo nano /etc/ssh/sshd_config
replace nano with gedit if you’re on Ubuntu Desktop.

Save changes by pressing Ctrl+X, then Y, and finally hit Enter. And remember to restart the SSH service via sudo systemctl restart ssh.service command.