Mozilla Firefox 74.0 was released a day ago. Now it’s available to install in Ubuntu 16.04, Ubuntu 18.04, Ubuntu 19.10 via the security & updates repositories.
FireFox 74.0 features:
Make it easy to import bookmarks and history from Microsoft Edge
Add-ons installed by external applications can now be removed via Add-ons Manager
Add custom site exception to the Facebook Container.
Bettery privacy through support for mDNS ICE by cloaking your IP address with a random ID in certain WebRTC scenarios.
Various security fixes. See release note for details.
How to Install FireFox 74.0:
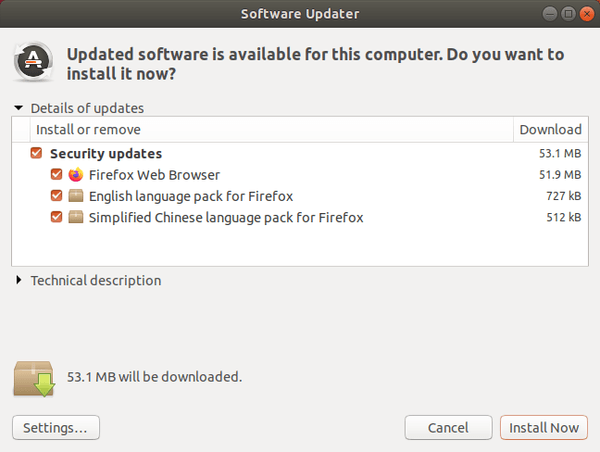
FireFox 74.0 has been made into security & updates repositories for all current Ubuntu releases. Simply launch Software Updater (Update Manager) and install the updates.
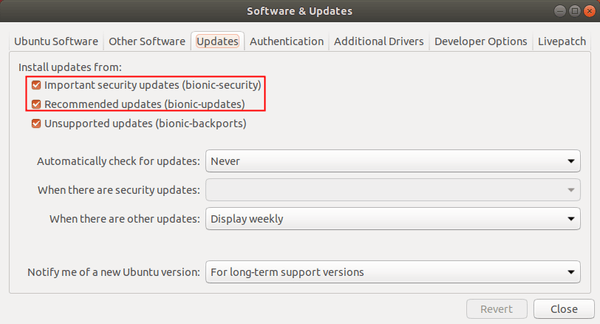
Don’t see Firefox updates in Software Updater? Make sure security & updates repositories are enabled in Software & Updates utility. And you may also select the Main Server in the first tab.
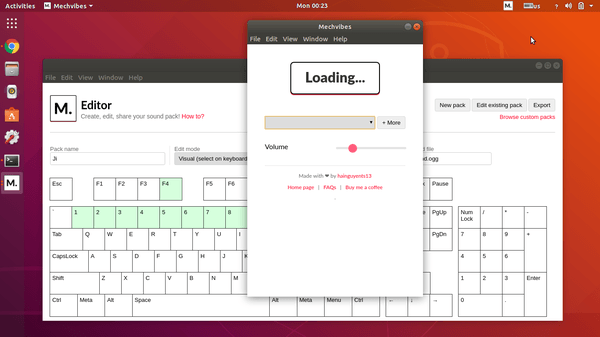
Mechvibes is a desktop application that plays mechanical keyboard key-press sound when your type on your keyboard.
It’s a side project that I made for myself since when I use my own mechanical keyboard at late night or in the office and my parents and my coworkers hate that a lot because the sound of the keyboard is very loud (especially in quiet places). So if you are facing this issue just like me then this product is for you!
Gscan2pdf, a graphical tool to produce PDF / DjVu from scanned document, released version 2.6.5 with some bug fixes and improvements. Here’s how to install it in all current Ubuntu releases.
As a new monthly release, Gscan2pdf 2.6.5 includes following changes:
Fixed bug when editing page number causing page to deselect and thumbnails to scroll to top of list
Use a scrolled window in the multiple message dialog to prevent it from growing too large.
Use the “Don’t show these messages again” checkbox to switch the checkboxes for the individual messages. Set the button inconsistent if the states are not all the same.
Fix warning message about pdftk (again) by making sure that user-defined tmp directory is available in time.
Improve responsiveness with OCR output (again)
Select # pages = all when switching from reverse->facing.
Show “waiting” cursor for longer to prevent scans from being started before all options applied.
Respect ‘Use timezone from locale’ option when setting file system timestamp
Updated translations.
How to Install gscan2pdf 2.6.5 in Ubuntu:
The official Gscan2PDF PPA has made the new release packages for all current Ubuntu releases, and their derivatives, including Ubuntu 16.04, Ubuntu 18.04, Ubuntu 19.10, Ubuntu 20.04, Linux Mint 18.x and 19.x
1. Open terminal either by pressing Ctrl+Alt+T on keyboard or by searching for ‘terminal’ from application menu. When it opens, run command to add the PPA:
sudo add-apt-repository ppa:jeffreyratcliffe/ppa
Type user password (no asterisk feedback due to security reason) when it prompts and hit Enter.
2. For those who have a previous release installed, upgrade it through Software Updater:
Or run following command in terminal to install or upgrade the software:
sudo apt update && sudo apt install gscan2pdf
How to Remove:
To remove gscan2pdf, either use your system package manager or run command:
sudo apt-get remove --autoremove gscan2pdf
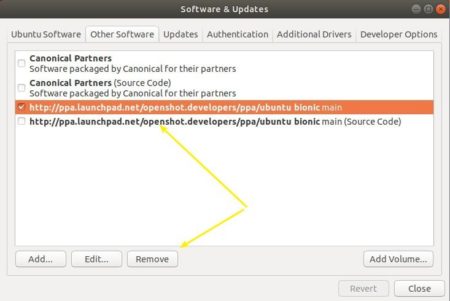
And the PPA can be removed via Software & Updates utility, under Other Software tab.
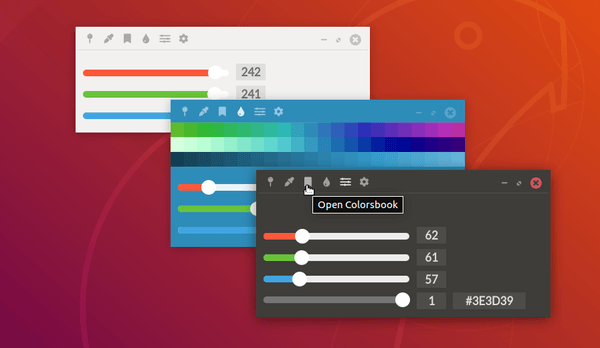
There are quite a few color picker applications for Ubuntu Linux. Colorpicker is another one written with Electron, and works in Linux, Windows, and Mac OS.
The colorpicker tool features:
pin app window to the foreground.
A picker opens an eyedropper to pick a color from your desktop
Colorsbook, a color manager
show three bar of shading — hue bar, natural bar and lightness bar
Toggle Opacity range
Show colors from the clipboard
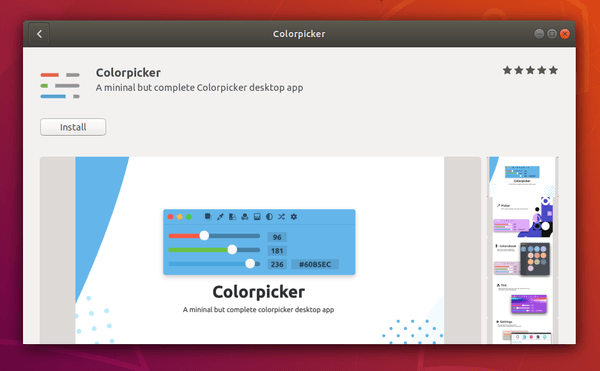
How to Install ColorPicker in Ubuntu:
The software is available in Ubuntu Software as Snap package (runs in sandbox). Simply search for and install colorpicker app and enjoy!
For choice, it offers AppImage for Linux, exe for Windows, dmg for macOS, which are available to download at Github releases page under Assets section.
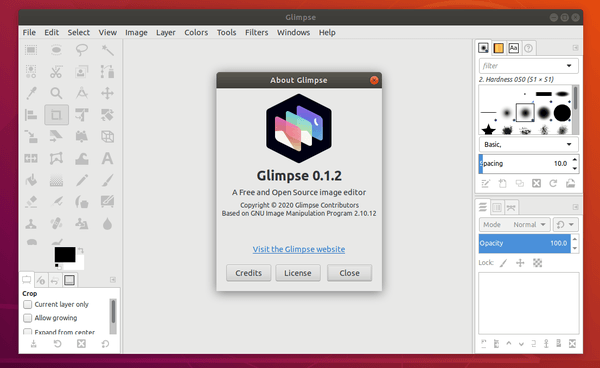
Glimpse, an open source image editor based on GNU Image Manipulation Program (GIMP in short), released version 0.1.2 today.
Due to the problematic word “gimp”, Glimpse forked the well known image editor so there are no potential barriers to using the software in businesses and educational institutions.
Glimpse is small release with minor tweaks and bug fixes. Changes in the release include:
Improved non-English translations and rebranding
Upstream contributors are better credited in the UI
“Color” icon pack and the “Gray” UI theme are back
Rebranded “Gimpressionist” plug-in and text color chooser
Unnecessary “fun” brushes have been removed
How to Install Glimpse 0.1.2 in Ubuntu:
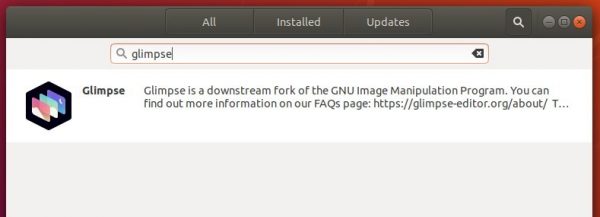
The community build Snap package is available in Ubuntu Software, though it’s not updated at the moment.
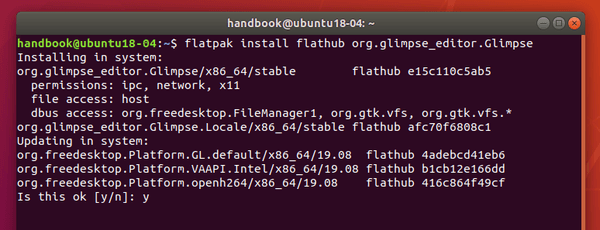
The official Flatpak package has been updated to v0.1.2. And you can do following steps one by one to install it in Ubuntu 18.04 and higher.
1.) Open terminal either from system application menu or by pressing Ctrl+Alt+T on keyboard. When it opens, run command:
sudo apt install flatpak
2.) Add the flathub repository which hosts the flatpak package:
Kodi Media Center 18.6 now is available to install via its official PPA in Ubuntu 16.04, Ubuntu 18.04, Ubuntu 19.10, and their derivatives.
Kodi 18.6 is a maintenance release contains mainly bug-fixes and stability improvements. It’s not officially announced at the moment. According to the changelog, changes in the new release include: add image mime type for support over imagedecoder.raw, fix launching zip and 7z files from MyGames, fix error playing disk image games, remove now superflous HeadSet check, Remove Headphone check, and much more other changes.
How to Install Kodi 18.6 in Ubuntu:
The Kodi stable PPA has made the new release packages for Ubuntu 16.04, Ubuntu 18.04, Ubuntu 19.04, and Ubuntu 19.10.
1. Open terminal either from application menu or by pressing Ctrl+Alt+T on keyboard. When it opens, run command to add the PPA:
sudo add-apt-repository ppa:team-xbmc/ppa
Type user password (no asterisk feedback) when it prompts and hit Enter to continue.
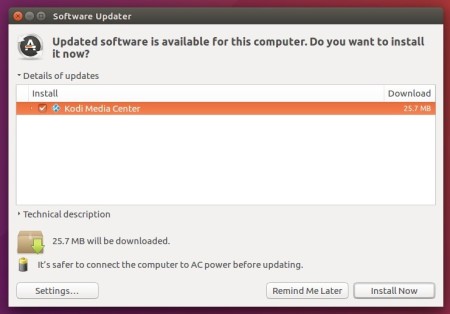
2. Then either upgrading Kodi from an existing version via Software Updater:
or refresh system package cache and install Kodi 18.6 via commands:
sudo apt update

sudo apt install kodi
Uninstall:
To remove the Kodi PPA repository, simply open Software & Updates -> Other Software.
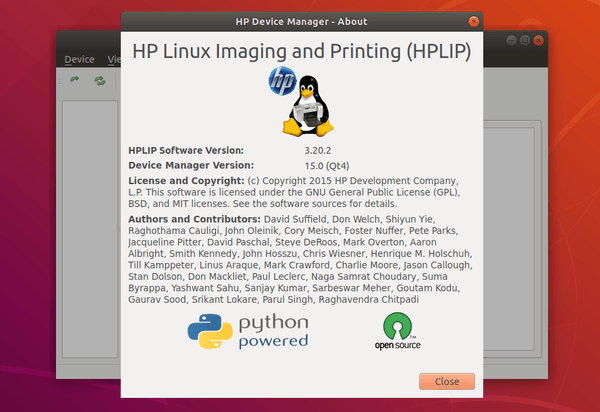
HPLIP 3.20.2, HP developed open source Linux driver for HP printers and scanners, was released today with many new devices and Linux Mint 19.3 support.
HLIP 3.20.2 added support for Linux Mint 19.3 and the following new printers:
HP Neverstop Laser MFP 1200n, 1200nw
HP Neverstop Laser MFP 1201n, 1202nw
HP Laser NS MFP 1005n
HP Neverstop Laser 1000n, 1001nw
HP Laser NS 1020n
HP ScanJet Pro 2000 s2
HP ScanJet Pro 3000 s4
HP ScanJet Pro N4000 snw1
HP ScanJet Enterprise Flow 5000 s5
HP ScanJet Enterprise Flow N7000 snw1
1. To install the software, download the package “hplip-3.20.2.run” from the link below:
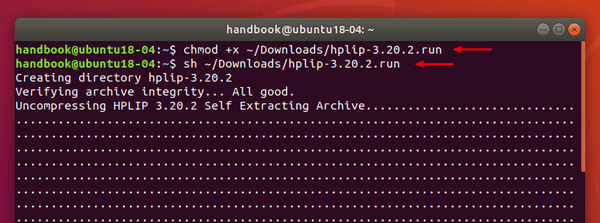
2. Then open terminal (Ctrl+Alt+T) and run command to make the file executable.
chmod +x ~/Downloads/hplip-3.20.2.run
3. Finally run command to run the downloaded file:
sh ~/Downloads/hplip-3.20.2.run
4. Follow the terminal prompts, answer some questions to build and install HPLIP on your system. When everything is done, plug/re-plug your printers and enjoy!
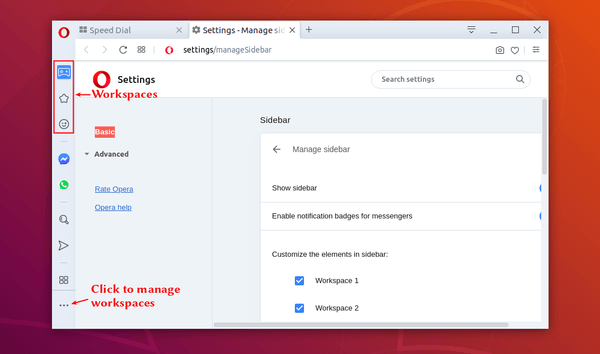
Opera web browser 67 was released a few days ago with tab organization redefined via a new tool called ‘Workspaces’.
Often have your browser with too many tabs open? With Opera 67, opened tabs can be grouped into different workspaces. And you can easily switch workspaces via the icons in the left sidebar.
You can add up to 5 workspaces, name them, and designate their icons. Tabs can be moved to the workspace of your choice via their context (right-click) menu.