![]()

TLP is a free and open-source tool aims to save laptop battery life for Linux laptops. It’s a feature-rich command line utility for saving battery power without the need to dig deeper into technical details
It comes with a default configuration already optimized for battery life, so you may just install and forget it. Nevertheless TLP is highly customizable to fulfill your specific requirements.
TLP features include:
- Kernel laptop mode and dirty buffer timeouts
- AMD/Intel CPU scaling driver operation mode
- Processor frequency scaling and turbo boost
- Intel CPU max/min P-state limits to control power dissipation
- AMD/Intel CPU energy/performance policies (EPP) and dynamic boost
- Intel GPU frequency limits
- AMD GPU power management
- Enable/disable integrated bluetooth, Wi-Fi and WWAN devices
- And much more.
How to Install TLP in Ubuntu:
The software has an official PPA repository so far supports for Ubuntu 22.04, Ubuntu 24.04, Ubuntu 24.10, and Ubuntu 25.04.
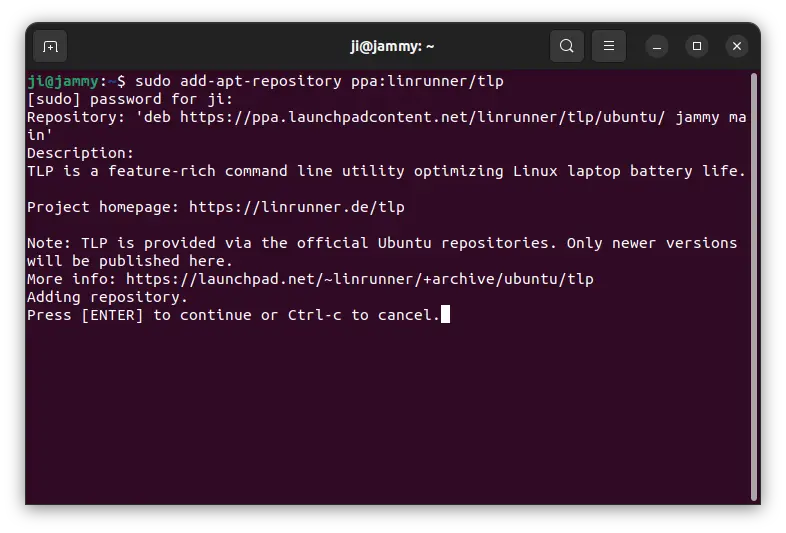
1.) Open terminal either from application launcher or by pressing Ctrl+Alt+T on keyboard. When it opens, run command to add the PPA:
sudo add-apt-repository ppa:linrunner/tlp
Type user password (no asterisk feedback) when it asks and hit Enter to continue.
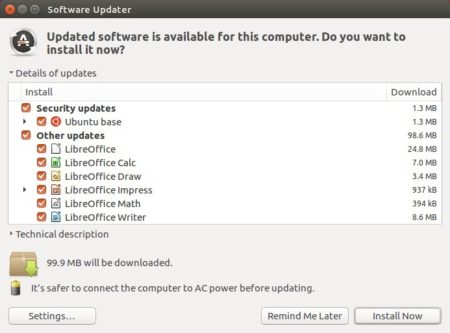
2.) If you already installed an old version, open Software Updater and upgrade the package.
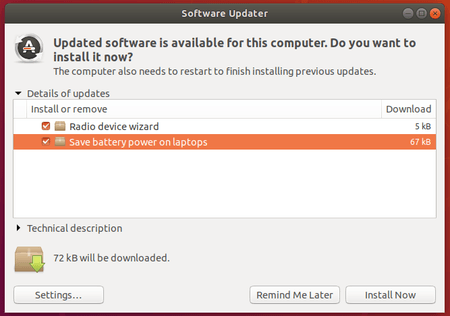

This will also upgrade TLP from the beta release to the latest stable.
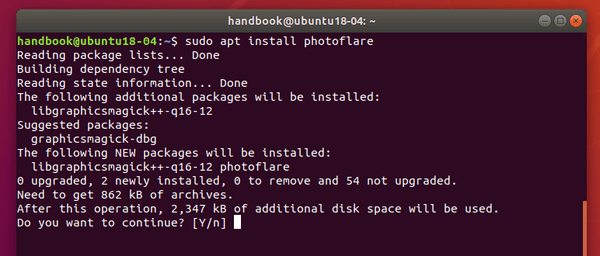
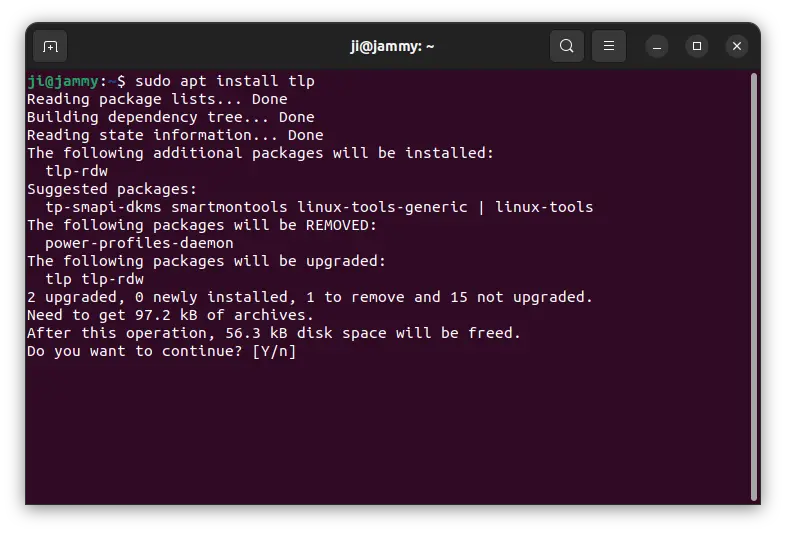
Or run command in terminal to install it for the first time:
sudo apt update && sudo apt install tlp
After installation, just leave it running silently in the background and you’re done.
For advanced users, you may edit the config file /etc/tlp.conf and change the settings according to your need:
sudo gedit /etc/tlp.conf
For Ubuntu 23.10, and Ubuntu 24.04, replace gedit with gnome-text-editor. For non-default desktop environments, use your own text editor, or use nano that works for all. For how to configure the file, see the official documentation.
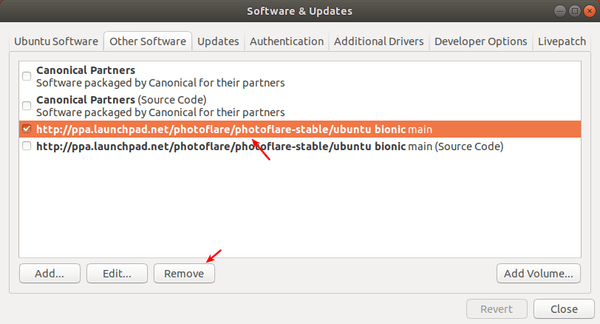
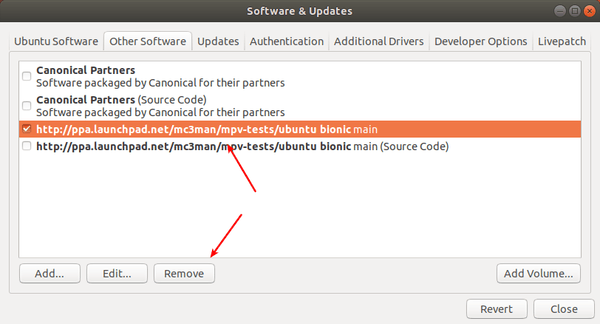
Uninstall TLP:
You can run command in terminal to purge the PPA which also downgrade TLP to the stable version available in Ubuntu main repository:
sudo apt install ppa-purge && sudo ppa-purge ppa:linrunner/tlp
To completely remove the TLP power management tool, run command:
sudo apt remove tlp tlp-rdw