![]()

RedNotebook, desktop diary and personal journaling tool, released version 2.12 today. Here’s how to install it in all current Ubuntu releases.
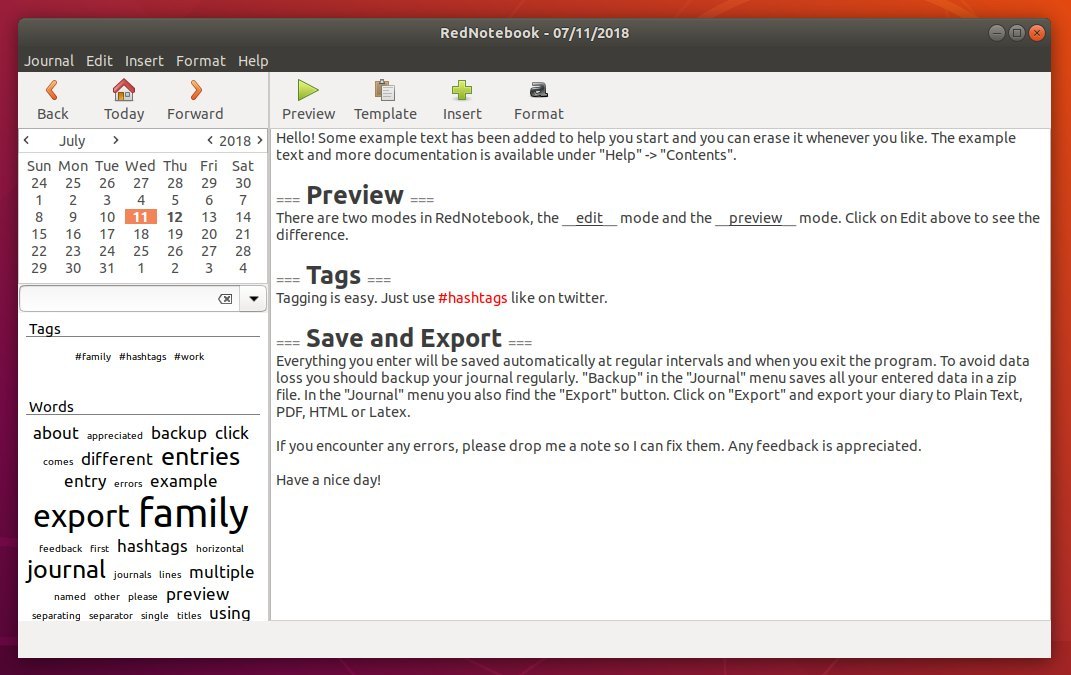
RedNotebook is a free daily journal lets you format, tag and search your entries. You can also add pictures, links and customizable templates, spell check your notes, and export to plain text, HTML or LaTeX.
RedNotebook 2.12 was released today as the latest version that features:
- Allow linking between days with dates like 2019-02-14 and ‘[named links 2019-02-14]’
- Allow opening statistics dialog multiple times in one session.
- Warn about outdated backups every week by default.
- Increase default width of left panel to ensure that the calendar is fully visible.
RedNotebook official PPA contains the latest packages for Ubuntu 16.04, Ubuntu 18.04, Ubuntu 19.04, Ubuntu 19.10, Linux Mint 18.x, 19.x, and even Ubuntu 20.04.
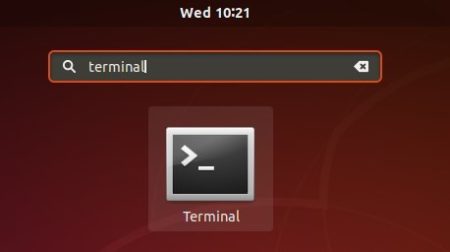
1. Open terminal either via Ctrl+Alt+T keyboard shortcuts or by searching for ‘terminal’ from application menu.

2. Copy and paste following command into terminal and hit run to add the RedNotebook PPA:
sudo add-apt-repository ppa:rednotebook/stable
Type user password (no asterisk feedback due to security reason) when it prompts and hit Enter.


3. Finally check updates and install the desktop journal software by running following 2 commands one by one:
sudo apt update

sudo apt install rednotebook
Ubuntu 18.04 and higher can skip sudo apt update command since it’s already done while adding PPA.
Uninstall:
To remove RedNotebook desktop journal, open terminal and run command:
sudo apt remove --autoremove rednotebook
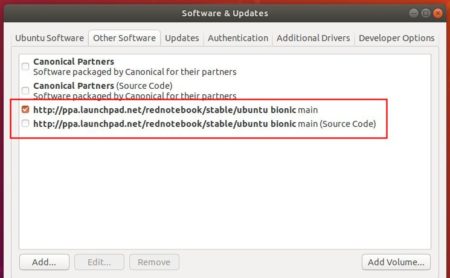
And remove the PPA via Software & Updates utility -> Other Software tab.