![]()
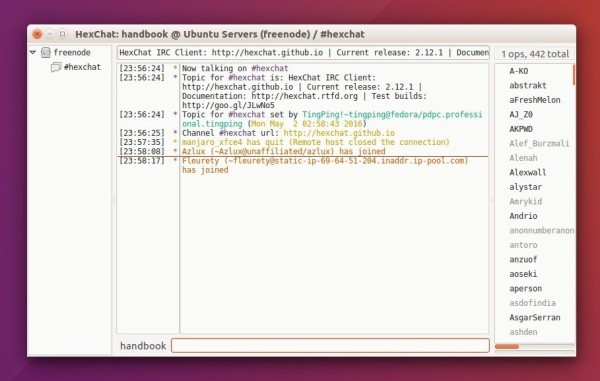
HexChat IRC client 2.14.3 was released a day ago with important bug-fixes. Here’s how to install it in Ubuntu.
It has been more than one year since the last release. HexChat 2.14.3 was released with following changes:
- fix various incorrect parsing of IRC messages relating to trailing parameters
- fix SASL negotiation combined with multi-line cap
- fix input box theming with Ubuntu’s new default Yaru theme
- python: Work around Python 3.7 regression causing crash on unload
- sysinfo: Add support for /etc/os-release
- sysinfo: Ignore irrelevant mounts when calculating storage size
How to Install HexChat 2.14.3 in Ubuntu:
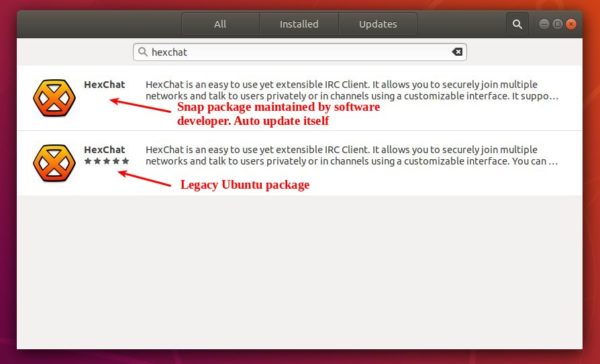
The software is available as both Snap and Flatpak packages, unfortunately no PPA with recent .deb packages.
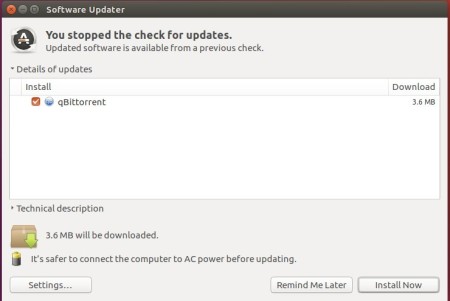
HexChat Snap package (runs in sandbox) maintained by the principal developer is available to install in Ubuntu Software.
Note the snap is still 2.14.2 at the moment, though it will auto-update to 2.14.3 once the new package published.
The official HexChat Flatpak package (also runs in sandbox) has been updated to 2.14.3. You can install it via following steps:
1. Open terminal either by pressing Ctrl+Alt+T on keyboard or from Application launcher.
If you’re first time installing a Flatpak package, run following commands to setup the framework.
- Install flatpak framework via command:
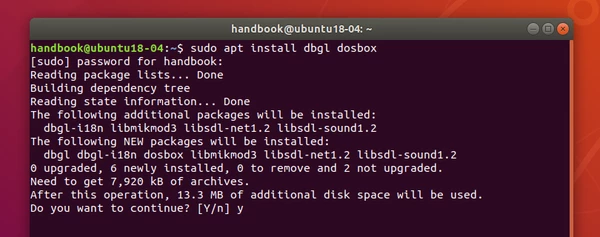
sudo apt install flatpak

- Then add Flathub, the official repository that hosts a large list of Flatpak packages:
flatpak remote-add --if-not-exists flathub https://flathub.org/repo/flathub.flatpakrepo

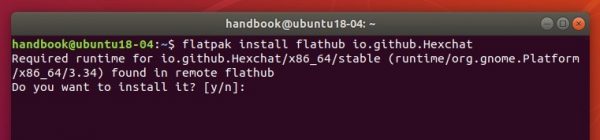
2. Finally install HexChat Flatpak package via command:
flatpak install flathub io.github.Hexchat
After installation, open the software either from application menu or by running command:
flatpak run io.github.Hexchat
(Optional) To remove the Flatpak package, simply run command in terminal:
flatpak uninstall flathub io.github.Hexchat