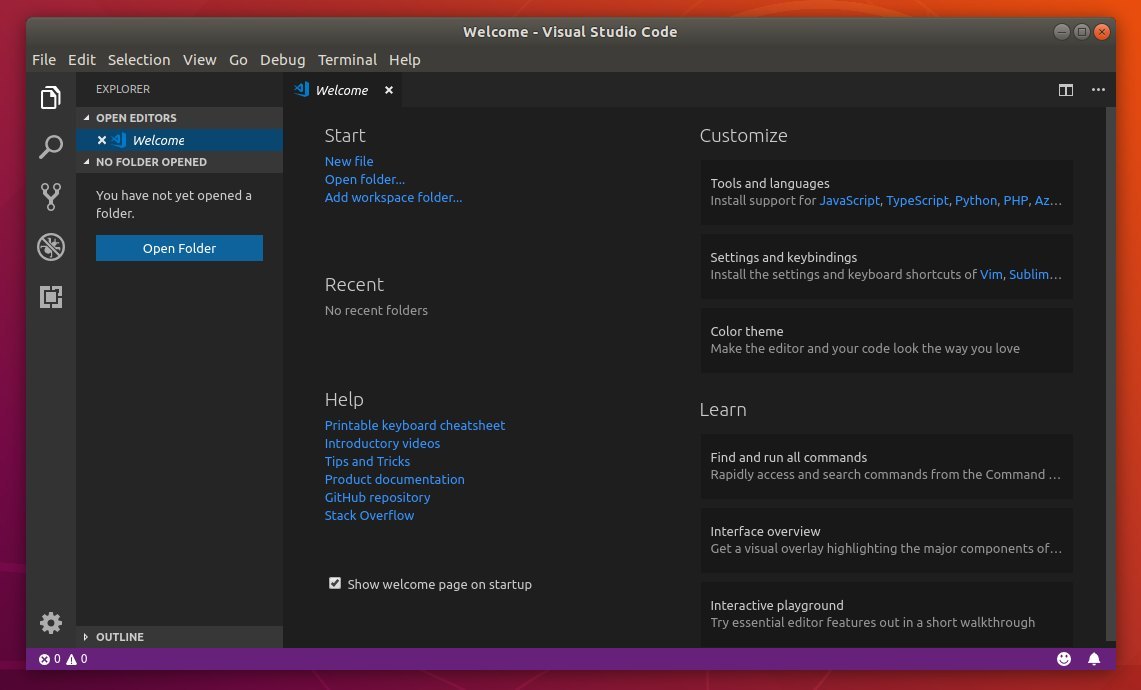
Code 1.36, the June 2019 release of Visual Studio Code, was released. The new release has updated to Electron 4.x, means it will no longer run on Linux 32-bit.
VS Code 1.36 release highlights:
- Context menu for the status bar to hide / show individual entries.
- Indent guides now available in File Explorer, Search view, Debug views, etc.
- Select Default Shell command for Mac OS and Linux.
- Control the order of task and subtask execution.
- New debug command Jump to Cursor
- New setting controls whether word wrap is enabled in the Debug Console.
- New Java installer.
- New extension integrates JS/TS nightly builds.
- Remote Development (Preview) improvements
How to Install VS Code 1.36 in Ubuntu:
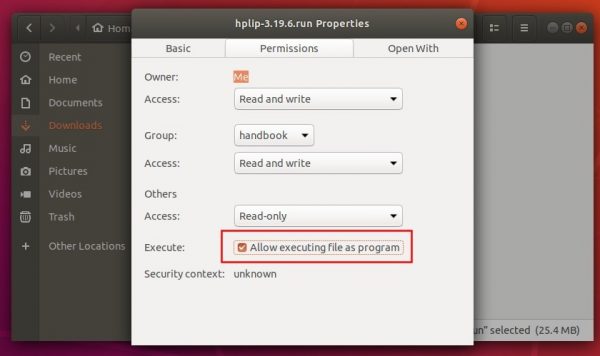
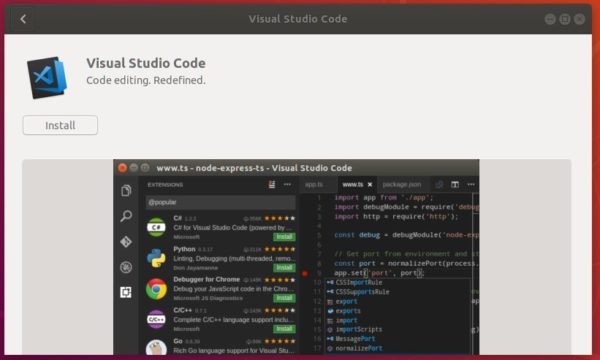
You can either download and click install the Ubuntu .deb from VS code website:
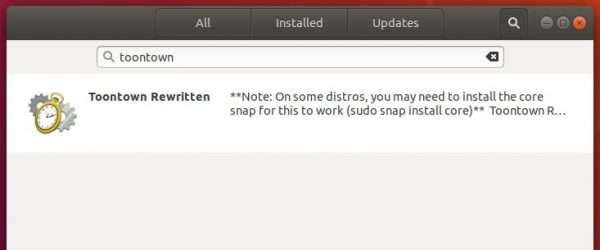
Or install the official Snap (containerized software package) from Ubuntu Software:

For Ubuntu 16.04, the snap package is not integrated into Ubuntu Software.
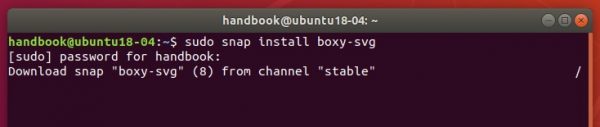
Open terminal (Ctrl+Alt+T) and run command to install snapd first:
sudo apt-get install snapd


Then install the VS Code IDE via command:
sudo snap install code --classic


Uninstall:
Depends on your system edition, remove VS Code either via Software Center or run command in terminal:
sudo snap remove code