Mozilla Firefox 48.0 was released on Tuesday. The biggest change is that Electrolysis (E10S), the multiple processes architecture, is beginning to be enabled by default.
Electrolysis is the project name for Mozilla’s efforts to split Firefox into multiple processes to improve responsiveness, stability, and security. The first phase of this work was to split Firefox into a UI process and a content process.
Besides enabling E10S for some users. Firefox 48 also features:
- Download Protection: potentially unwanted software and uncommon downloads.
- Add-ons that have not been verified and signed by Mozilla will not load
- Better Canvas performance with speedy Skia support for Linux
- WebRTC embetterments:
- Delay-agnostic AEC enabled
- Full duplex for GNU/Linux enabled
- ICE Restart & Update is supported
- Cloning of MediaStream and MediaStreamTrack is now supported
- Searching and various security improvements, and more at release page.
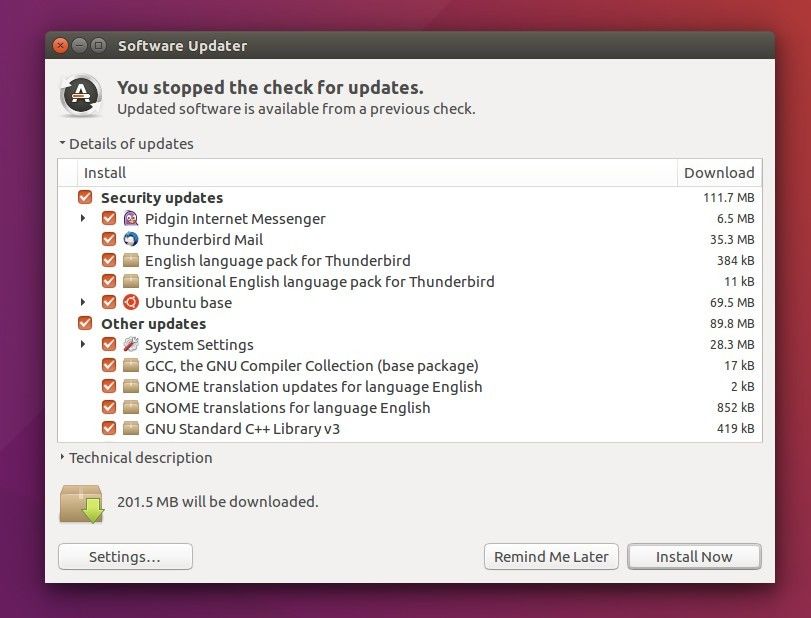
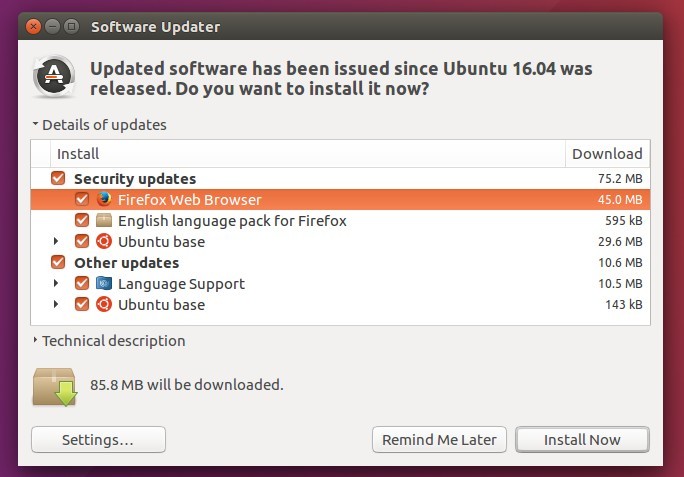
How to upgrade to Firefox 48 in Ubuntu:
The new Firefox release will be made into Updates/Security repositories very soon, available for Ubuntu 16.04, Ubuntu 14.04, and Ubuntu 12.04. (Check out THIS PAGE)
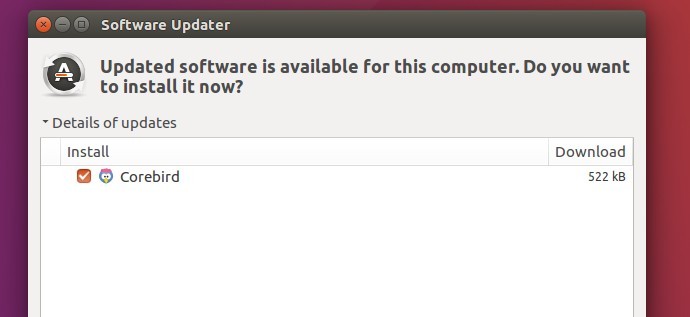
At that time, just launch Software Updater and install available updates after checking for updates.
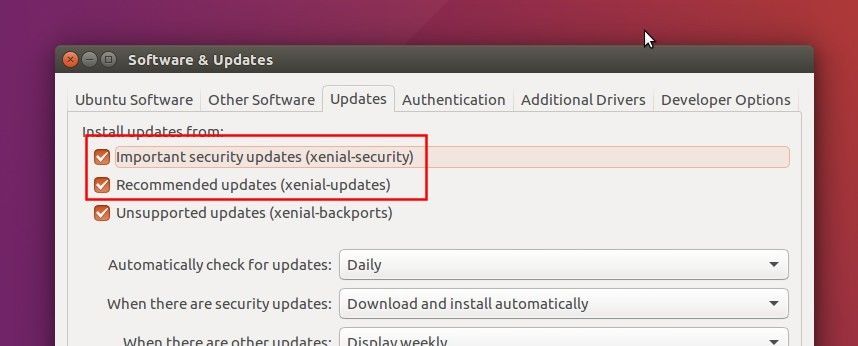
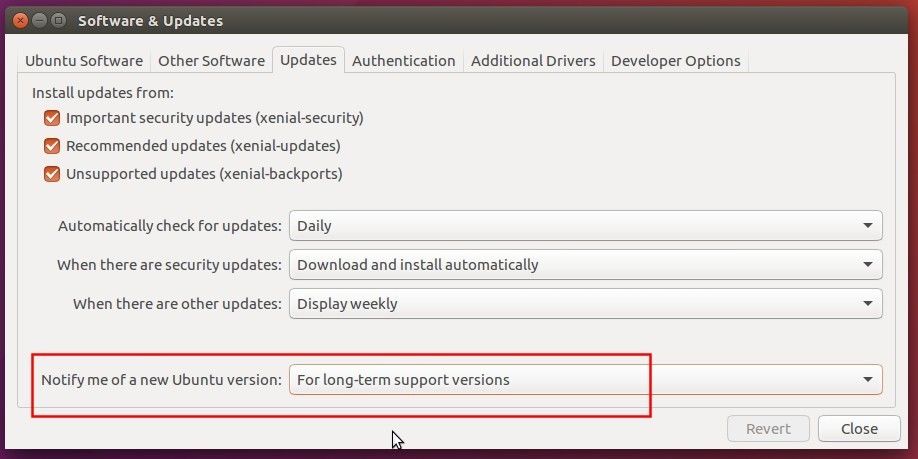
If for some reason you don’t receive the updates for Firefox 48, launch Software & Updates and:
- select Download from “Main Server” in first tab.
- make sure the security and updates repositories enabled in Updates tab.