![]()
MPV is a free and open-source media player forked from MPlayer2. It was started to modernize MPlayer by adding modern features, and removing unmaintainable code and dropping support for very old systems.
MPV uses FFmpeg or Libav for decoding, it can be used as a library in other applications (e.g., SMPlayer, and Gnome MPV).
Notable changes from MPlayer:
- Through youtube-dl, MPV natively supports playback of HD content on YouTube and over 300 other supported sites.
- include customizable video output driver based on OpenGL that supports for controlling playback quality
- MPV can be used directly by other applications through a library interface called libmpv.
- a new video encoding mode that can save playing files under different formats.

How to Install MPV in Ubuntu:
MPV is available in official Ubuntu repositories, but it’s old and Canonical does not provide updates for it. Besides building from the source code, you can install the latest version from this PPA.
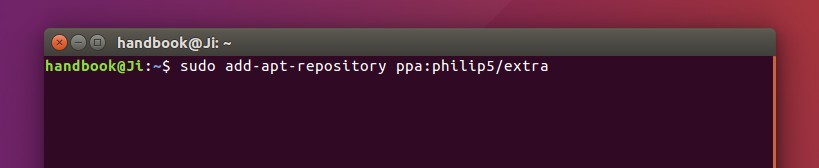
1. To add PPA, open terminal (Ctrl+Alt+T) and run the command:
sudo add-apt-repository ppa:mc3man/mpv-tests

2. Then upgrade Mpv using Software Updater or just run the command in terminal to install/upgrade it:
sudo apt update && sudo apt install mpv
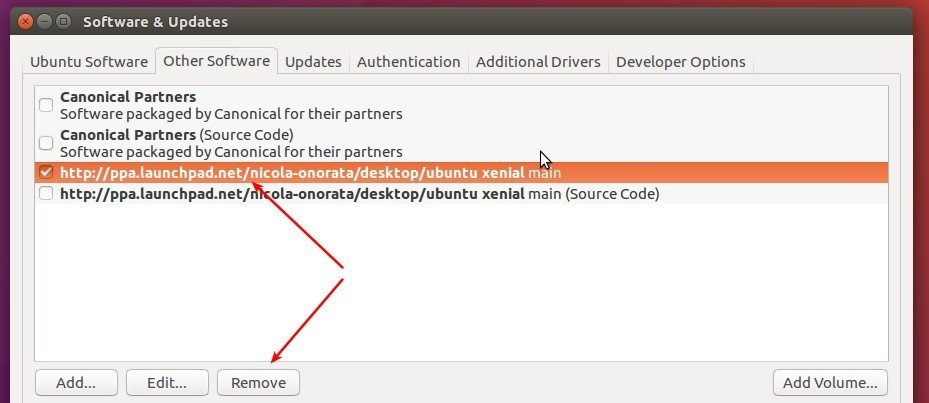
3. (Optional) To remove the PPA, go to Software & Updates -> Other Software tab. And remove mpv via command:
sudo apt remove mpv && sudo apt autoremove