Audacious, an open-source descendant of XMMS audio player, has reached a new stable 3.7 series with some new features and various bug-fixes.
New features in Audacious 3.7:
- Playlists can be shuffled by whole albums rather than single tracks.
- Internet streams can be recorded while playing via a simple record button (GTK+ only).
- The playlist export window displays supported formats in a drop-down list (GTK+ only).
- A new, unified window has been added for managing equalizer presets (GTK+ only).
- The user interface automatically adjusts to be more usable on high-resolution screens (GTK+ only).
- An “Edit Lyrics” option has been added to the LyricWiki plugin, which opens the edit page for the current song.
- Guessing of missing tag fields can be disabled.
- Decoding and playback of standard input is possible with e.g. echo file.mp3 | audacious –
- QT interface:
- several new appearance settings, many other small fixes and improvements
- Plugins port to QT: Winamp Classic Interface, Playlist Manager, Search Tool, Status Icon.
There are also various bugfixes and other changes in the new release, see the release note for details.
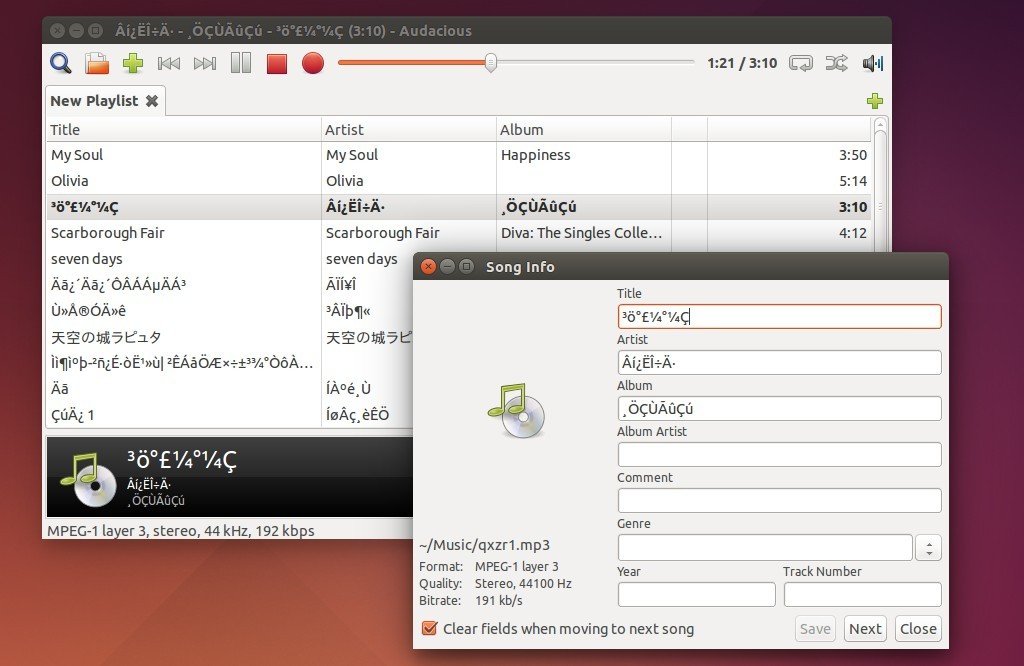
Audacious default interface

audacious winamp interface
How to Install / Upgrade Audacious in Ubuntu:
Webupd8 Team is maintaining a PPA with latest audacious packages for all current Ubuntu releases (Ubuntu 15.10, Ubuntu 15.04, and Ubuntu 14.04), and their derivatives.
1. Add the PPA repository.
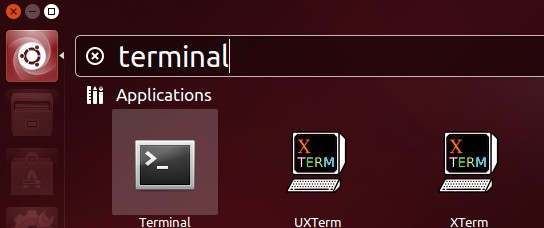
Open terminal from Unity Dash, App Launcher, or via Ctrl+Alt+T shortcut key. When it opens, run command:
sudo add-apt-repository ppa:nilarimogard/webupd8

Type in your password when it asks (type in mind and hit enter, there’s no display when typing password).
2. After added PPA.
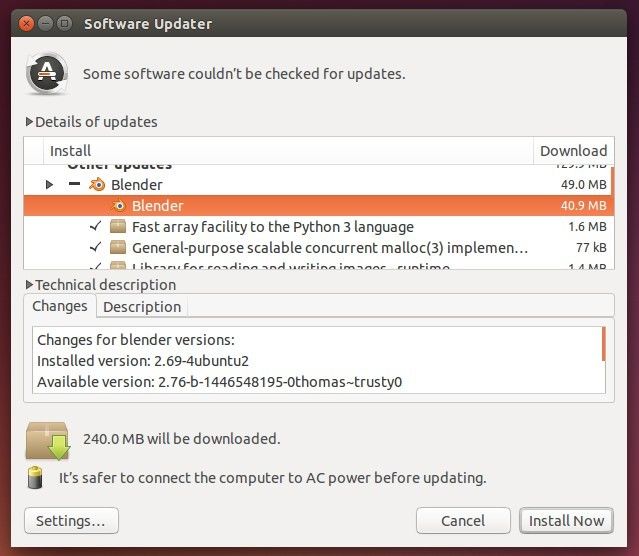
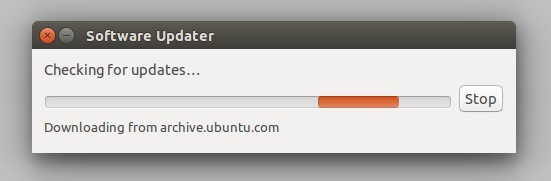
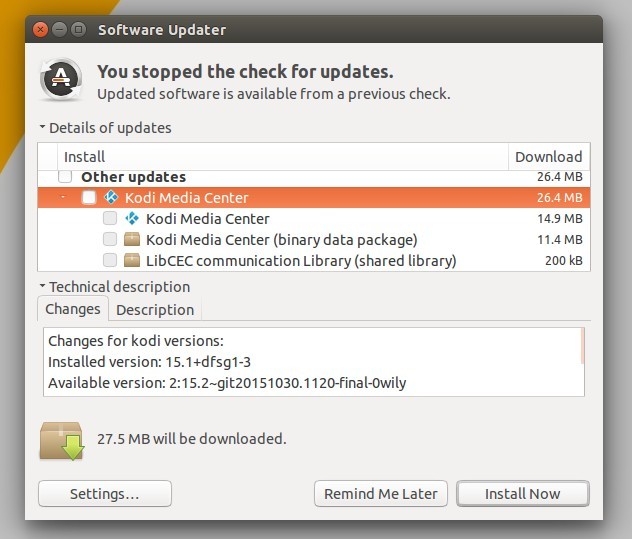
Launch Software Updater if you have a previous release installed, you’ll see Audacious 3.7 in the update list after checking for updates.
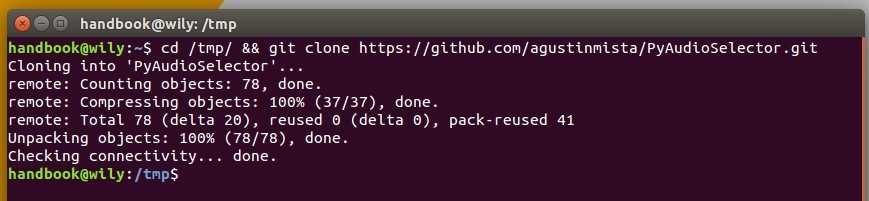
Or, run below commands one by one in terminal to check for updates, and install the player:
sudo apt-get update

sudo apt-get install audacious
Once installed, launch audacious GTK 2 or Qt version from the Dash.

3. (Optional) To remove the PPA, launch Software & Updates and then go to Other Software tab. And use Ubuntu Software Center to remove audacious player if you want.