qBittorrent bittorrent client released new stable version 4.2.0 a few days ago. Here’s how to install it in Ubuntu 18.04, Ubuntu 19.04, and Ubuntu 19.10.
qBittorrent 4.2.0 is a new stable series that contains following new features:
- Support for Libtorrent 1.2.x series
- Use PBKDF2 for the GUI lock. You will need to set your password again.
- Allow setting larger checking memory usage in GUI
- Add “Socket backlog size” option
- Add “File pool size” option
- Allow styling with QSS stylesheets
- Add “Tracker entries” dialog
- Add “Remove torrent and its files” option to share ratio limiting.
- Reallow to pause checking torrents
- Reallow to force recheck torrents that aren’t fully started
- Add “Preview file” double-click action.
There are also various bug-fixes, a lot of WEB UI changes, and other changes. See the release note for details.


How to Install qBittorrent 4.2.0 in Ubuntu:
The official qBittorrent PPA has built the new release packages for all current Ubuntu releases (though the 16.04 build is broken).
1. To add the PPA, open terminal either via Ctrl+Alt+T keyboard shortcut or by searching for “Terminal” from application menu. When it opens, run command:
sudo add-apt-repository ppa:qbittorrent-team/qbittorrent-stable
Type user password (no asterisk feedback) when it prompts and hit Enter to continue.


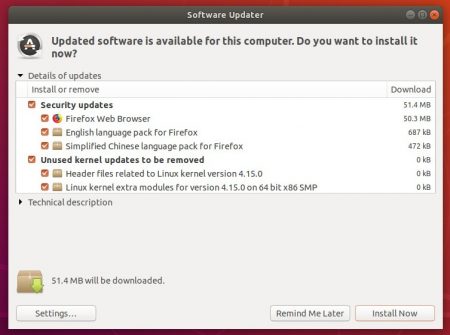
2. Then either upgrade qBittorrent from a previous release via Software Updater,
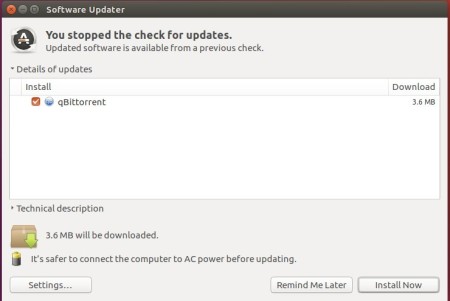

or run following commands to install /upgrade it from terminal:
sudo apt update && sudo apt install qbittorrent
Uninstall:
To remove qBittorrent PPA, either go to Software & Updates -> Other Software, or run command in terminal:
sudo add-apt-repository --remove ppa:qbittorrent-team/qbittorrent-stable
To remove the bittorrent client, either use your system package manager or run command:
sudo apt-get remove --autoremove qbittorrent