![]()
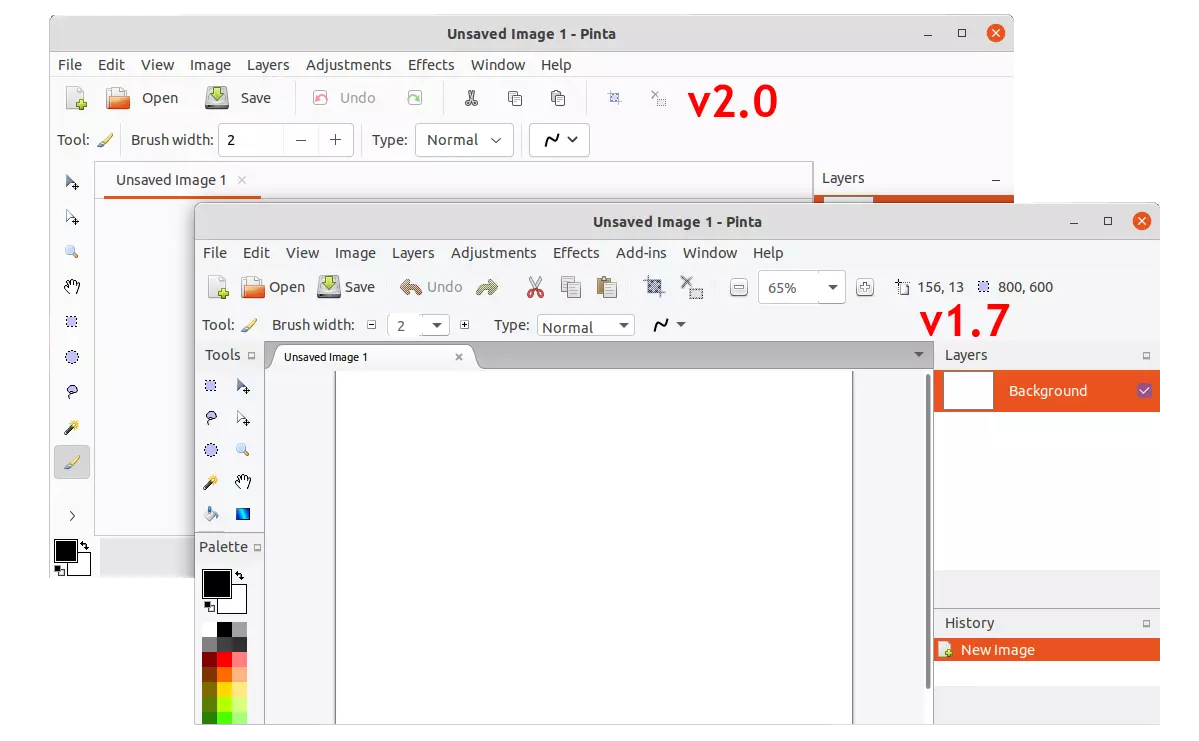
The Paint.NET inspired bitmap image drawing and editing software Pinta 2.0 was released a few days ago.
Pinta is finally ported to GTK3, though GNOME now is shifting to GTK4. Along with .NET6 the UI now looks more native in Ubuntu:
- The tab bar looks more native in GNOME.
- Use the standard GTK font chooser (pop up dialog) instead of drop-down selection for Text tool.
- Change several tools to use spin buttons rather than editable combo boxes.
- The position / selection information, zoom, and the color palette now moved to bottom status bar.
- The tool palette displays in a single column with “>” button in the bottom to reach more tools.
- The “Open Recent menu” is gone. And, “Add-ins” has been removed.
- The color palette now remember recently used colors.
- The primary and secondary palette colors are now saved in the application settings
- And the canvas can now be panned by clicking and dragging with the middle mouse button

How to Install Pinta 2.0 in Ubuntu Linux:
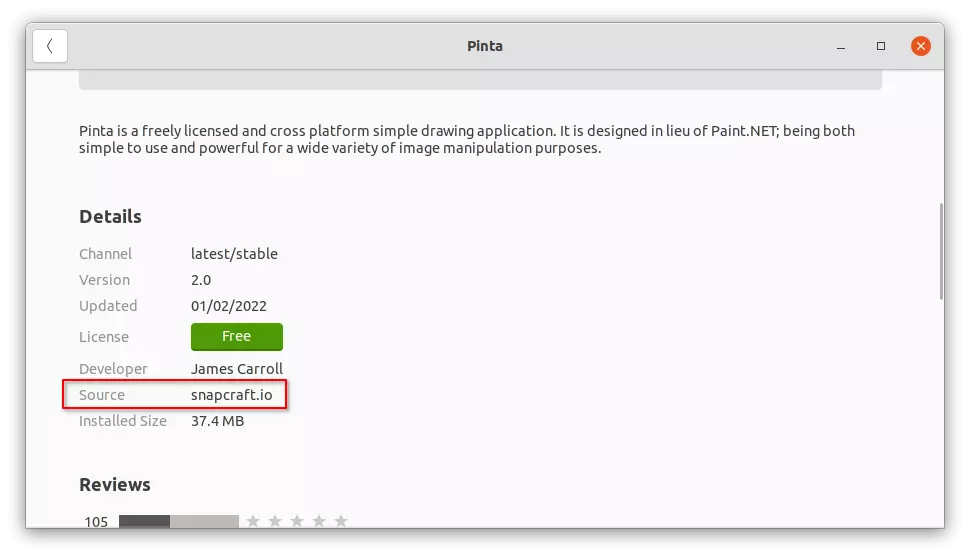
Pinta is available to install as 3 different package formats: native DEB, universal Flatpak and Snap. You may choose one to install or install all of them side by side (will cause duplicated app icons).
Option 1: Snap
The Pinta snap package is available to install from Ubuntu Software. And, if you already install the package before, it should now update to v2.0 automatically.
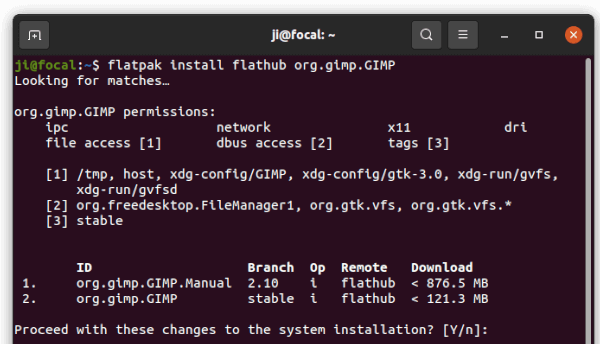
Option 2: Flatpak
Like Snap, Flatpak is another universal package format runs in sandbox. It installs updates automatically but takes more disk space.
Ubuntu user may install Pinta as Flatpak by running the commands below one by one:
- Install Flatpak daemon:
sudo apt install flatpak
- Install Pinta from flathub repository:
flatpak install https://dl.flathub.org/repo/appstream/com.github.PintaProject.Pinta.flatpakref
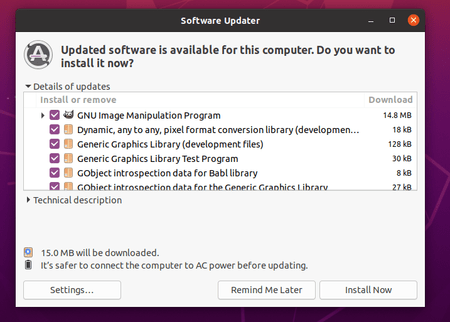
Option 3: Classic Deb package:
For those prefer the native deb packages, Pinta has a stable PPA though NOT updated at the moment.
User may press Ctrl+Alt+T on keyboard to open terminal, and run command to add the PPA:
sudo add-apt-repository ppa:pinta-maintainers/pinta-stable

Once the PPA is updated, Pinta 2.0 will be available to upgrade along with other system packages in Software Updater.
Uninstall Pinta:
To remove Pinta Snap and Deb packages, use Ubuntu Software or run one of the commands below:
sudo snap remove --purge pinta
sudo apt remove --autoremove pinta
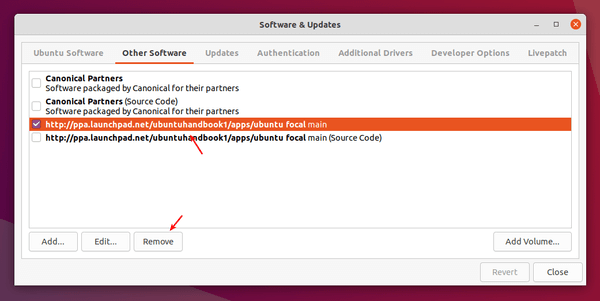
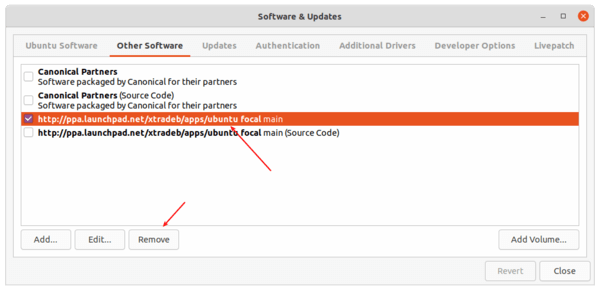
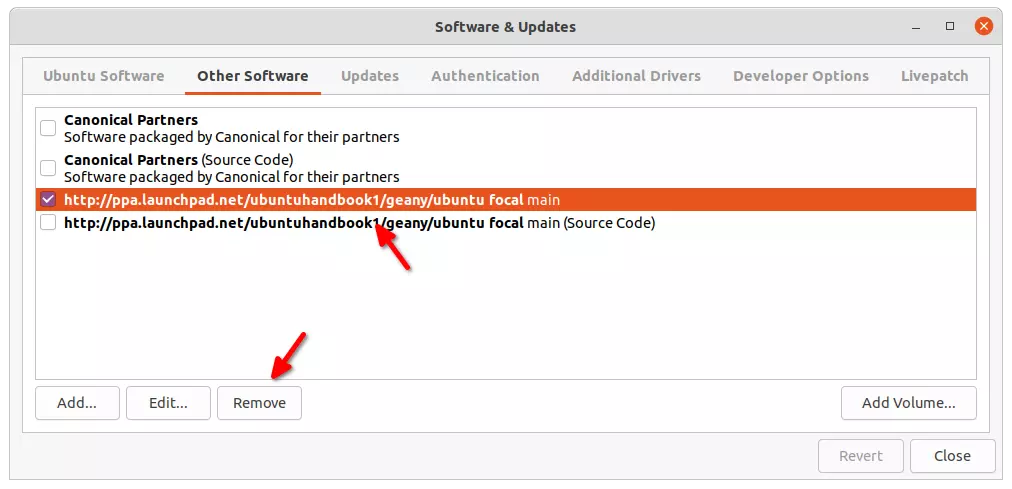
And remove the PPA using “Software & Updates” tool under “Other Software” tab.
For the Flatpak package, use command:
flatpak uninstall --delete-data com.github.PintaProject.Pinta
And clear useless run-time libraries via flatpak uninstall --unused.