This simple tutorial shows how to install Conky Manager 2, the graphical front-end for Conky system monitor, in Ubuntu 20.04, Ubuntu 22.04, Ubuntu 24.04, and Ubuntu 25.04
Conky is a light-weight system monitor for Linux Xorg, that displays CPU, GPU, and disk usage, network speed, weather, date and time and other information on desktop as widget.
And Conky Manager is a graphical tool that manages Conky config files. It provides options to start/stop, browse and edit Conky themes installed on the system.
The software was originally developed by by teejee2008 (Tony George), but not been updated for quite a few years. And Conky Manager 2 takes the job to make it work on recent Linux systems with updated Conky versions support.
Install Conky Manager 2 Ubuntu via PPA:
For those still using conky widget to monitor CPU/RAM, network usage, and weather information, I’ve create an unofficial PPA contains the most recent packages for Ubuntu 22.04 and Ubuntu 20.04, with both 64-bit and arm64/armhf OS types support.
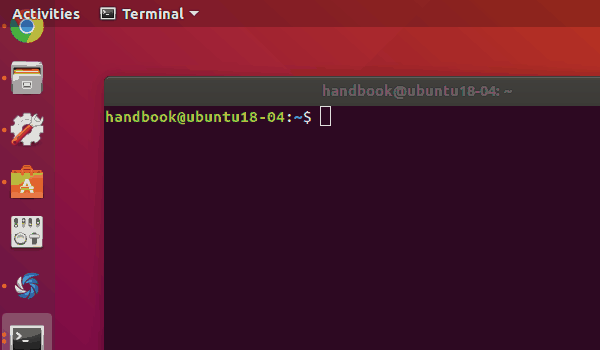
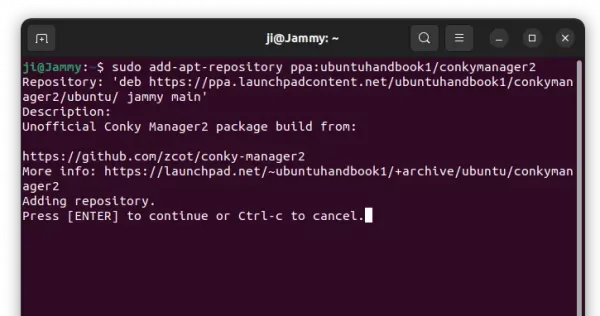
1.) First, open terminal by either pressing Ctrl+Alt+T on keyboard, or searching from ‘Activities’ overview screen. When it opens, run command to add the PPA:
sudo add-apt-repository ppa:ubuntuhandbook1/conkymanager2
Type user password (no asterisk feedback) for sudo prompts and hit Enter to continue.
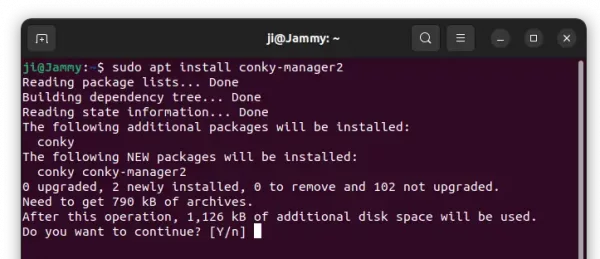
2.) Then install Conky Manager2 and conky as dependency library via command:
sudo apt install conky-manager2
NOTE: Linux Mint needs to manually update cache via sudo apt update command first.
Start and use Conky Manager 2:
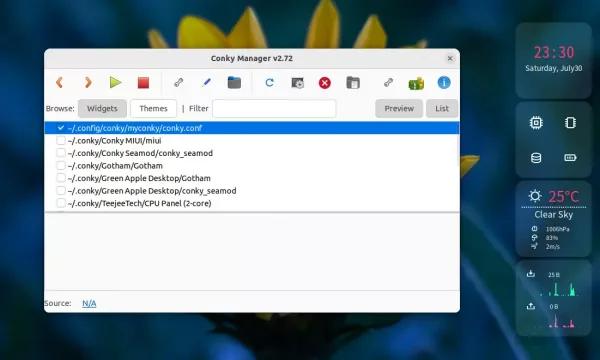
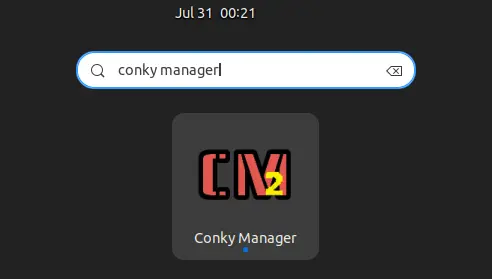
Once installed, search for and launch Conky Manager app from the activities overview screen (or from start menu depends on your DE).
The app comes with some default themes, though may not well configured for your desktop. Tick or un-tick any item in the list will start or stop conky with that theme, though you may also use the tool bar buttons.
And, you can use the “spanner” icon to config theme options, including screen location, size, background transparency. Advanced users may also click on the ‘pencil‘ icon to edit it via configuration file.
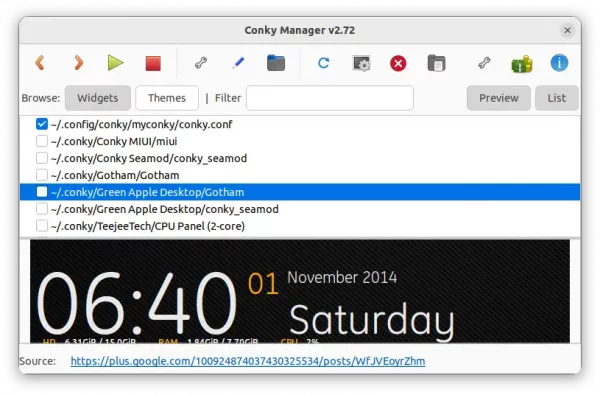
There are also tons of Conky themes on the web. You can download one, and install it easily by clicking the second folder icon (with a little emblem).
Uninstall Conky, Conky Manager:
For any reason, you can easily remove the Ubuntu PPA by running the command below in terminal:
sudo add-apt-repository --remove ppa:ubuntuhandbook1/conkymanager2
If you want to remove Conky as well as Conky manager run command:
sudo apt remove --autoremove conky conky-manager2