![]()

KeePass Password Safe 2.40 was released a few days ago with some new features and various improvements.
KeePass 2.4.0 release highlights:
- Added automatic completion support for the user name box and the auto-type sequence boxes in the entry editing dialogs
- Added automatic completion support for the URL and user name boxes in the ‘Open From URL’ dialog
- Added option ‘Group path’ in the ‘Find’ dialog
- Added read-only mode for the entry string dialog
- The internal data viewer now supports zooming images via Ctrl+Add, Ctrl+Subtract, and the mouse wheel with Ctrl.
- Added option ‘Remember master password (in encrypted form) of a database while it is open’
- Enhanced compatibility check for DLL plugins.
- Added URL opening event for plugins.
- On Unix-like systems: added support for opening the local help file with KChmViewer.
- Added workaround for initial input focus problem in the master key prompt dialog.
- Added workaround for Mono not always raising the FormClosed event properly.
- TrlUtil now remembers the last translation file directory.
- There are also various bug-fixes and code optimizations.
How to Install the Latest KeePass in Ubuntu:
The software package has been made into an Ubuntu PPA available for all current Ubuntu releases and derivatives.
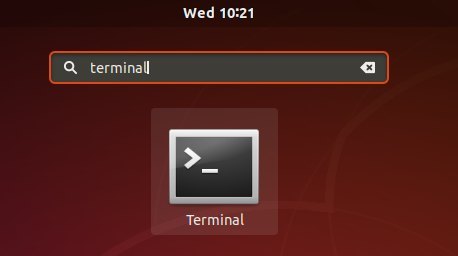
1. Open terminal via Ctrl+Alt+T or by searching for “Terminal” from app launcher. When it opens, run following commands to add the PPA:
sudo add-apt-repository ppa:ubuntuhandbook1/keepass2
Type user password (no visual feedback due to security reason) when it asks and hit Enter.


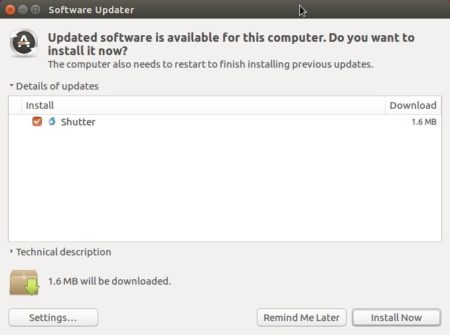
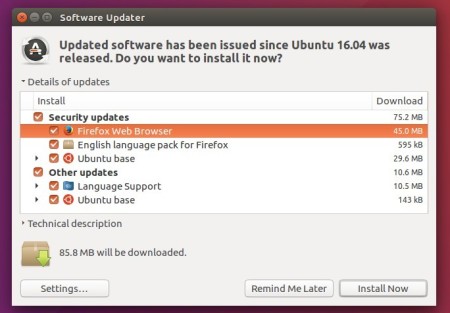
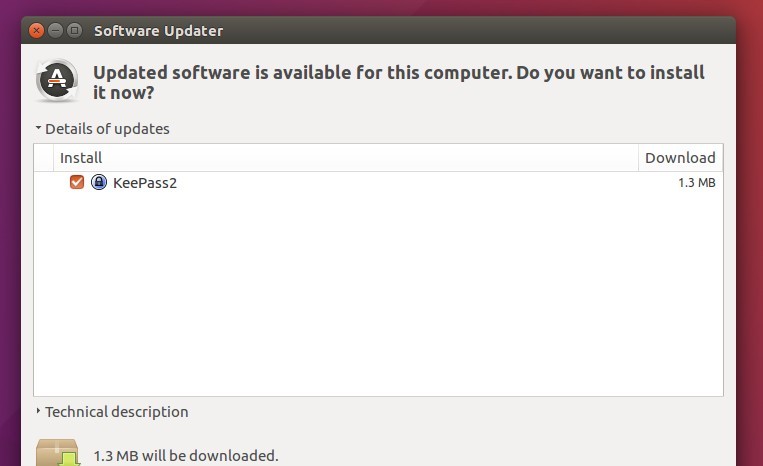
2. Then upgrade KeePass password safe via Software Updater if you have a previous version installed:
Or run commands to install / upgrade the software:
sudo apt-get update && sudo apt-get install keepass2
Uninstall:
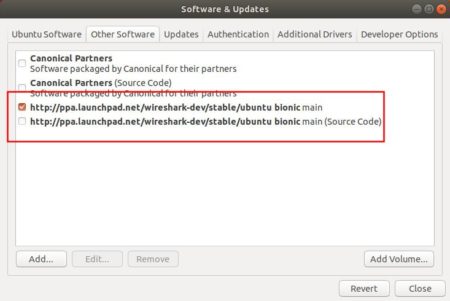
The PPA repository can be removed via Software & Updates utility under Other Software tab. To remove KeePass password safe, simply run command:
sudo apt-get remove --autoremove keepass2