Free-software planetarium Stellarium 0.20.3 was released a day ago with numerous changes. Here’s how to install it in Ubuntu 18.04, Ubuntu 20.04 via PPA.
Stellarium 0.20.3 fixed nutation and, with it, season beginning times, included many changes in AstroCalc tool, Oculars and Satellites plugins, and updated DSO catalog.
Changes in the new release include:
- Add B pass band for compute photometric values of nebulae
- Add show standard magnitude and RCS info for satellites in the GUI of Satellites plugin
- Add new filters for satellites
- Add GUI buttons to define object information font color at daylight and for overwrite mode
- Add 2 new columns for AstroCalc/Positions tool
- Add editable keyboard shortcut for buttons in AstroCalc tools
- Add new initial time steps in AstroCalc/Phenomena tool
- Add option to use on the screen star designations only
- Add option in the GUI to define color of text in Equation of Time plugin
- Add new button into Shortcut Editor and Add new tool to restoring defaults
- Add action to restart trails
- Add “current vertical” line
- Add support custom time steps for ephemeris in AstroCalc/Ephemeris tool
- Add ability to show several objects’ ephemerides in AstroCalc/Ephemeris tool
- Add using texture for satellite, when he crossing of the Moon or the Sun
- Add new groups of satellites: all new groups of satellites based on their orbital properties
- Add pixel grid for sensors to Ocular plugin
- Add show a binning info for CCD to Oculars GUI Panel
- Add option into GUI to toggle drawing halo around the Moon
- Add new names for planetary features
- Add star names for Western (O. Hlad) sky culture
- Add CLI option to start Stellarium in scaling GUI mode
- Add note to S&T sky culture
- Add support of new type of labels (labelEquatorial) for scripting engine
- Add 3 new groups of satellites
- Add buttons to define special colors for satellites in Satellites plugin
- Add International Designator info into the GUI of Satellites plugin
- Add epoch of the TLE info into GUI of Satellites plugin

How to Install Stellarium 0.20.3 in Ubuntu:
The official Stellarium PPA contains the latest packages for Ubuntu 18.04 and Ubuntu 20.04
1. Open terminal either by pressing Ctrl+Alt+T on keyboard or by searching for ‘terminal’ from application menu. When it opens, run command to add the PPA:
sudo add-apt-repository ppa:stellarium/stellarium-releases
Type user password (no asterisk feedback) when it prompts and hit Enter.


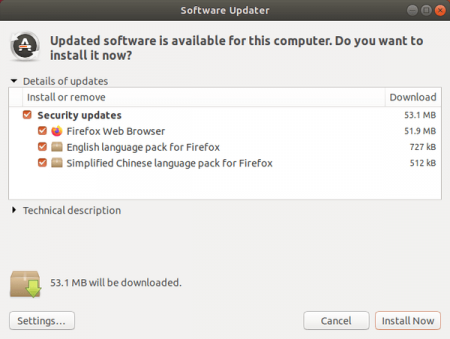
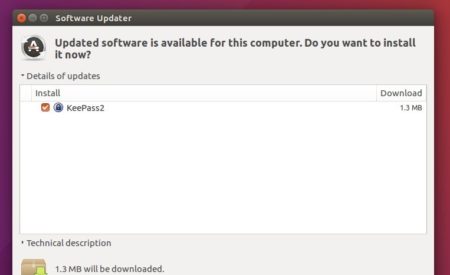
2. Then either upgrade Stellarium from an old version with Software Updater utility:


Or run following commands to install or upgrade the software from terminal:
sudo apt update

sudo apt install stellarium
Uninstall:
To remove the software, either use your system package manager or run command:
sudo apt-get remove --autoremove stellarium
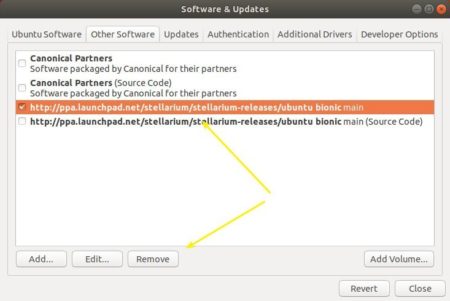
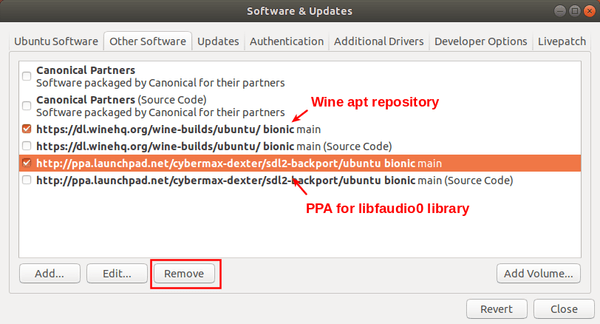
And remove the PPA via “Software & Updates” utility under Other Software tab.