![]()
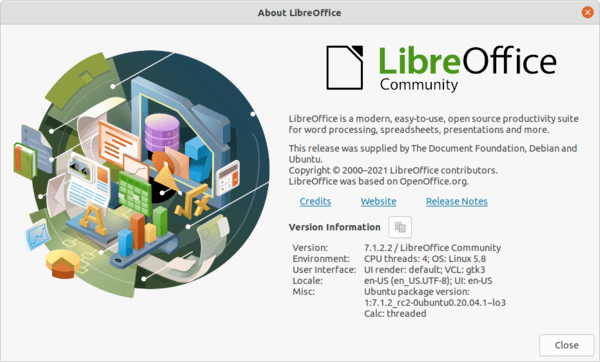
LibreOffice office suite 7.1.2, the second bug-fix release for the 7.1 series, now is available to install in Ubuntu 18.04, Ubuntu 20.04, Linux Mint 20, Ubuntu 20.10 via its official PPA.
LibreOffice 7.1.2 comes with 61 bug-fixes. Here are some of them according to the changelog:
- Paste sometimes deactivated in (context) menu even though text copied to clipboard and CTRL+V functioning.
- Writer: wrong header/footer during export to DOCX.
- LibreOffice text blurry on Retina displays on macOS 11.
- Font rendering display error (skia) and some DejaVu fonts.
- Cannot open .docx in writer – format openXML.
- Orca no longer reads many options on the sidebar in Linux.
- Autocorrect no longer works with Change Tracking enabled.
- elementary: New Arrow Style for Undo and Redo.
- Crash when importing docx file.
- PDF export with buttons won’t work in Adobe Reader.
How to Install LibreOffice 7.1.2 via PPA:
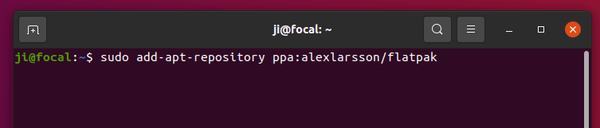
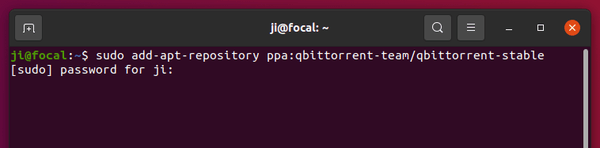
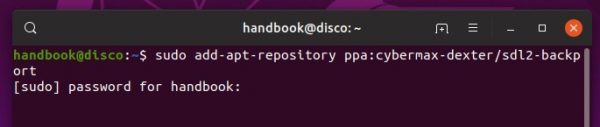
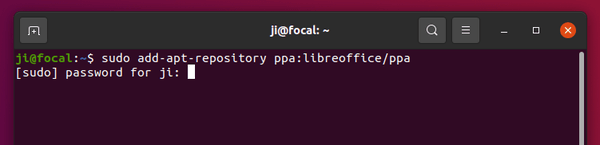
1. Add the PPA.
LibreOffice Fresh PPA has made the packages for all current Ubuntu releases. You can add it to your system by launching terminal and run command:
sudo add-apt-repository ppa:libreoffice/ppa
Type user password (no asterisk feedback) when it prompts and hit Enter to continue.
2. Install LibreOffice 7.1.2.
After adding the PPA, you can either update your system packages including the office suite via command:
sudo apt full-upgrade
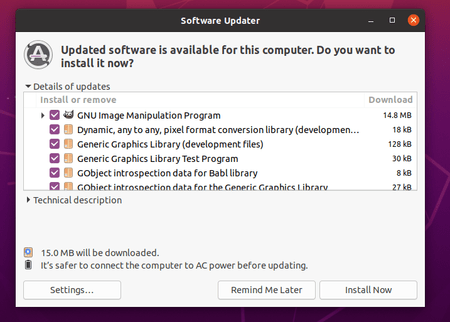
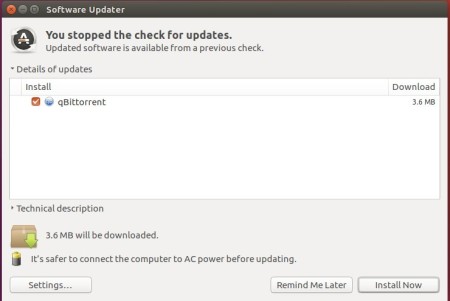
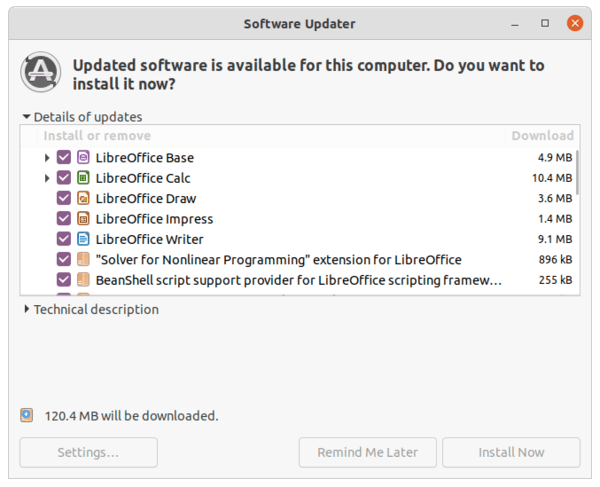
or launch Software Updater (Update Manager) and select install the package updates:
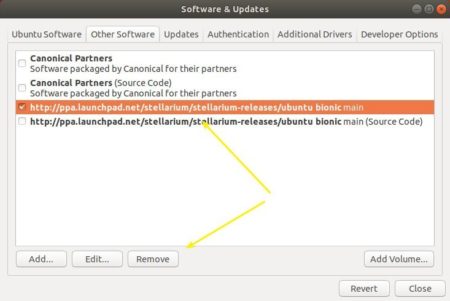
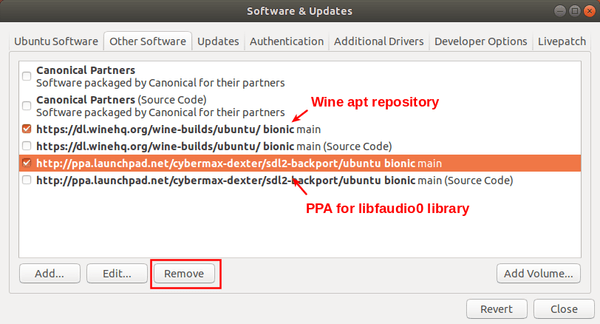
Uninstall:
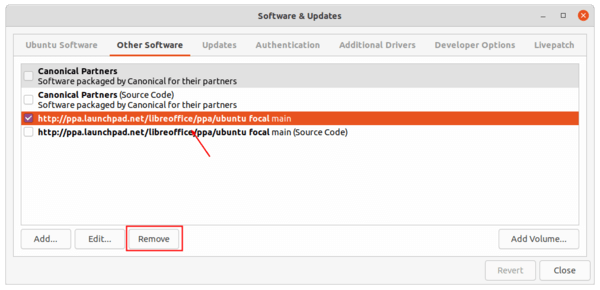
To remove the PPA repository, either go to Software & Updates -> Other Software and remove the relevant line.
or run command in terminal:
sudo add-apt-repository --remove ppa:libreoffice/ppa
You can alternatively purge the PPA, which also downgrade LibreOffice to the pre-installed version:
sudo apt install ppa-purge && sudo ppa-purge ppa:libreoffice/ppa