![]()
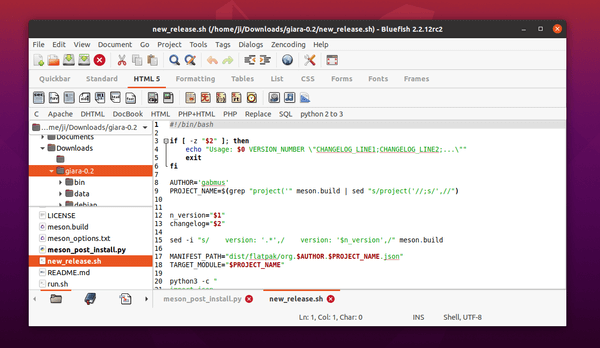
Bluefish, a powerful editor targeted towards programmers and web developers, released version 2.2.12 a day ago with some minor new features.
Bluefish 2.2.12 release highlights:
- Fix for a crash in simple search.
- Python 3 compatibility has been further improved.
- Improved encoding detection in python files.
- Triple click now selects the line.
- On Mac OSX Bluefish deals better with the new permission features.
- Improved syntax highlighting for several programming languages.
- Bluefish now works fine with Enchant2 for spell checking.
Install Bluefish via PPA:
UPDATE: as Klaus Vormweg’s PPA is no longer exist, I uploaded the 2.2.12 packages into this unofficial PPA for Ubuntu 20.04 and Ubuntu 18.04. For Ubuntu 22.04, the latest package is already available in system repository.
1. Open terminal either by pressing Ctrl+Alt+T on keyboard or by searching from ‘Activities’ overview.
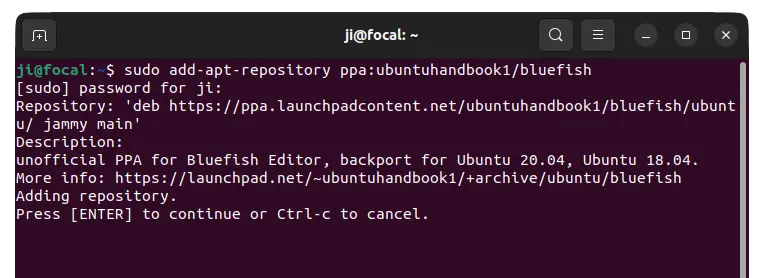
When terminal opens, run command to add the PPA:
sudo add-apt-repository ppa:ubuntuhandbook1/bluefish
Type user password when it prompts and hit Enter to continue.
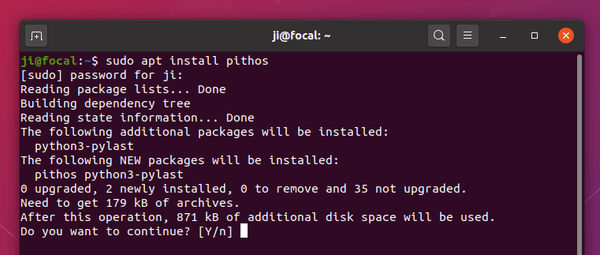
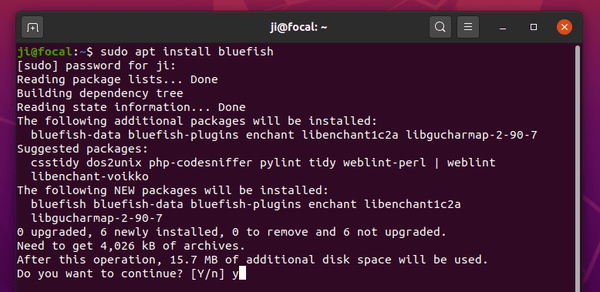
2. Then run commands to check updates and install the programmers editor:
sudo apt update

sudo apt install bluefish
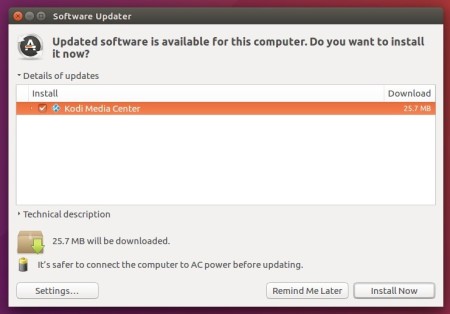
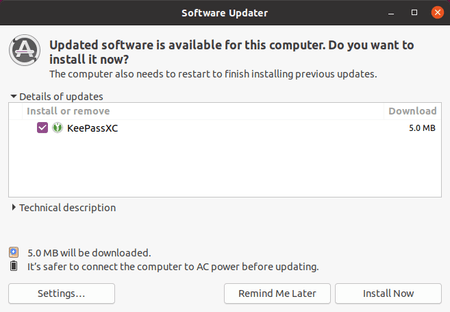
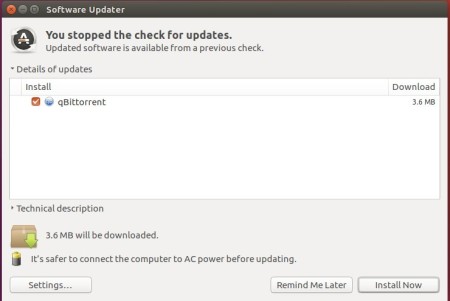
Or launch ‘Software Updater’ and update the package if an old version was installed.
Uninstall:
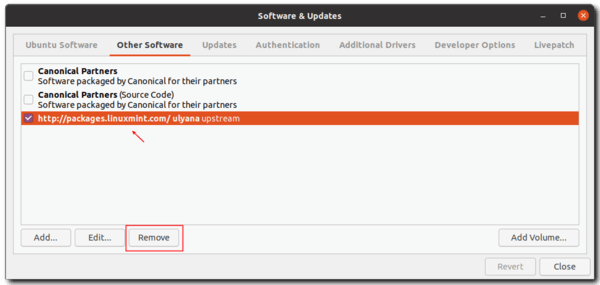
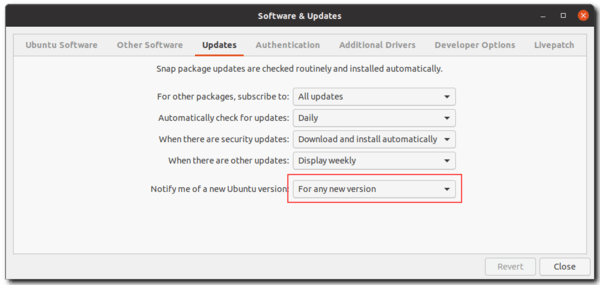
You may remove the PPA repository either via Software & Updates utility under Other Software tab, or by running command in terminal:
sudo add-apt-repository --remove ppa:ubuntuhandbook1/bluefish
And remove Bluefish programmers editor if you want via command:
sudo apt remove --autoremove bluefish