![]()
Running Ubuntu 22.04 or Fedora 36 on a Lenovo IdeaPad laptop? It’s super easy to turn on/off the conservation mode.
Conservation Mode is a feature of Lenovo IdeaPad to prolong life of the battery. It’s targeted for those who plug-in ac power. With the mode enabled, the battery will only charge to 55-60%.
For the GNOME 3.36+ (defaults in Ubuntu 20.04+, Fedora 35/36 and optional in Arch and Manjaro), there’s an extension to add the toggle options into system tray menu.
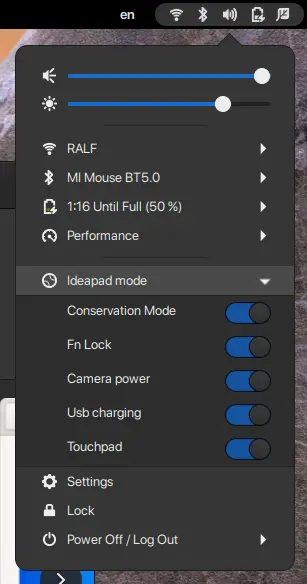
As well, it also provides options to turn on/off camera, Fn Lock, Touchpad, and USB Charging.
How to Install the tool:
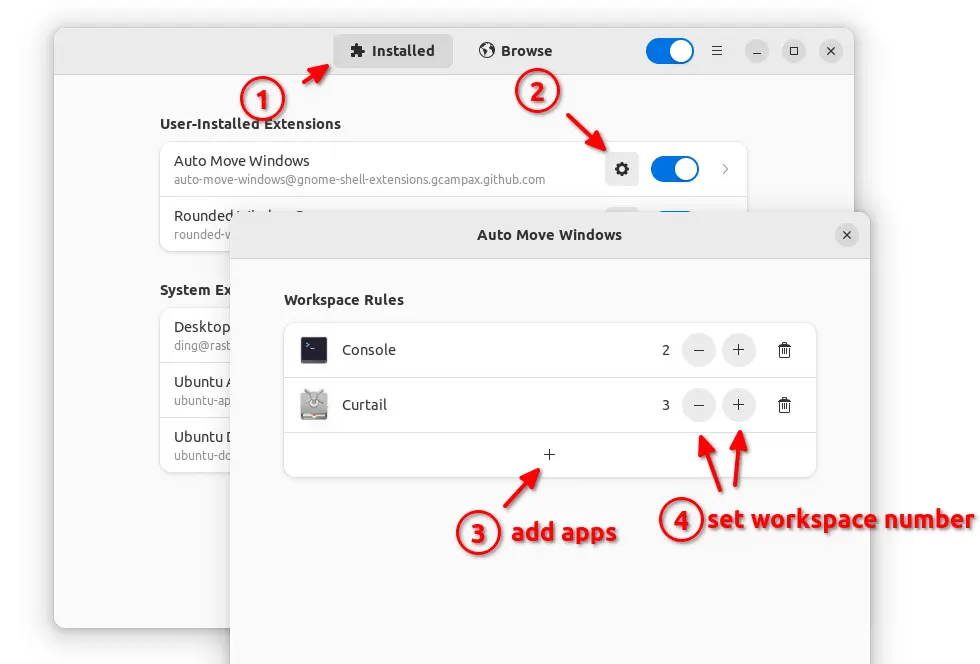
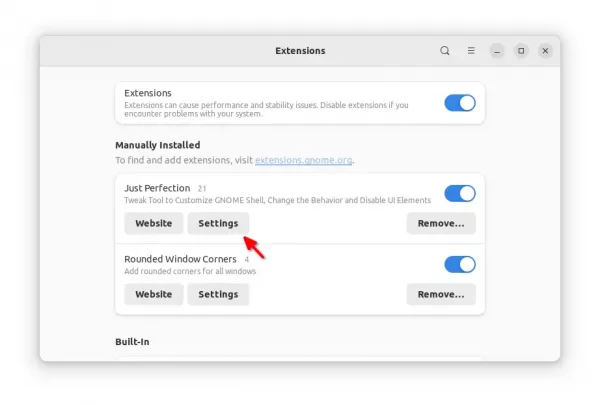
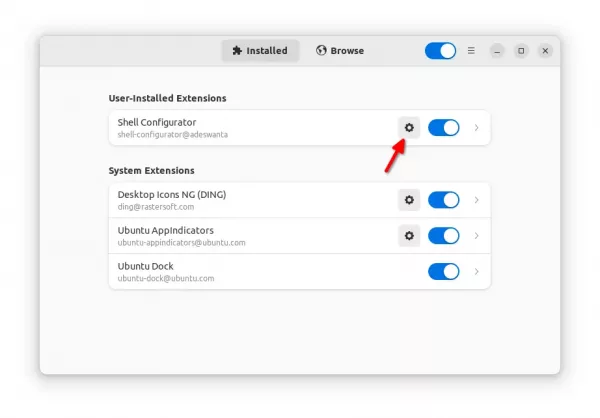
The tool is available as a Gnome extension called “IdeaPad Mode”.
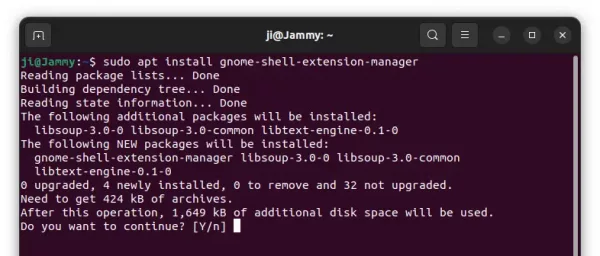
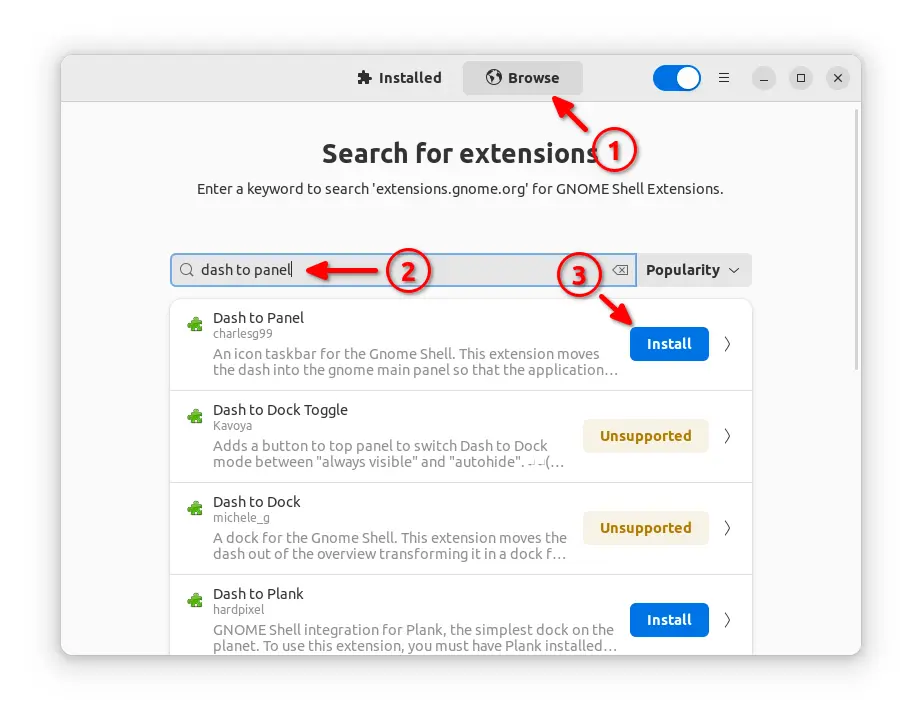
For Ubuntu 22.04, first search for and install “Extension Manager” from Ubuntu Software.
Install Extension Manager in Ubuntu 22.04
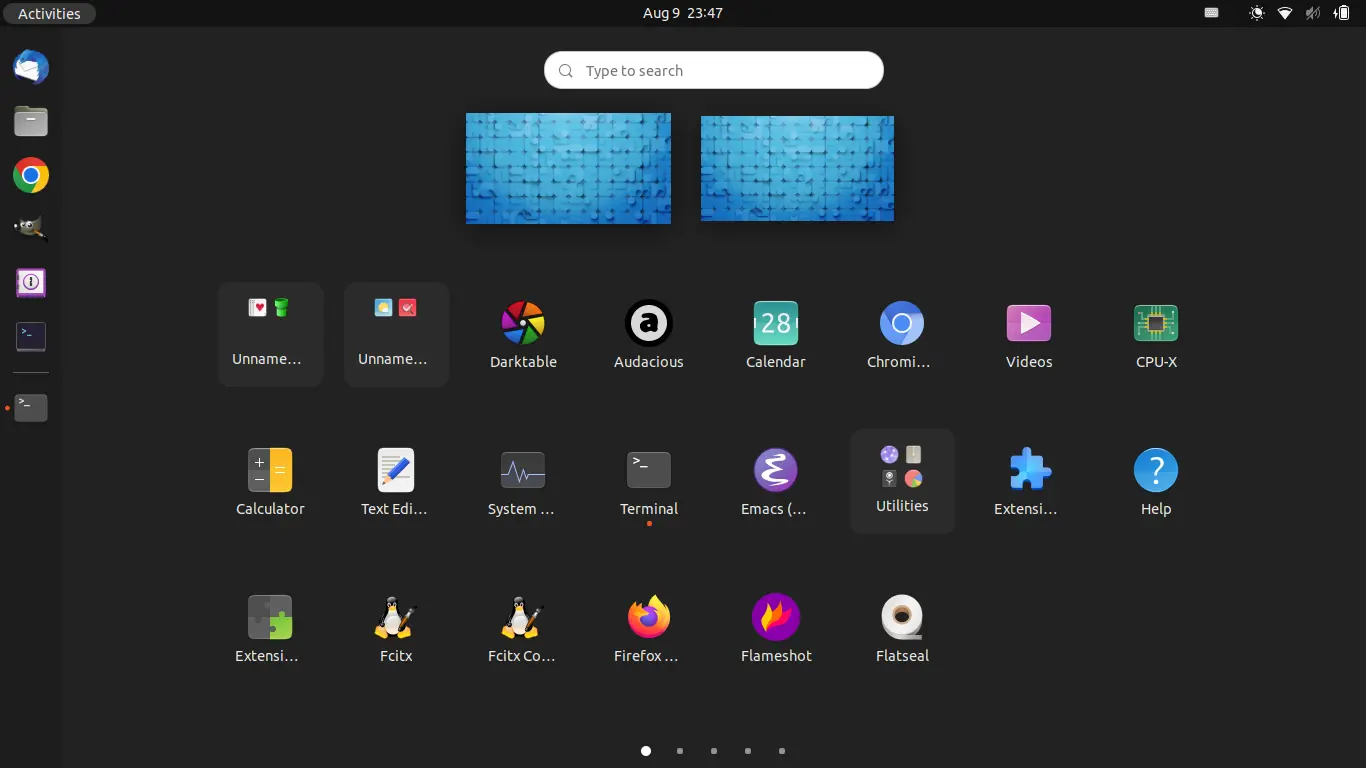
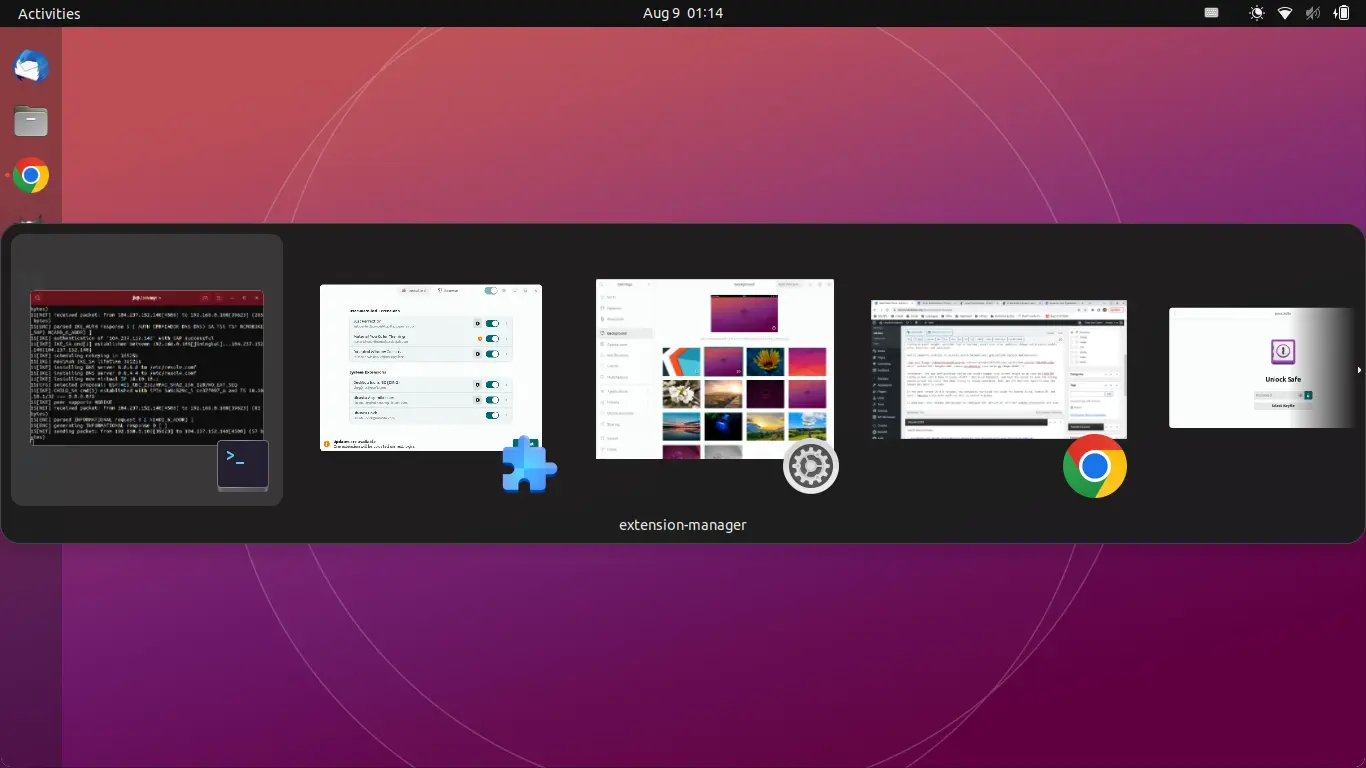
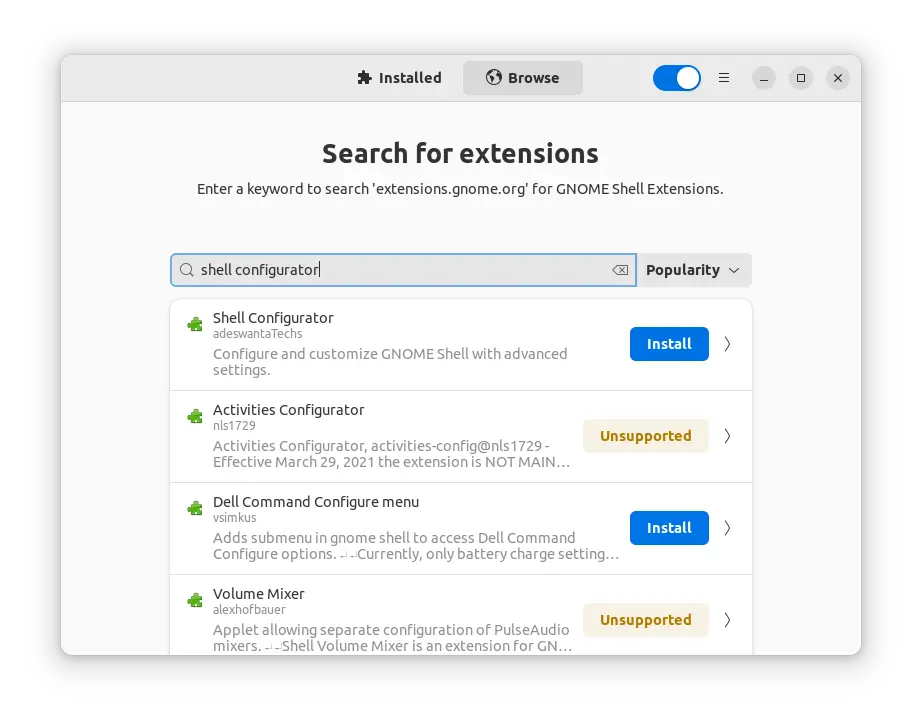
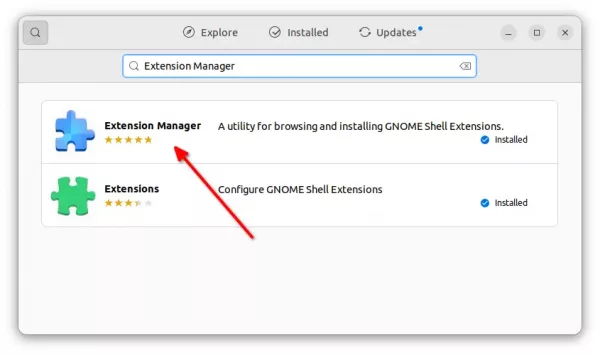
Next, search for and launch “Extension Manager” either from ‘Activities’ overview or ‘Show Applications’ screen.

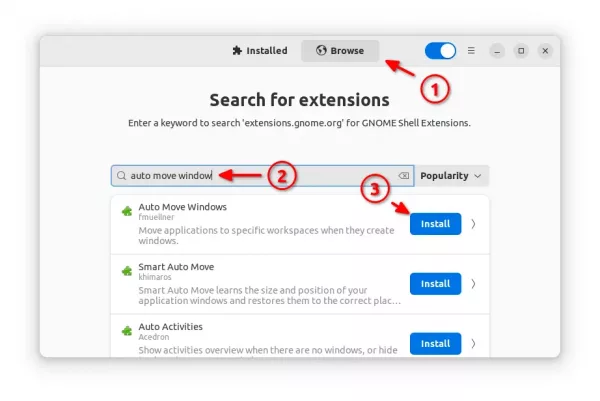
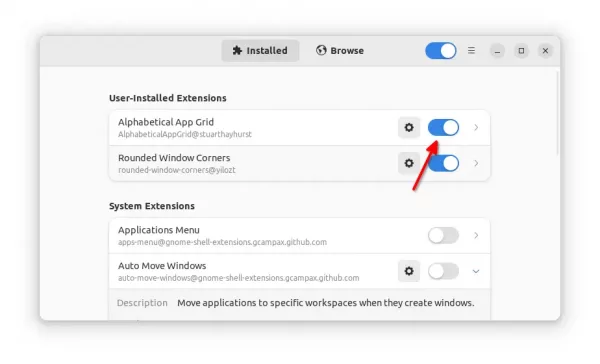
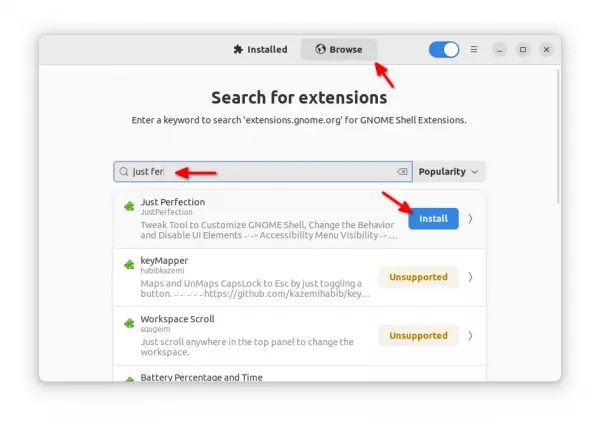
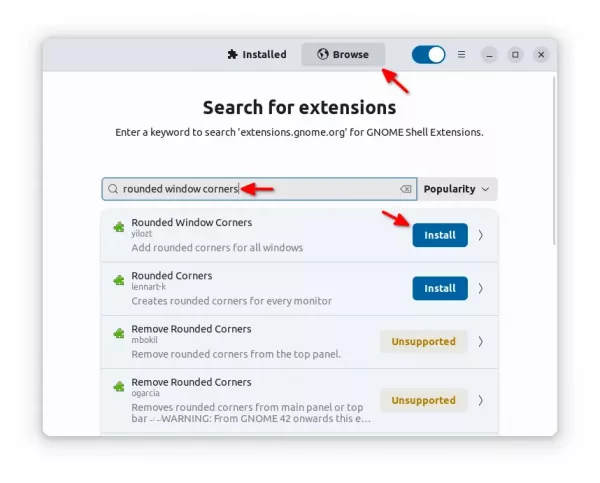
When the app opens, navigate to ‘Browse’ tab and finally search for and install the extension:
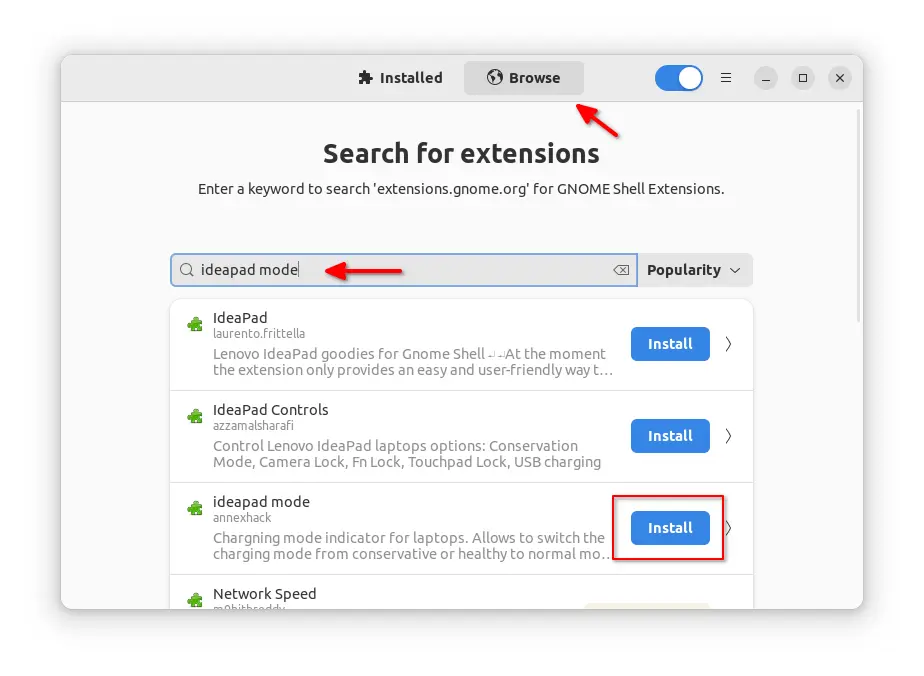
As you can see, there are few other similar extensions to do the job, click install either one that you prefer.
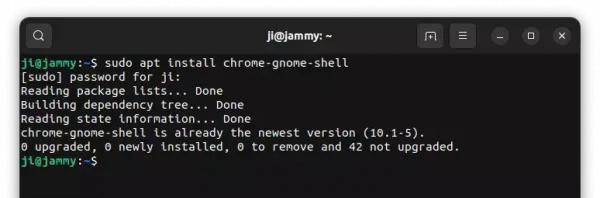
For Ubuntu 20.04, Debian 11, Fedora and other Linux with Gnome, simply use the on/off switch in the page below to install it:
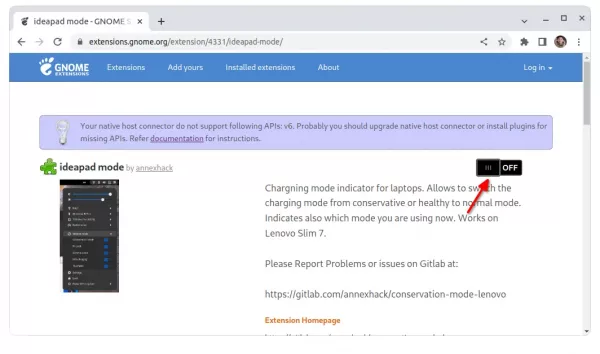
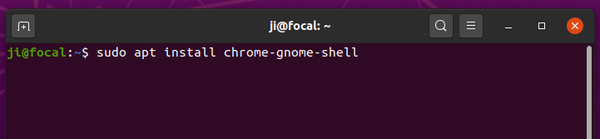
NOTE: Ubuntu 20.04 needs to first install the agent package by running the command below in terminal (Ctrl+Alt+T):
sudo apt install chrome-gnome-shell
Also, install the browser extension if prompted and refresh the web page for the on/off switch.