VirtualBox, the free open-source hypervisor software by Oracle, released new 7.2.4 version yesterday.
This is the second maintenance update for the latest 7.2 release series, features only include some bug-fixes, translation updates and minor new features.
After 2 Beta and 1 RC testing releases, Oracle VirtualBox finally announced the new major 7.2.0 release.
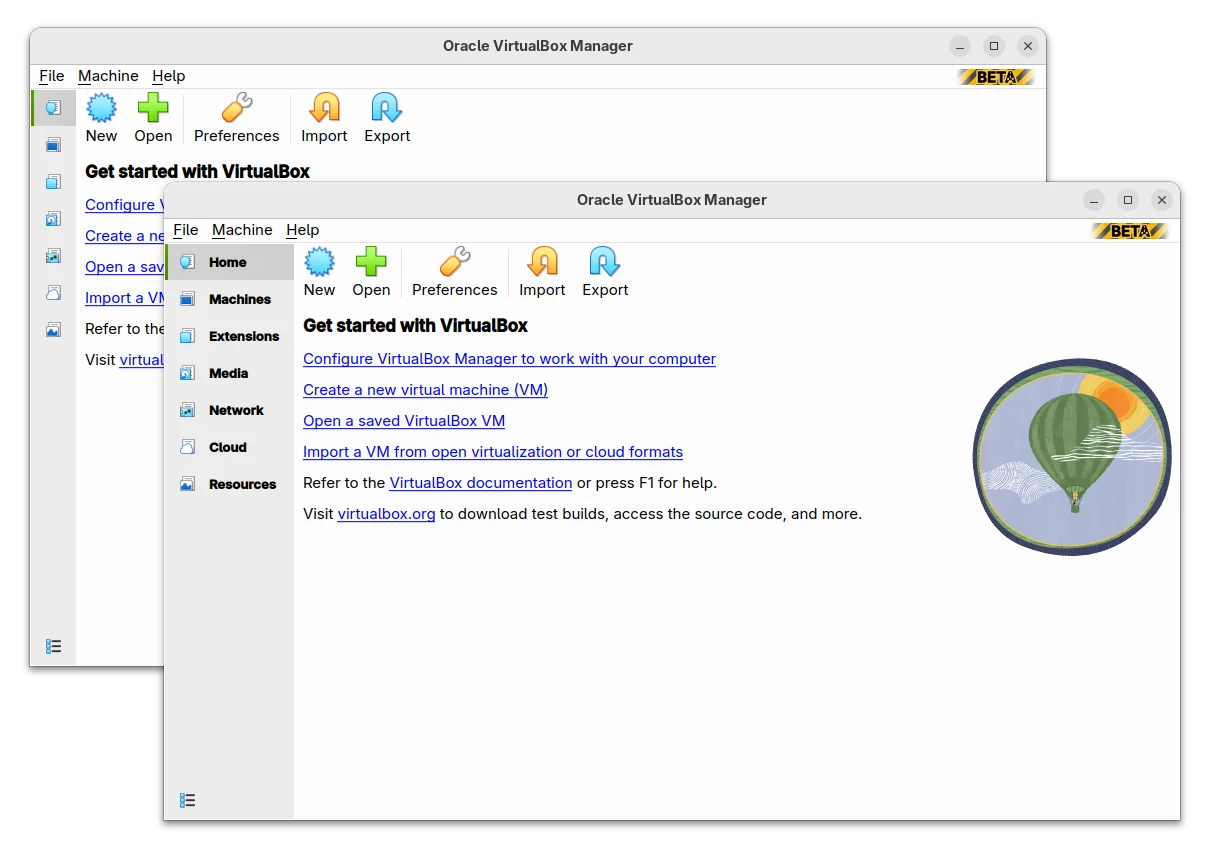
VirtualBox 7.2.0 redesigned its main UI. Now, it has a left side-bar allowing to navigate between Virtual Machines, Extensions, Media, Network, Cloud, Resources, as well as Home to get started.
VirtualBox 7.2.0 RC1, the third development release for the next major version of Oracle’s virtualization software, is available to download few days ago.
Compare to the last Beta, the RC1 release added explicit unattended installation support for Oracle Linux 10, while others are mostly bug-fixes.
VirtualBox 7.2.0, the next major release of Oracle’s virtualization software, is now in second beta testing stage.
VBox 7.2.0 Beta 1 redesigned its UI with vertical menu options in left, allowing to navigate between Machines, Extensions, Media, Network, Cloud, Resources, as well as Home to get started.
It also added support running Windows 11 ARM as guest, and updated Windows installer with Arm virtualization support built-in.
Oracle VirtualBox announced the first beta for the next 7.2.0 major release few days ago.
The new release of this popular free open-source virtualization software updated the Manager app GUI. Now, it has side-bar with vertical menu options in left.
Oracle VirtualBox announced new 7.1.8 maintenance release on Tuesday with bug-fixes and support for recent Linux Kernels.
VirtualBox improved the Linux Guest screen flickering issue in the past few releases, the new 7.1.8 continued fixing the screen display issue on certain conditions, and finally marked that the heavy screen flickering on Ubuntu Guest with Wayland as fixed!
screen tearing and flickering issue finally closed
Oracle announced new Virtualbox 7.1.6 release this Tuesday with various bug-fixes, performance improvements, and minor new features.
VirtualBox had heavy screen tearing and flickering issue in Linux VMs running with recent Kernel and Wayland for a period of time, that’s why I switched to QEMU/KVM.
Since the last 7.1.4, VirtualBox greatly improved the flickering, black screen and other screen update issues. In the new release, it also fixed issue with Linux guest screen flickering when guest was using VMSVGA graphics adapter.
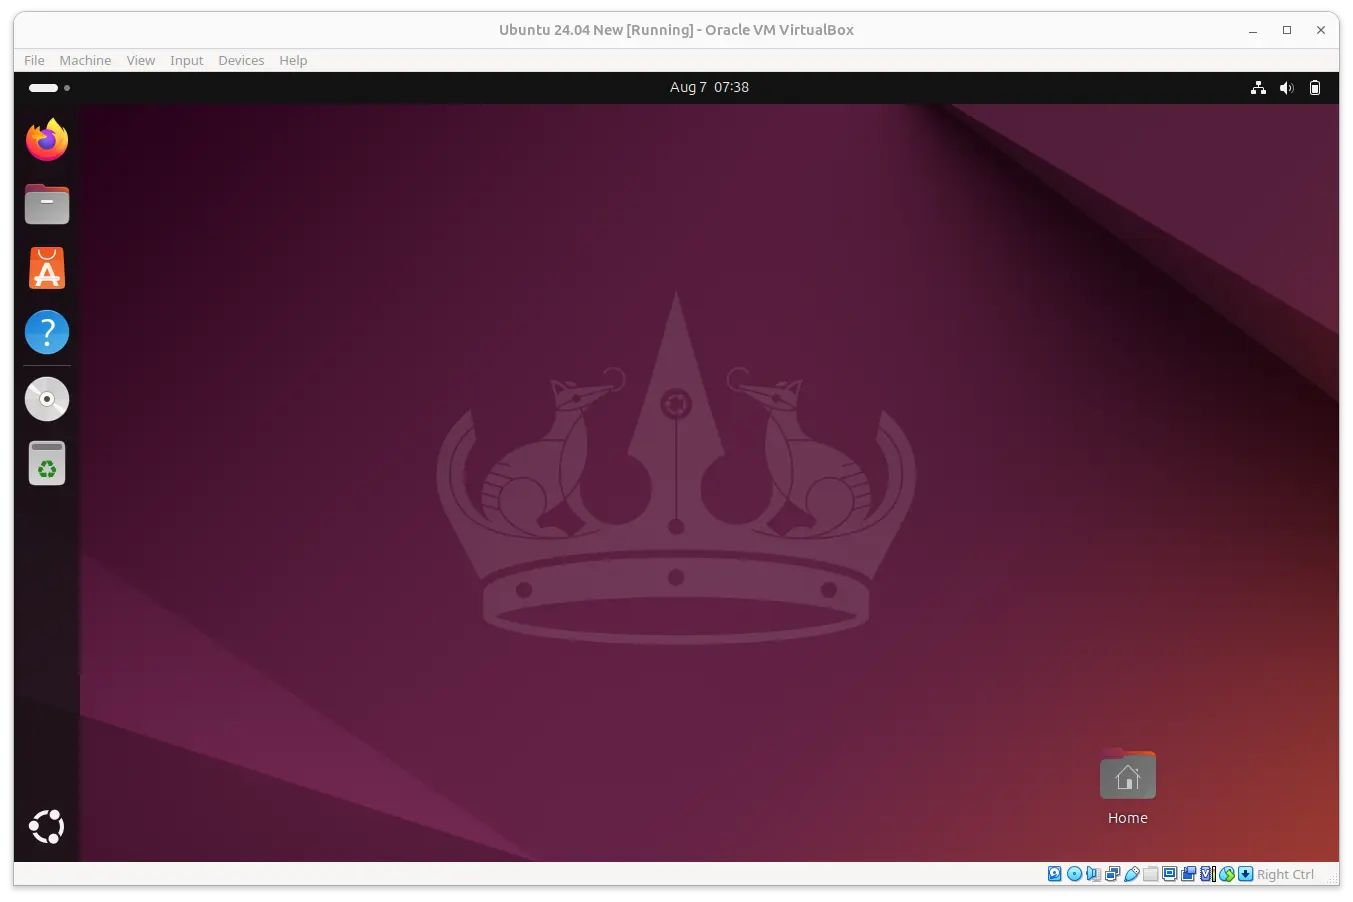
Meaning now recent Ubuntu, Fedora Workstation and other Linux with Wayland work great again in VirtualBox virtual machines!
Oracle finally announced the release of new major VirtualBox 7.1.0 after almost 2 years since the last feature release.
The release introduced a new logo icon with flat design, and re-fined the UI with modern look and feel. The Preferences and VM Settings dialog now include Basic and Expert tabs that will show/hide some extra settings.
It improved the font in Settings/Preferences to make the text more easy to read, as well it provides a “Search Box” in the dialog for searching settings. And, each VM now has new splash screen at very beginning of startup.
This tutorial shows how to install the guest additions for Debian, Ubuntu, Linux Mint based systems that are running as Virtualbox virtual machine.
Guest Additions is an external package designed to be installed inside a VirtualBox guest OS. It enables closer integration between the host and guest OSes, including features such as shared folder, custom video drivers, seamless window mode, and more.
Guest Additions is not installed by default after installed your system as virtual machine. It’s however easy to install through the official CD image.