
![]()
FileZilla client has recently reached the 3.20 release. While Ubuntu 16.04 offers the old 3.15.0 release in its main archive, you can easily upgrade to FileZilla 3.20 by following this tutorial.
FileZilla 3.20 now depends on ibfilezilla >= 0.6.1, it brings some crash fixes, error message improvements, and other bug-fixes. See details at this page.
Install FileZilla 3.20 in Ubuntu 16.04:
It is recommended to install FileZilla using the package manager, although the project page offers pre-compiled Linux binaries. And below is how to install it from the GetDeb repository.
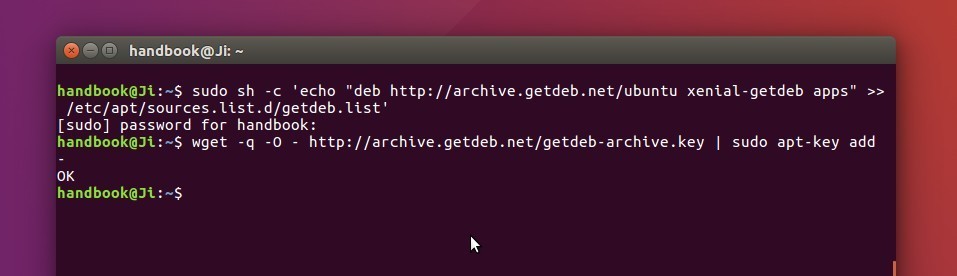
1. Open terminal from Unity Dash or via Ctrl+Alt+T shortcut keys. When it opens, run commands to:
add Getdeb repository:
sudo sh -c 'echo "deb http://archive.getdeb.net/ubuntu xenial-getdeb apps" >> /etc/apt/sources.list.d/getdeb.list'
install the key:
wget -q -O - http://archive.getdeb.net/getdeb-archive.key | sudo apt-key add -
2. Launch Software Updater and upgrade the FTP client.

For those who don’t have a previous release installed, just run commands to update package index and install FileZilla:
sudo apt update

sudo apt install filezilla


Thanks a lot Ji m!
thank u its working