


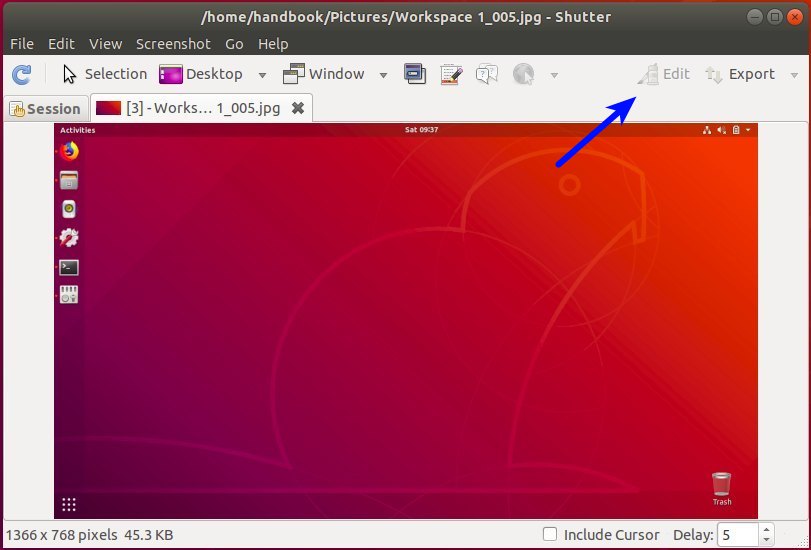
After installed my favorite screenshot tool Shutter in Ubuntu 18.04, I found that the Edit button is greyed out. And this quick tip is going to show you how to re-enable the editing feature in Shutter.
To re-enable the “Edit” option, Shutter requires libgoo-canvas-perl library which is not available in Ubuntu 18.04 main archive. As a workaround, you can grab the package, as well as dependencies, from Ubuntu 17.10’s repository.
And here are the links to the packages you need to install (64-bit only since Ubuntu 18.04 dropped 32-bit support):
1. Download and double-click to install the libgoocanvas-common package:
2. Download and install libgoocanvas3 package:
Either use Gdebi package installer (available in Ubuntu Software) or run command in terminal (press Ctrl+Alt+T) to install the package:
sudo dpkg -i ~/Downloads/libgoocanvas3_1.0.0-1_amd64.deb; sudo apt-get -f install


3. Finally download & install libgoo-canvas-perl package:
Also install the package via Gdebi or terminal command, since Ubuntu Software doesn’t solve dependencies automatically:
sudo dpkg -i ~/Downloads/libgoo-canvas-perl_0.06-2ubuntu3_amd64.deb; sudo apt-get -f install


To apply changes, kill Shutter process or restart your computer!


You’ve saved me, man.. Thanks..
Thanks that worked on my new precision 7720 with ubuntu 18.04. However I needed indeed to reboot the laptop before the menu showed up
just run this and start shutter again
# ps auxw | grep shutter | grep -v grep | awk ‘{print $2}’ | xargs kill -9
or maybe just “killall shutter” or for more flexibility try the “pkill” command.
and for future reference, it is almost never necessary to mix grep and awk since awk does matching as well, like: ps auxw | awk ‘/shutter/ && $11!=”awk” {print $2}’
There is only one thing left to do. The icons belonging to the editor are shown very tiny on my 4K screen. Can hardly see them. Scaling in gnome is already set to 200%
Any suggestions?
Stefan
Nobody seems to bother about the tiny icons on the bar on the left, but it really is a problem. The Qt5 Configuration Tool does not seem to help either with the icon size here. Is there really no way to fix this problem, e.g. on Ubuntu-Mate?
Try running command in terminal and answer yes when it prompts:
And restart Shutter to apply changes.
Thank you! Its help me a lots. Shutter is a reason why i love ubuntu with screenshot and built in editor.
Very cool! Made my day! THX!
I have to say this is a very good solution
Thanks a bunch; we’ve been searching for a work-around:
https://bugs.launchpad.net/bugs/1765726
Thanks for detailing the steps so nicely.
Nice write up! Thank you!!
Thanks for the article! Really nice after the 18.04 upgrade!!!
Thank you !
Terrific! 18.04 can now remain. I was close to rolling back because of this issue. Shutter is an essential tool in my work.
Thanks a lot – this worked like a charm. Wondering why something important like that got forgotten.
Thanks for taking the time to write that up so well. Clear and effective!!!
Muchas gracias por tu aporte!
—
Thanks for this post!
This doesn’t work anymore.
Please tell more about the problem, since the edit option is working well in my case.
Same here.
Here it happens,
user@len-lin:~/Downloads$ sudo dpkg -i libgoo-canvas-perl_0.06-2ubuntu3_amd64.deb
Selecting previously unselected package libgoo-canvas-perl.
(Reading database … 363406 files and directories currently installed.)
Preparing to unpack libgoo-canvas-perl_0.06-2ubuntu3_amd64.deb …
Unpacking libgoo-canvas-perl (0.06-2ubuntu3) …
dpkg: dependency problems prevent configuration of libgoo-canvas-perl:
libgoo-canvas-perl depends on libgoocanvas3 (>= 0.15); however:
Package libgoocanvas3 is not installed.
libgoo-canvas-perl depends on libextutils-depends-perl; however:
Package libextutils-depends-perl is not installed.
libgoo-canvas-perl depends on libextutils-pkgconfig-perl; however:
Package libextutils-pkgconfig-perl is not installed.
dpkg: error processing package libgoo-canvas-perl (–install):
dependency problems – leaving unconfigured
Processing triggers for man-db (2.8.3-2) …
Errors were encountered while processing:
libgoo-canvas-perl
user@len-lin:~/Downloads$ sudo apt-get install -f
Reading package lists… Done
Building dependency tree
Reading state information… Done
Correcting dependencies… Done
The following packages will be REMOVED:
libgoo-canvas-perl
0 upgraded, 0 newly installed, 1 to remove and 4 not upgraded.
1 not fully installed or removed.
After this operation, 455 kB disk space will be freed.
Do you want to continue? [Y/n] y
(Reading database … 363490 files and directories currently installed.)
Removing libgoo-canvas-perl (0.06-2ubuntu3) …
Processing triggers for man-db (2.8.3-2) …
It prompted that “Package libgoocanvas3 is not installed”.
Please download and install the three packages in turns.
First
libgoocanvas-common, thenlibgoocanvas3, and finally install thelibgoo-canvas-perlpackage.Can’t find the same packages for amd 32 bits, can you help me?
All the packages are available in the links below:
https://launchpad.net/ubuntu/+source/goocanvas
https://launchpad.net/ubuntu/+source/libgoo-canvas-perl
thanks a lot,Ji m
just now I discovered your quick fix,
applied it as per your detailed description and it is working fine.
You make my work a lot easier !
note: since Ubuntu 18.04 installation , I had to use pixlr.com/edit for making edit to my screen shots.
This useful information also works on Linux Mint 19 that suffers with the same problem.
Thanks
Thanks!!!
Works on Linux Mint 19 XFCE! Many thanks!
Super helpful on 18.04! Thank you.
It worked! Thank you very much!
hola instale en el orden indicado, pero Shutter aun no me deja editar, me dice ” se necesita instalar Goo::Canvas/Libgoo-canvas-perl para poder usar…”.Alguna sugerencia ( tengo uibuntu 18.04 lts)
Gracias
El orden es:
sudo dpkg -i Descargas/libgoocanvas-common_1.0.0-1_all.deb
sudo dpkg -i Descargas/libgoocanvas3_1.0.0-1_amd64.deb
sudo dpkg -i Descargas/libgoo-canvas-perl_0.06-2ubuntu3_amd64.deb
sudo apt-get -f install
Thank you!
You are the best! It worked perfectly
You Rock!!! Thanks for solving this issue. They need to fix that and get these packages or rebuild this feature to not use them.
Awesome, thank you so much for this!! (Xubuntu 18.04.1 LTS)
Thank you!
thanks a lot man. accurate and precise.
Awesome!
It worked just fine! Thanks!
Thanks! You’ve saved so much time for me…
Saved me time, thanks!
Thank you very much for this fix. Is it okay for me to refer your link in my blog ?
yes of course
It finally worked for me.
Being a windows user, the “kill shutter” just meant to me to close the open window.
I now found out that either I had to shutdown and restart my pc, or use the “kill shutter” command from the terminal window. I did try a restart, but that did not do it. The kill command did it for me.
It’s those little things that drive us old windows users nuts.
thanks a lot It works