


The default media player of Xfce and XUbuntu, Parole 1.0.2, was released recently with many bug-fixes and translation updates.
According to the changelog, Parole 1.0.2 fixed following bugs:
- Improved support for missing Gstreamer plugin installers
- Fixed compiler error
-Wcast-function-typewith GCC 8 - Fixed disabling vendor-enabled plugins
- Fixed crash when disabling plugins
- Fixed play button sensitivity items are added to playlist.
- Fixed Appstream validation by removing
emtags - Fixed plugin active state when reopening the Plugins dialog
- Resolved g_type_class_add_private warnings

How to Install Parole 1.0.2 in Ubuntu 18.04:
Open terminal either via Ctrl+Alt+T keyboard shortcut or by searching for ‘terminal’ from application launcher. When it opens, run following commands to install the media player from PPA repository.
1. Paste below command and hit run to add PPA:
sudo add-apt-repository ppa:unit193/xfce
Type user password (no asterisk feedback) when it prompts and hit Enter to continue.


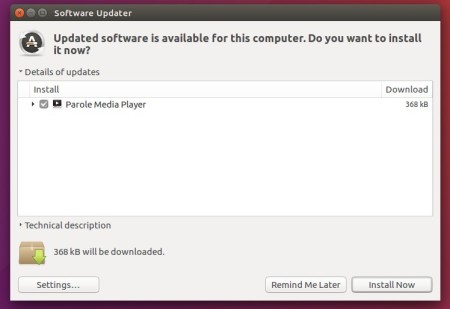
2. Then either upgrade Parole via Software Updater:

or install the package via command:
sudo apt install parole
Linux Mint 19 needs to refresh package cache first via sudo apt update command.
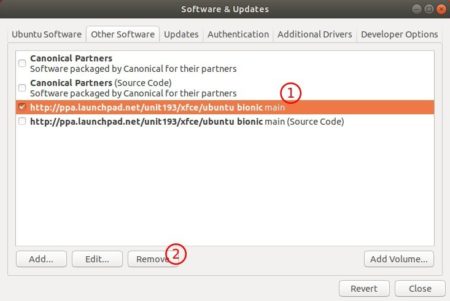
3. As the PPA contains many other Xfce packages and libraries, you may remove the PPA afterwards by going to Software & Updates -> Other Software.

Uninstall Parole
To remove the media player, open terminal and run command:
sudo apt remove --auto-remove parole
That’s it. Enjoy!


