
![]()

Oracle Java 14 was released more than a week ago. For those want to install it in Ubuntu 16.04, Ubuntu 18.04, Ubuntu 19.10, Ubuntu 20.04, Linux Mint 18.x, 19.x, and their derivatives, an installer script is available in PPA.
For new features and other changes in Java 14, see the announcement.
An Webupd8 team based installer script has been made into the “Linux Uprising” team ppa, which automatically downloads and installs Oracle JDK 14, and sets Java 14 as the default Java version (setting JAVA_HOME, etc.) on 64-bit Ubuntu based machine.
1.) Open terminal either by pressing Ctrl+Alt+T on keyboard or by searching for ‘terminal’ from application menu. When it opens, run commands to add the PPA:
sudo add-apt-repository ppa:linuxuprising/java
Type your user password (no asterisk feedback) for sudo prompt and hit Enter to continue.


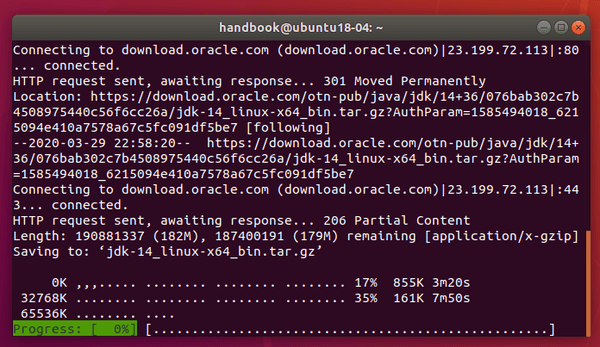
2.) Then check updates and install the script via 2 commands:
sudo apt-get update

sudo apt-get install oracle-java14-installer oracle-java14-set-default

Skip / remove oracle-java14-set-default in the command if you don’t want to set Oracle Java 14 as default.
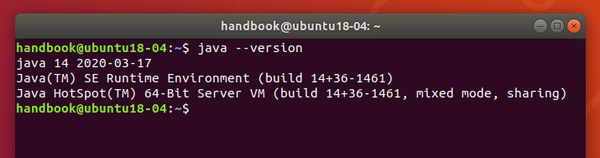
3.) Check the result via command: java --version

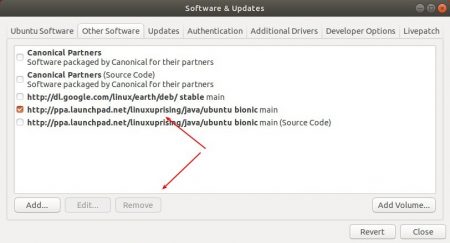
(Optional) You can remove the PPA repository via Software & Updates utility under Other Software tab.

And remove Java 14 if you want via command:
sudo apt-get remove oracle-java14-installer


Works to the dot.
Thank you
Thank you so much.