


Dual-boot or multi-boot Ubuntu 20.04 with other operating systems? This tutorial will show beginners how to change the default OS entry in Ubuntu 20.04 desktop.
This is a graphical tool to configure the default Grub boot-loader in Ubuntu. It’s Grub Customizer, and available in Ubuntu universe repositories for Ubuntu 19.04 and higher.
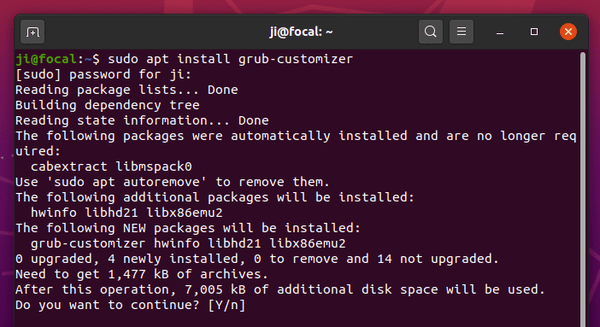
1. Either install Grub Customizer via Ubuntu Software, or open terminal (Ctrl+Alt+T) and install the tool by running command:
sudo apt install grub-customizer

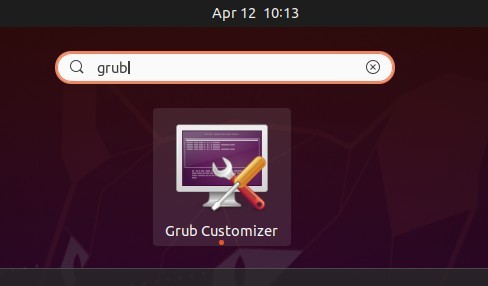
2. Then search for and launch the tool from application menu.

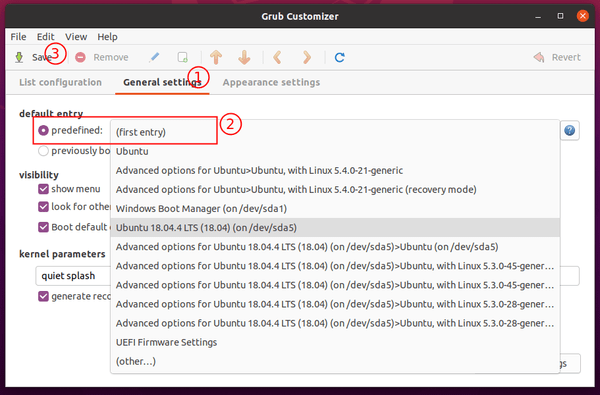
3. When Grub Customizer opens, do:
- navigate to General settings tab.
- Select an OS entry as default from the drop-down box after ‘predefined’
- You may also change other settings: menu timeout, kernel parameters, font, background image, etc.
- Finally click the Save button to apply changes.

That’s it. Enjoy!


I love and use grub-customizer. I also change the font colors and ad my own background image, which grub-customizer allows you to do. There are tutorials for that, or maybe Ji will also cover that Appearance setting too in another post.
ThanX for mentioning ‘universe’ repositories, so I could enable this first in Ubuntu Desktop 20.04 and only then it started working…
GRUB is an insane complexity crap! Need to read a ton of manuals to add a single entry, fcuk!!!
I followed these instructions, selected “Ubuntu” as the default entry, and set the boot menu delay to 10 seconds (it was initially displayed as “0” in grub-customizer). However, I don’t see any change; the boot menu still waits 30 seconds. Any ideas?
After changing the desired settings, did you hit the “Save” button (Save configuration and generate a new grub.cfg)?
Thanks mate
GRub Customizer doesn’t even show the choice I boot to. I’m using, right at this moment, 20.04.1 on SDA7. SDA7 isn’t shown in the list of boot choices. SDA9 is shown, but that’s not the partition with MATE on it that I want to boot too first.
Any ideas?
Hi after installing, the wifi stopped working. I had to uninstall.
I had to go under file and install to MBR. That has been missing in every instruction I have found. It works now.