
![]()
This simple shows how to easily download & install Google web fonts in Ubuntu and other Linux through 3 different applications.
There are quite a few handy applications that can help downloading & installing Google Web Fonts for offline use in Ubuntu. In this tutorial, I’m going to show you 3 of them, including Font Manager, Font Downloader, and TypeCatcher.
Option 1: Font Manager
Font Manager is a free open-source app for GTK Desktop environments. It allows to preview, download & install Google Web Fonts, or install fonts from local files.
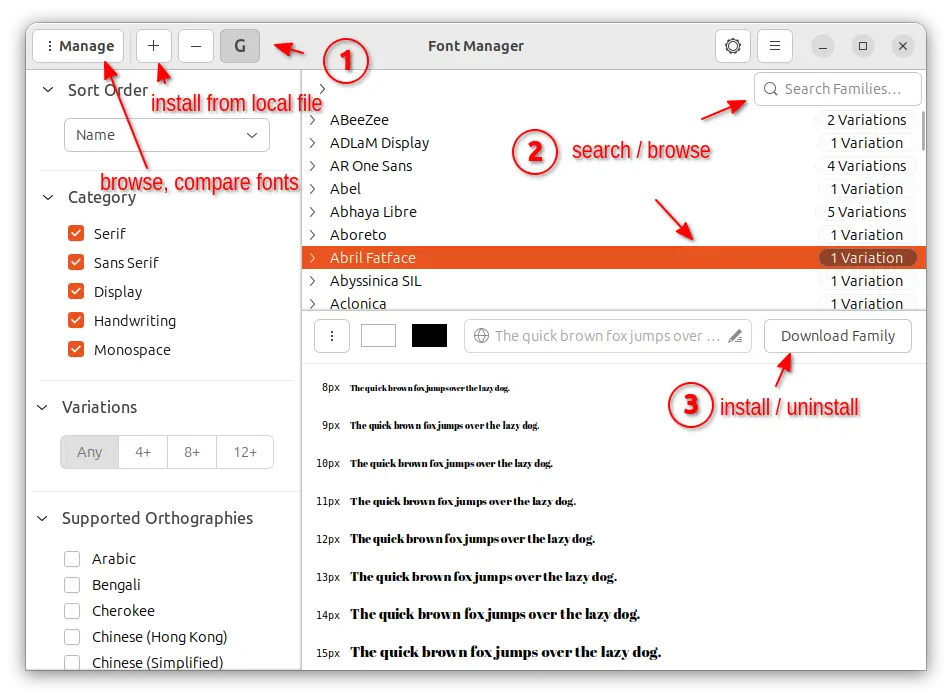
The app works in 3 different modes: Manage, Browse, and Compare. Which can be switched by clicking to top-left button.
While “Manage” mode allows to install, uninstall, preview fonts, “Browse” mode allows you to preview all installed fonts in different categories. As well, it provides option to compare selected fonts (from all installed) side by side.
It as well has command line options, to list, enable, disable, and install fonts in terminal or console.
Besides that, Font Manager also includes extra features, including:
- Change system fonts.
- Active/De-active installed fonts.
- Import/Export.
- Add custom user actions.
- And more.
Install Font Manager
Font Manager is available in most Linux repositories.
Ubuntu users can simply search for and install it from either Ubuntu Software or App Center. Or, just press Ctrl+Alt+T to open terminal and run command to install:
sudo apt install font-manager
For feature requires and bugs, just go to its Github project page.
Option 2: TypeCatcher
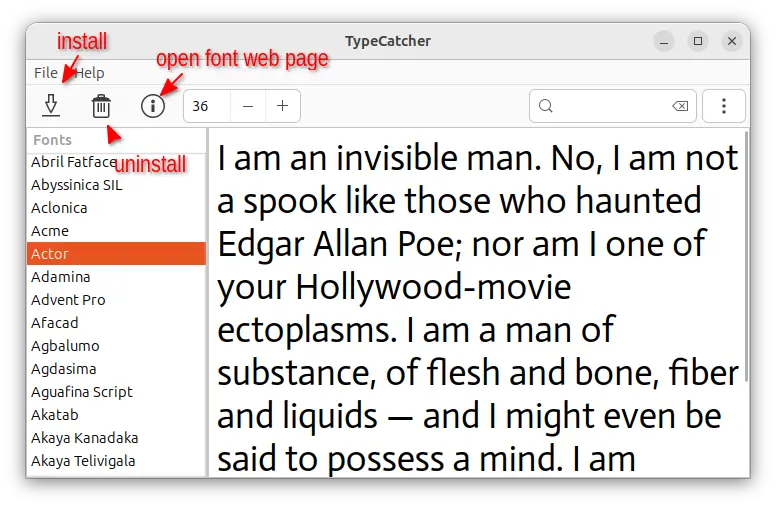
TypeCatcher is a GTK app designed to search, browse, and download Google webfonts for off-line use. It’s a 12 years old app that’s still working today, though the app rarely gets update now.
The app provides a quite basic UI, allowing to search and browse Google Fonts, preview with selected or custom text in different size. Along with buttons to install, uninstall, and open font URL page in web browser. All the Google fonts are installed to .fonts/typecatcher folder. Just open Files (nautilus file browser) and press Ctrl+H to view them.
Install Typecatcher:
The app is available in Debian and Ubuntu system repositories. User can either open terminal (Ctrl+Alt+T) and run command to install the package:
sudo apt install typecatcher
Or, search for and get it from Ubuntu Software, App Center, or your system package manager.
NOTE: TypeCatcher does NOT launch in Ubuntu 22.04 due to bug, see this step by step tutorial to fix it. In Ubuntu 24.04, it takes quite a few seconds to launch, perhaps due to poor network connection issue.
Option 3: Font Downloader
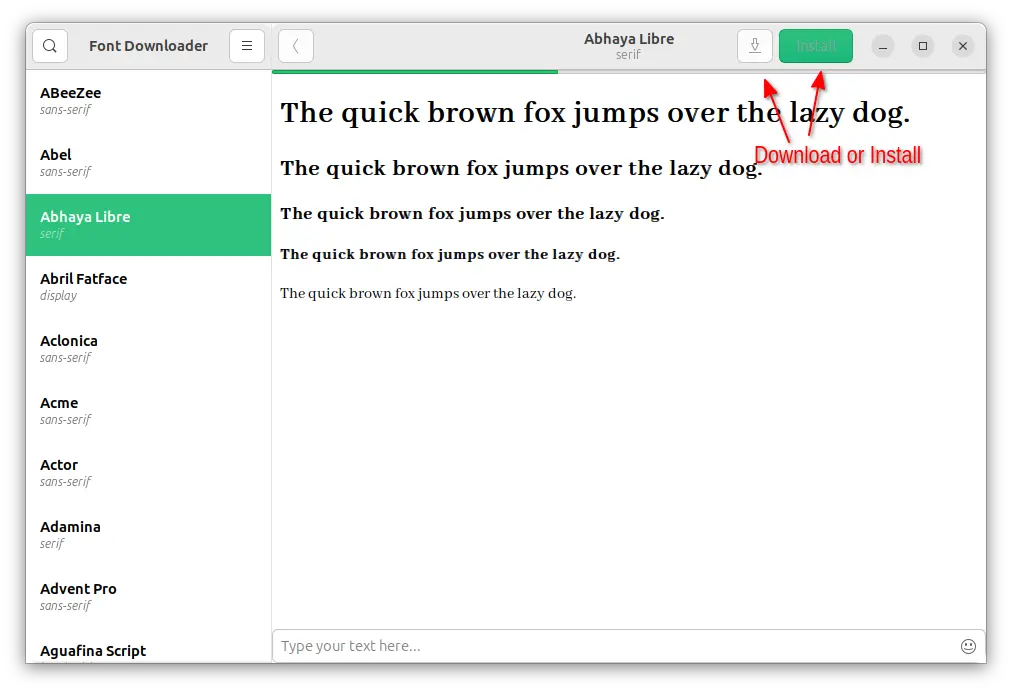
For choice, Font Downloader is another tool can download & install Google Web Fonts for offline use in Linux Desktops.
The app provides a quite basic user interface, to search, browse, and install fonts! However, I don’t find an option to uninstall.
The only difference to other 2, is that the app provide a button to download font only without install. So, you can use the .tff font files anywhere else.
Get Font Downloader
Ubuntu 24.04 and Debian Sid can get the app simply from system repository, either by running the command below in terminal:
sudo apt install font-downloader
Or, use App Center or system package manager to search & install it as .deb (Debian) package.
For most other Linux, the app is available to install as universal Flatpak package.
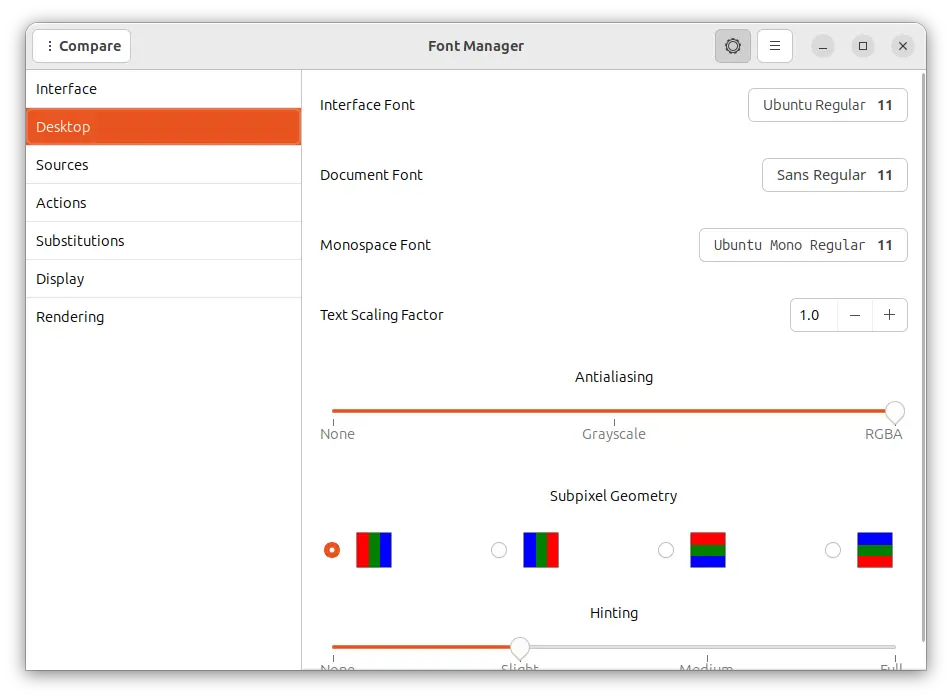
(Optional) Change Fonts in Ubuntu Desktop
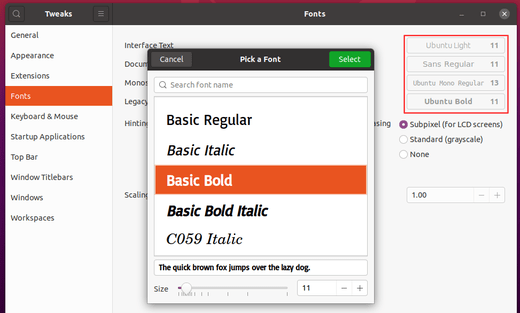
To change your system fonts in Ubuntu, Fedora Workstation, and other Linux with GNOME Desktop environment. Simply install GNOME Tweaks from system package manager.
Then, you can easily change the font of Interface text, Document text, and Monospace text in the first tab of the app window.


Thanks, but the command line is wrong. The name of package is “typecatcher”, not typecather like in “sudo apt install typecather”.
The correct is
sudo apt install typecatcher