
![]()

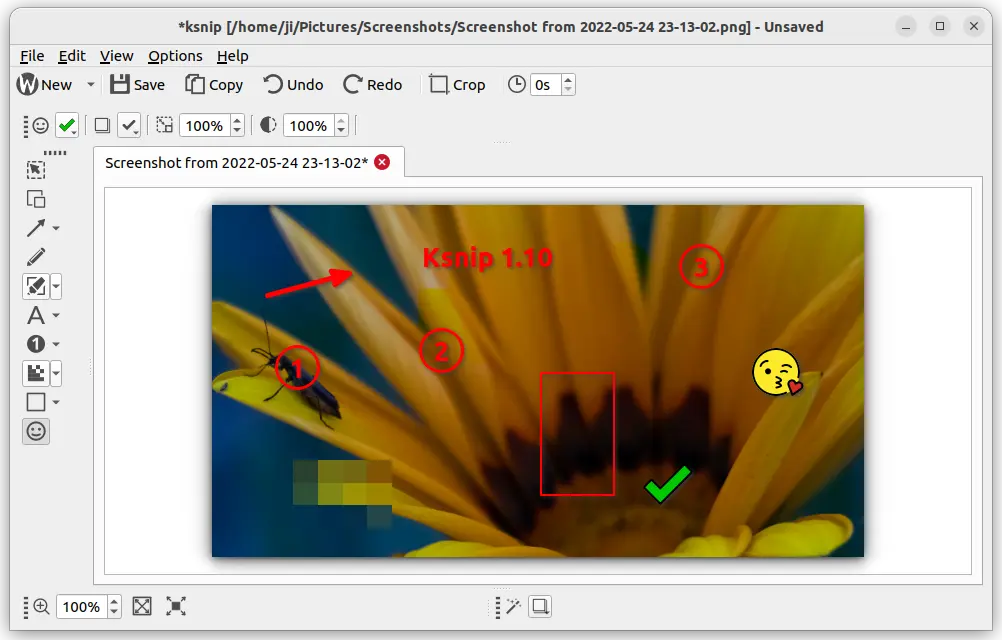
The popular Qt based screenshot tool KSnip 1.10.0 was released few days ago with some cool new features. Here’s how to install it in Ubuntu.
For those never heard of KSnip, it’s a free open-source cross-platform (supports Windows, Linux and MacOS) screenshot tool with some annotation tools, upload options and more.
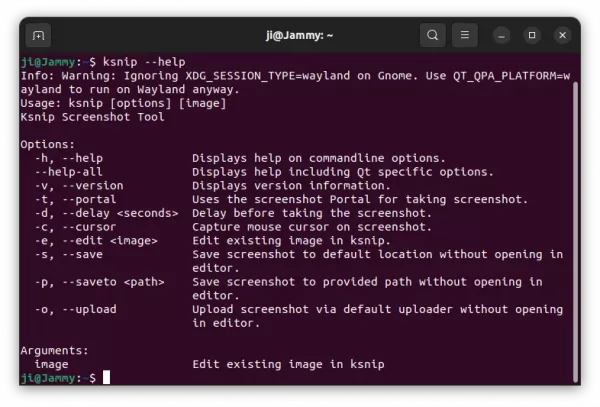
By releasing the new 1.10.0 release, it adds new command line options:
-por--saveto <path>to specify where to save image.-oor--uploadto upload screenshot via default uploader without opening in editor.
For other command options, simply run ksnip --help in terminal.

With a new OCR plugin, the release now supports for extracting plain text from images. Just open an image, then click on the “Options -> OCR” menu option to use it. Though, it seems to be in very early stage, which is not working in my case.


Other changes in KSnip 1.10.0 include:
- Add FTP uploading support.
- Add debug logging.
- New Save all option.
- Search in preference.
- Add support for RGBA colors with transparency.
- Editing feature improvements.
- And various bug-fixes.
How to Install KSnip 1.10
Option 1: Snap package
The easiest way to install the tool in Ubuntu is using the official Snap packages. Simply open Ubuntu Software, then you can search for and install it via few clicks.

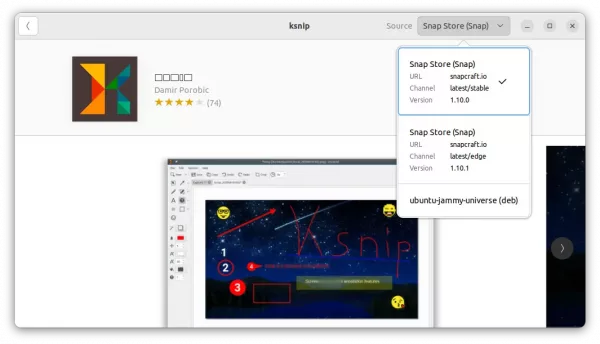
Install Ksnip via Ubuntu Software
Option 2: AppImage / Deb
The software project page also provides AppImage and Deb packages, as well as Windows and Mac OS packages for download under ‘Assets’ section:
For most Linux, you may download the non-install AppImage package, make it executable via right-click menu “Properties” dialog -> “Permissions” tab, and finally click run the package to launch it.
For Debian and Ubuntu based system, download the .deb package and install it by running command in terminal (press Ctrl+Alt+T to open terminal):
sudo apt install ~/Downloads/ksnip-*.deb
NOTE for Ubuntu 22.04, double-click installing this local deb via “Software Install” option may not work properly. It refers to the Snap package, rather than installing the local package.
Option 3: Ubuntu PPA (unofficial)
For those prefer Ubuntu PPA, here’s an unofficial repository with Ubuntu 20.04 and Ubuntu 22.04 support.
Simply press Ctrl+Alt+T on keyboard to open terminal, and run the commands below one by one will add the PPA and install the screenshot tool from it.
sudo add-apt-repository ppa:ubuntuhandbook1/ksnip
sudo apt update
sudo apt install ksnip libkimageannotator0 libkcolorpicker0
Install the OCR plugin:
The OCR plugin is available to install as a separate package. It’s available to download at the link below:
Click to expand the ‘Assets‘ section, download & install the .deb package for Debian and Ubuntu based system.
Uninstall Ksnip
For the snap package, simply click ‘uninstall’ button in Ubuntu Software.
For deb package, press Ctrl+Alt+T on keyboard and run the command below to remove it:
sudo apt remove --autoremove ksnip libkimageannotator0
And, remove the Ubuntu PPA (if added) by running command:
sudo add-apt-repository --remove ppa:ubuntuhandbook1/ksnip


