![]()
Xfce’s Parole media player announced the 4.18.0 released a day ago. Here’s how to install it in Ubuntu 20.04, Ubuntu 22.04, Ubuntu 22.10 and their based systems.
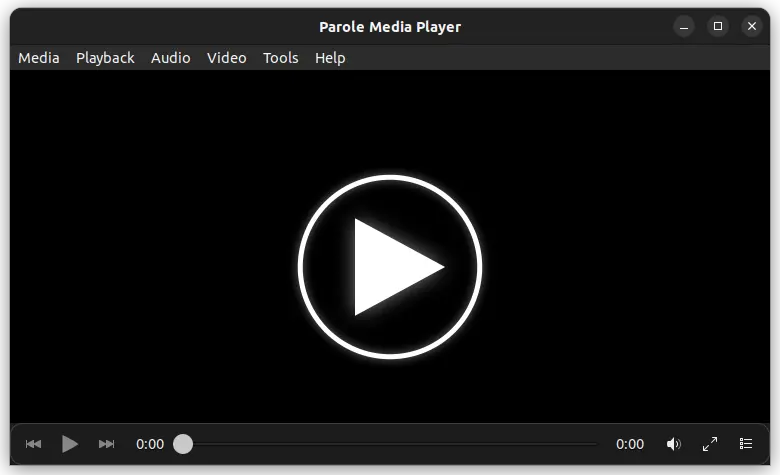
Parole is a modern simple video player based on the GStreamer. It’s an free opensource app fit well in the lightweight XFCE desktop, though also works in other Linux desktops.
The new version 4.18.0 was released last night. It’s been more than 2 years since the last release, there’s however NO big changes but only bug-fixes, minor improvements, and translation updates.
Changes in Parole 4.18.0 according to the NEWS file:
- Hovering mouse wheel over a speaker icon can also increase volume now.
- Reduce playback control panel to stay 2 seconds when in full-screen mode.
- Fix memory leak when loading cover image.
- Some icon updates and translation updates.
How to Install Parole 4.18.0 via PPA in Ubuntu:
The project does not provide official binary packages. Besides building from the source tarball, XUbuntu, Linux Lite, Linux Mint, and of course other Ubuntu based systems can get it from this unofficial PPA.
NOTE: Parole seems not working good in GNOME desktop with Wayland session. Meaning Ubuntu and Fedora workstation with default desktop environment need to switch to classic Xorg for this app.
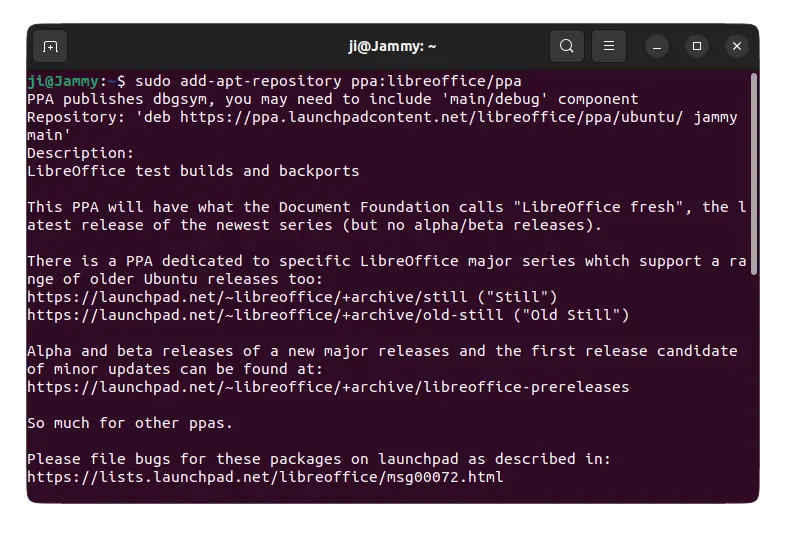
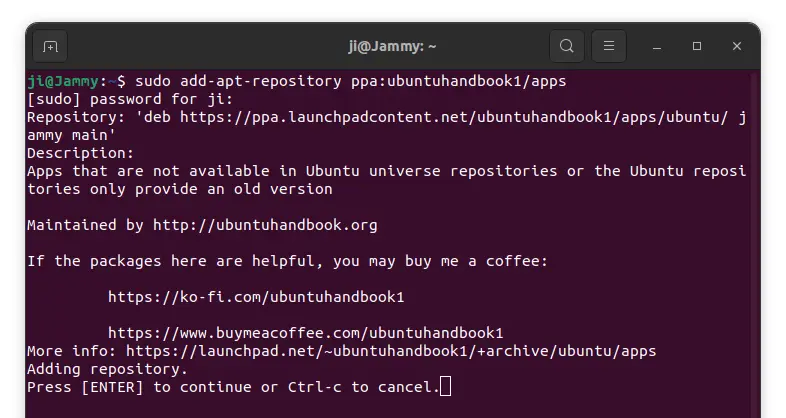
1. First, press Ctrl+Alt+T on keyboard or search for and open terminal window from start menu. When it opens, run command to add the PPA:
sudo add-apt-repository ppa:ubuntuhandbook1/apps
Type user password (no asterisk feedback) when it asks and hit Enter to continue. The PPA support for Ubuntu 20.04 and higher with both amd64 and arm64/armhf cpu architecture types.
2. Some Ubuntu based systems may need to manually update package index after adding PPA. To do so, run command:
sudo apt update
3. Finally, either upgrade the media player from an existing version (if any) using Software Updater (Update Manager), or run command in terminal to install it:
sudo apt install parole

Uninstall Parole or Restore original package
To restore the original version, run command in terminal to purge the PPA as well as downgrade the package:
sudo apt install ppa-purge && sudo ppa-purge ppa:ubuntuhandbook1/apps
Or, you can remove the Ubuntu PPA either via “Software & Updates” tool under “Other Software” tab, or run command:
sudo add-apt-repository --remove ppa:ubuntuhandbook1/apps
To remove the media player, use command:
sudo apt remove --autoremove parole