Archives For November 30, 1999

The Bluefish text editor just got a new bug-fix release today!

It’s Bluefish 2.2.14, that fixed crashes when deleting backup files on close, when closing some of the dialogs in flatpak app, and when the CSS language file was loaded on a 32-bit system.

Furthermore, the release fixed zencoding functionality with python3, added option to store the scope of the search dialog to the session or project which was removed in 2.2.12 release. Also, it improves the speed of the bookmarks code.
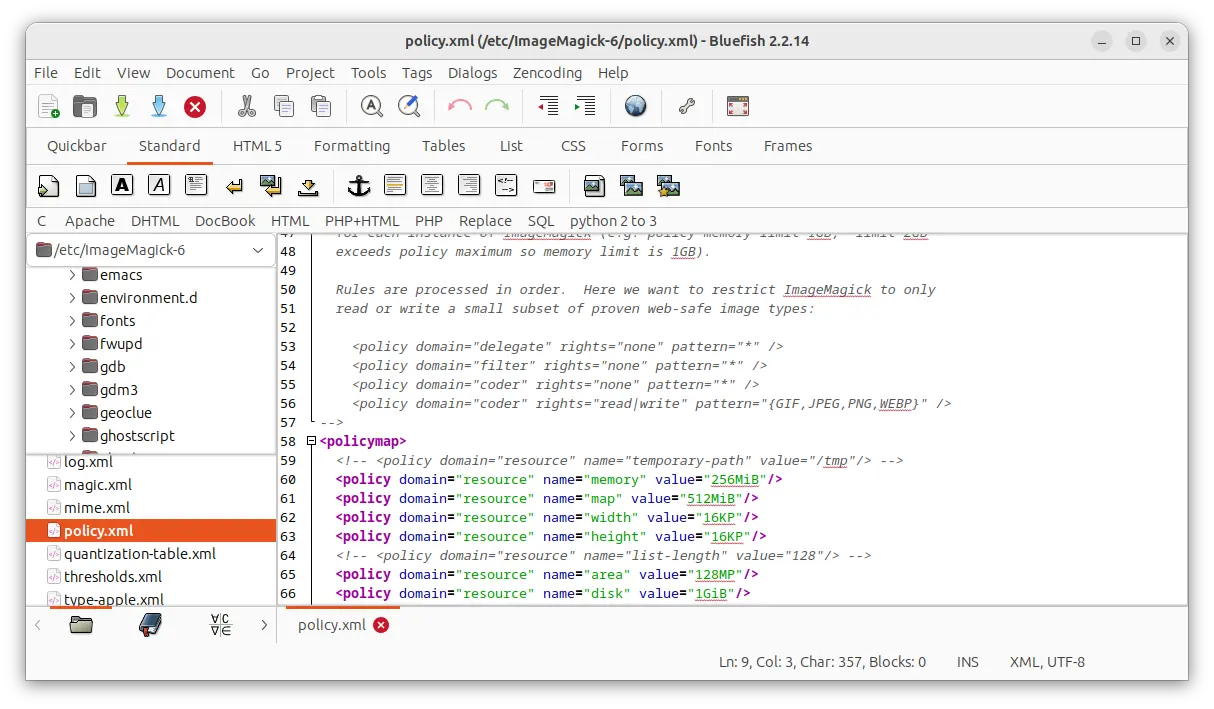
Bluefish 2.2.14

How to Install Bluefish in Ubuntu

Bluefish is available in Ubuntu repository, but always old. For the most recent releases, either use the official Flatpak package, third-party PPA, or build it from source by yourself.

Option 1: Flatpak package

Bluefish provides official package through Flatpak that works in most Linux but runs in sandbox.

Ubuntu user can press Ctrl+Alt+T on keyboard to open terminal, and run the commands below one by one to install the package:

1. First, run command to enable Flatpak support:

sudo apt install flatpak

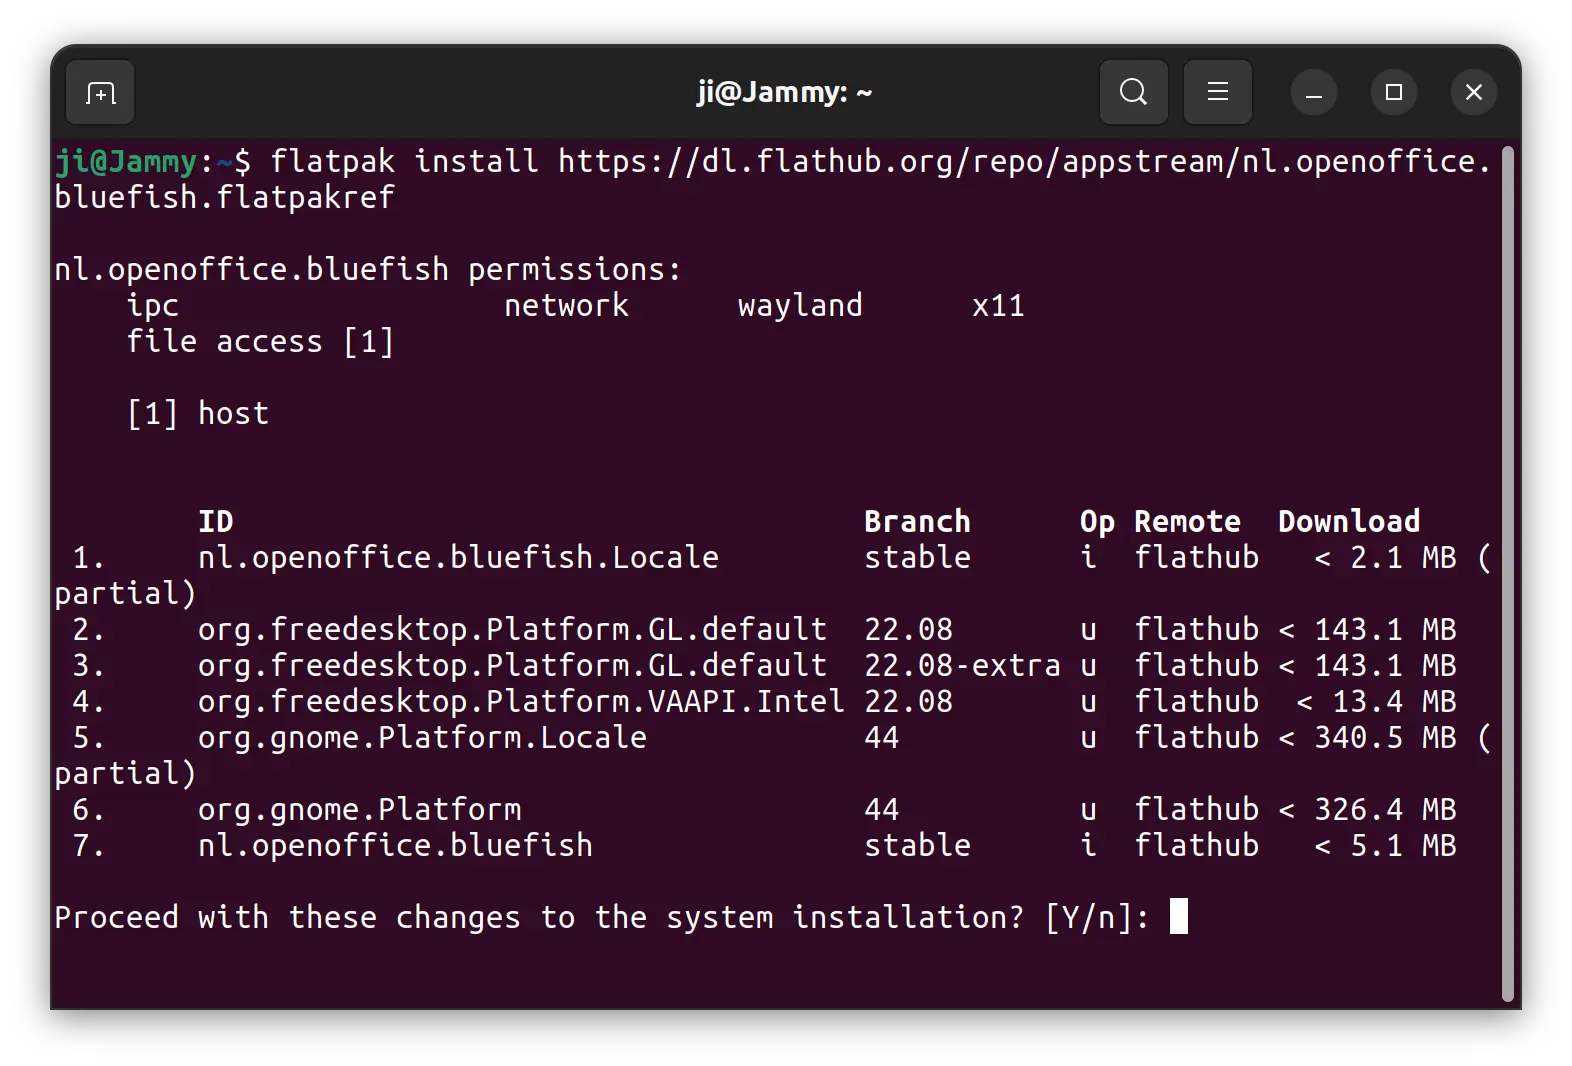
2. Then, install Bluefish as Flatpak package:

flatpak install https://dl.flathub.org/repo/appstream/nl.openoffice.bluefish.flatpakref

At the moment of writing, the Flatpak package is still v2.2.13. You can run flatpak update nl.openoffice.bluefish to update it when the new package is published.

Option 2: Ubuntu PPA (unofficial)

As you can see in the screenshot above, the Flatpak package will install hundred MB of run-time libraries. So, this unofficial PPA is here for choice.

The PPA supports Ubuntu 18.04, Ubuntu 20.04, Ubuntu 22.04, Ubuntu 22.10, Ubuntu 23.04, and their based systems with both x86_64 and arm64/armhf CPU architecture types.

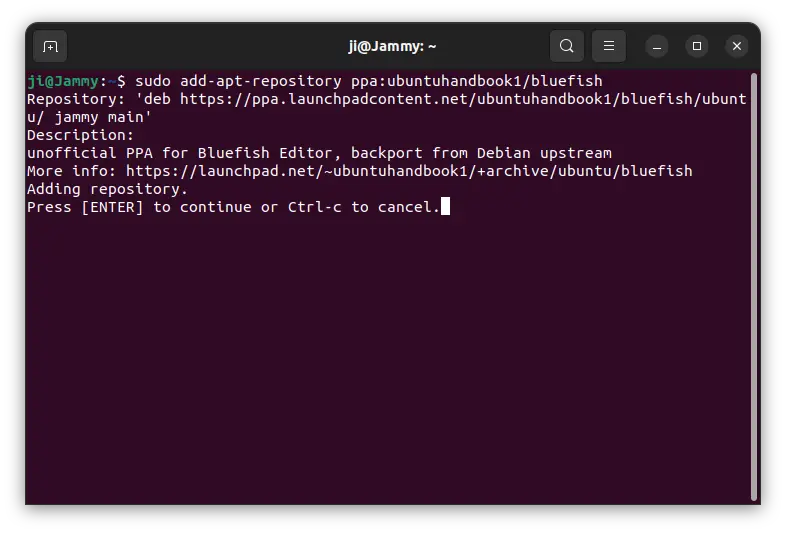
1. First, press Ctrl+Alt+T on keyboard to open terminal. When it opens, run command to add the PPA:

sudo add-apt-repository ppa:ubuntuhandbook1/bluefish

Type user password (no visual feedback) when it asks and hit Enter to continue.

2. For the old Ubuntu 18.04 and Linux Mint users, manually refresh the system package cache by running command:

sudo apt update

3. Finally, either run command to install the text editor:

sudo apt install bluefish

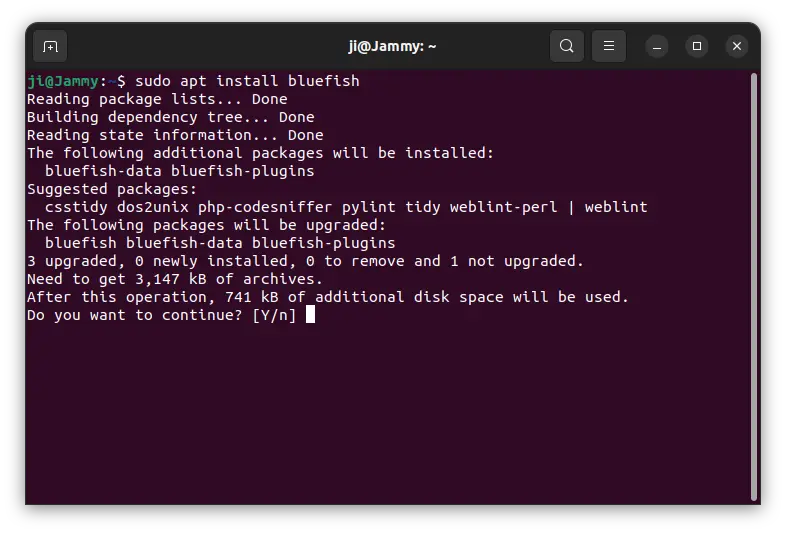
Or, open “Software Updater” and use the tool to upgrade the previous Bluefish package to the latest.

Option 3: Build Bluefish text editor from source

For those who can’t wait, it’s not hard to compile the package from source tarball. And, following steps are tested and work in my case in Ubuntu 23.04.

1. First, open terminal (Ctrl+Alt+T) and run command to install the dependency libraries:

sudo apt install gettext debhelper libenchant-2-dev libglib2.0-dev libgtk-3-dev libgucharmap-2-90-dev libpango1.0-dev libtool libxml2-dev libxml2-utils python3-dev zlib1g-dev

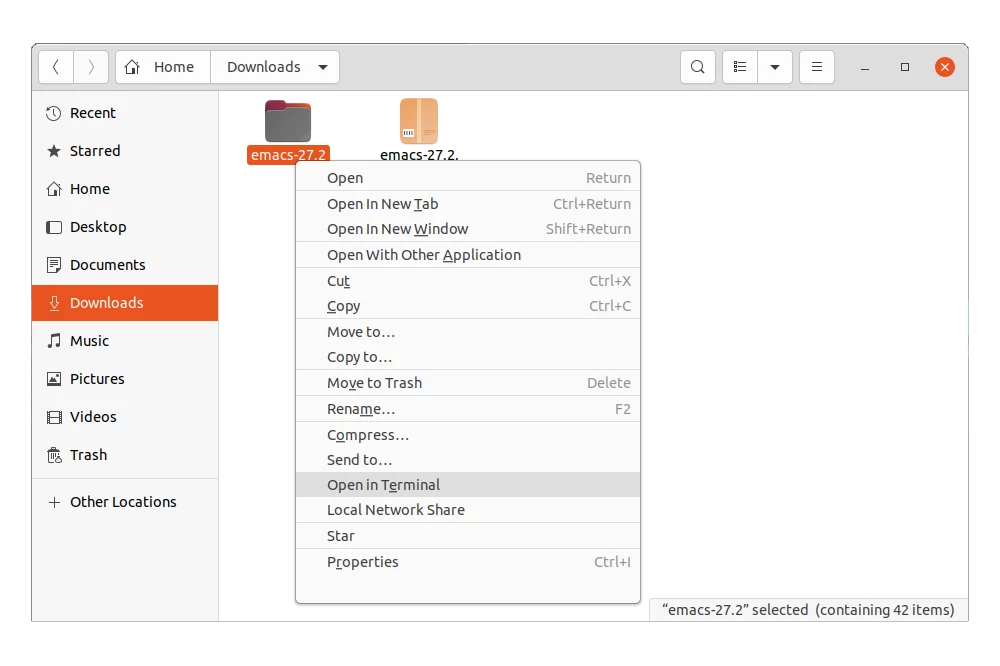
2. Download the source code from Bluefish website. Then, extract it. Right-click on source folder and select “Open in Terminal

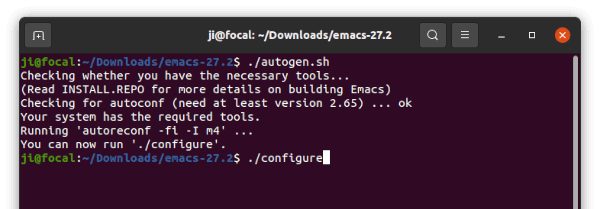
3. Once terminal opens with the source folder as working directory, run the commands below one by one to build and install the text editor.

./autogen.sh
make -j4
sudo make install

Uninstall Bluefish text editor:

For the Flatpak package, open terminal and run command to remove it:

flatpak uninstall --delete-data nl.openoffice.bluefish

Also run flatpak uninstall --unused to remove unused run-time libraries.

For the PPA package, remove it by running command:

sudo apt remove --autoremove bluefish

Also remove the Ubuntu PPA repository via command:

sudo add-apt-repository --remove ppa:ubuntuhandbook1/bluefish

For bluefish built from source code, until you remove the source folder, you can navigate to that folder in terminal and run command to uninstall it:

sudo make uninstall

For those hating the Flatpak and Snap packages, here’s how to compile GNU Emacs editor (v27.2 tested) from the source tarball while the Kevin Kelley’s PPA seems NOT to be updated anymore.

Before getting started, it’s recommended to remove old Emacs (if any) by running command in terminal (Ctrl+Alt+T):

sudo apt remove --autoremove emacs emacs-common

Install build dependencies:

Firstly, press Ctrl+Alt+T on keyboard to open a terminal window. When it opens, run command to install build-essential package:

sudo apt install build-essential

Next, search for and open ‘Software & Updates‘ from Activities overview screen. In the first tab, enable ‘Source code’ by ticking the checkbox.

Finally, refresh package cache and use apt build-dep command to install build depends:

sudo apt update && sudo apt build-dep emacs

Download Emacs source tarball:

The source tarball is available to download at the link below. So far the latest is ’emacs-27.2.tar.xz’:

Next, extract the tarball. Right-click on source folder and select ‘Open in Terminal‘ to open a terminal with that folder as working directory.

Build & Install Emacs:

After opening source folder in terminal, run autogen.sh script to generate configure scripts:

./autogen.sh

And, configure the source via command:

./configure

If no error outputs, build Emacs via command:

make bootstrap -j4

NOTE: here I use -j4 to start 4 threads to speed up make process. Depends on how many CPU cores in your machine, you may use -j8 or -j16 or just skip it.

When everything’s done successfully, install the editor via command:

sudo make install

Finally, try launching the app via emacs command.

Create app shortcut icon:

By default, it installs the executable binary as ‘/usr/local/bin/emacs‘. However, it does not create app icon for launching from start menu.

To create one, run command in terminal:

sudo gedit /usr/share/applications/emacs.desktop

It will create and opens the config file in Gedit text editor. When it opens, paste the following lines and save it.

[Desktop Entry]
Version=1.0
Name=Emacs (GUI)
GenericName=Text Editor
Comment=GNU Emacs is an extensible, customizable text editor - and more
MimeType=text/english;text/plain;text/x-makefile;text/x-c++hdr;text/x-c++src;text/x-chdr;text/x-csrc;text/x-java;text/x-moc;text/x-pascal;text/x-tcl;text/x-tex;application/x-shellscript;text/x-c;text/x-c++;
TryExec=/usr/local/bin/emacs
Exec=/usr/local/bin/emacs %F
Icon=emacs
Type=Application
Terminal=false
Categories=Utility;Development;TextEditor;
StartupWMClass=Emacs
Keywords=Text;Editor;

Just like the package in Ubuntu repository, you may also create a shortcut icon for launching Emacs in command line:

sudo gedit /usr/share/applications/emacs-term.desktop

Paste the previous content but change the “Name“, “Exec” (use /usr/local/bin/emacs -nw %F instead), and set “Terminal = true”.

When everything’s done, search for and open ‘Emacs’ from Activities overview and enjoy!

How to Remove Emacs that compiled from source:

Until you removed the source folder, you may run command (open folder in terminal) in terminal from that folder to uninstall Emacs:

sudo make uninstall

If you’ve already removed the source. You may also re-download it, extract, open in terminal, and run the previous command to do the job.

And, remove the app shortcuts using command:

sudo rm /usr/share/applications/emacs*.desktop

That’s all. Enjoy!

For Gnome fans, Apostrophe is a clean and intuitive Markdown editor you should try!

Apostrophe is one of the Gnome Circle Apps that provides a modern and distraction-free writing environment for Linux.

The editor supports for inputting via Pandoc’s Markdown, CommonMark, GitHub Flavored Markdown, MultiMarkdown and Plan Markdown formats.

The app has Light, Dark, and Gray (maybe) UI appearance. The ‘Hemingway Mode’ is available which will disable the backspace key. And ‘Focus Mode’ will highlight the current line, remove header and bottom bar to provide a zen-like environment when writing.

With inline preview, it formats your text automagically for you. By Ctrl+Clicking on anything, it shows popover preview, links, footnotes, equations.

Live Preview can be set to full window, right / bottom part, or a separate window. In bottom right it indicates how many words you wrote. It also counts characters, sentences, paragraphs, and read time.

And you can save you work as PDF, HTML, ODT. An advanced export dialog allows exporting to more formats including:

  • LibreOffice Text Document.
  • Microsoft Word(docx).
  • EPUB v3.
  • HTML5 Slideshow (reveal.js, DZSlides)
  • LaTeX (tex)
  • LaTeX Beamer Slideshow (tex, pdf)
  • Textile, Texinfo, and more.

How to Install Apostrophe in Ubuntu Linux:

The software is available as universal Flatpak package. You can install it in Ubuntu 16.04, Ubuntu 18.04, Ubuntu 20.04 and higher via following steps:

1.) Open terminal from start menu, and run command to add the Flatpak PPA for Ubuntu 16.04 and Ubuntu 18.04:

sudo add-apt-repository ppa:flatpak/stable

And run sudo apt-get update command to update cache afterwards.

2.) Install the Flatpak daemon if you don’t have it:

sudo apt install flatpak

3.) Add Flathub repository (considered official) that hosts the package:

flatpak remote-add --if-not-exists flathub https://flathub.org/repo/flathub.flatpakrepo

4.) Finally install Apostrophe Markdown editor:

flatpak install flathub org.gnome.gitlab.somas.Apostrophe

Uninstall:

To remove the editor as well as your personal app data, run command in terminal:

flatpak uninstall --delete-data org.gnome.gitlab.somas.Apostrophe

Klest-crossword is a game for professional compiling, editing and easy guessing american and classic the crossword puzzles.

It contains more than 1,000 crossword puzzles to guess and provides a lot of tools for creating a crossword puzzle. It a dictionary of 31 000 Russian words and a dictionary of 41 000 English words.

All functions:

  • Creating and guessing a crossword puzzle;
  • Check correctness of guessing a crossword puzzle;
  • Save state incompletely guessed crossword puzzle;
  • Automatic creation of crossword puzzle grid (beta)
  • Automatic compiling;
  • Semi-automatic compiling;
  • Creating and editing a dictionary;
  • Adding / removing words from the dictionary;
  • Saving created a crossword puzzle grid, as a template for the new;
  • Editing the font crossword;
  • Editing the grid of crossword puzzle;
  • Export crossword: RTF, PDF, PostScript(*.ps), HTML, Text format across Lite, JPG, JPEG, TIFF, BMP, XPM, PNG, XBM, PPM, OpenKlest(*.ok);
  • Import crossword: Texthttp://qt-apps.org/content/show.php/Klest-crossword?content=144254 format AcrossLite, OpenKlest(*.ok);
  • Print crossword;
  • Statistics;

Install Klest-crossword:

The source code and Deb installer are available from SourceForge.