![]()
This simple tutorial shows how to install the GNU Emacs text editor 29.3 and keep up-to-date in Ubuntu 22.04, Ubuntu 20.04.
GNU Emacs text editor has reached v29.x release series for few months, though Ubuntu still has v27.1 in its universe repository. For those would like to install/upgrade the editor, here are 3 different ways to do the trick in Ubuntu and its based systems.


Method 1: Snap Package
Snap is an universal Linux package format that runs in sandbox. It works on most Linux, and updates automatically when a new release is published. GNU Emacs is available as Snap with support for amd64 modern PC/laptop, arm64/armhf, ppc64el and s390x processors.
Ubuntu user can simply search for and install the package from Ubuntu Software. There are multiple app packages in software center, select install the one from “Snap Store”.

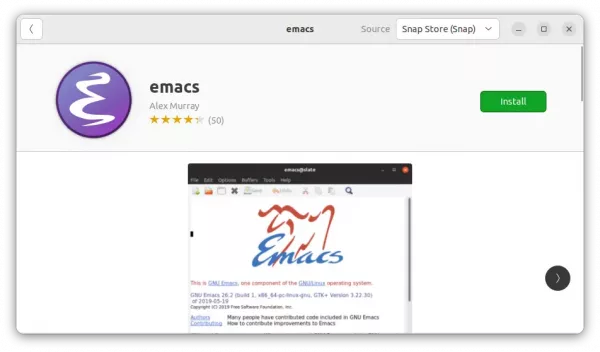
Install Emacs from Ubuntu Software
For other Linux, it’s available to install via https://snapcraft.io/emacs
Method 2: Ubuntu PPA
For those do NOT like applications run in sandbox, there’s an Ubuntu PPA contains the native .deb package for Ubuntu 22.04, Ubuntu 20.04, and Ubuntu 24.04.
Like the Snap and Flatpak packages, it’s a third-party repository. Though the maintainer has been working on the PPA for more than 5 years. Also, it supports for amd64, arm64/armhf, and ppc64el CPU architecture types.
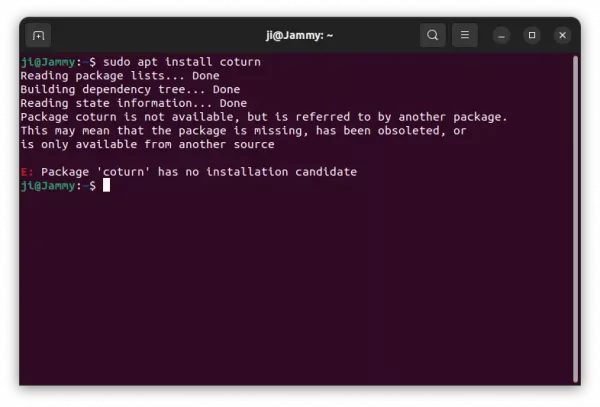
1. Firstly, press Ctrl+Alt+T on keyboard to open terminal. Run command to remove the old emacs package if any, since it conflicts to the package from PPA.
sudo apt remove --autoremove emacs emacs-common
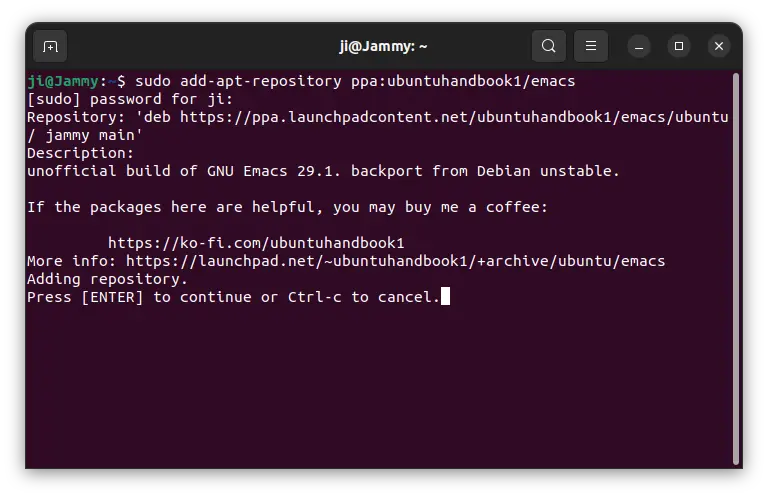
2. Then, run the command below to add the PPA:
sudo add-apt-repository ppa:ubuntuhandbook1/emacs
Type user password (no asterisk feedback) when it asks and hit Enter to continue.
3. Then run the command to update system package cache, which should be done automatically in Ubuntu 20.04 and higher during adding PPA.
sudo apt update
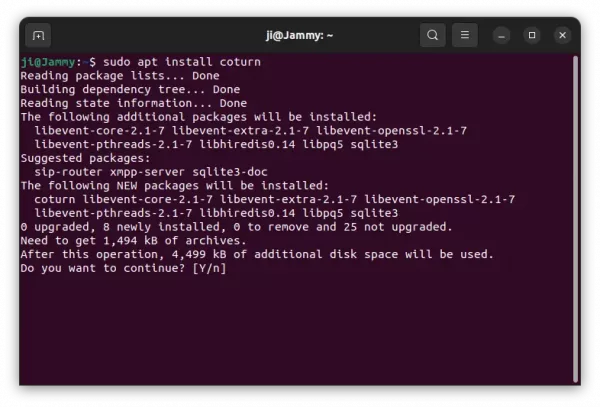
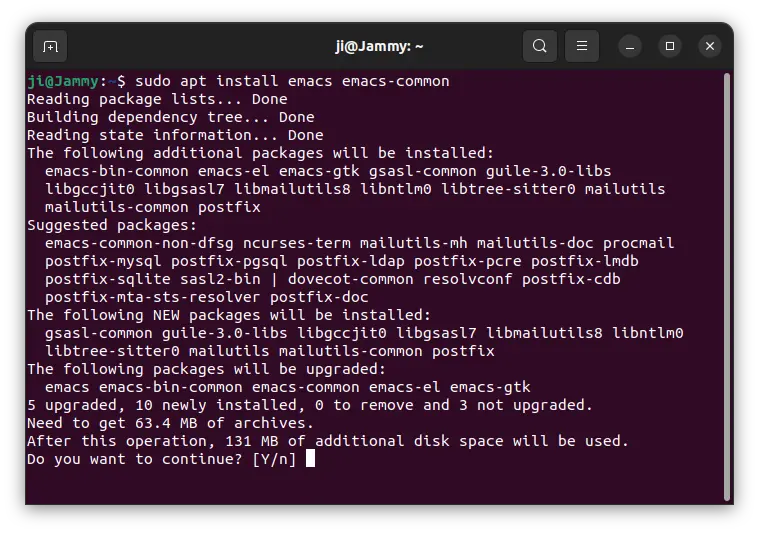
4. Finally, install Emacs via command:
sudo apt install emacs emacs-common
Here you may replace emacs with emacs-nox for text-only interface.
Method 3: Emacs Flatpak
The text editor is also available as the universal Flatpak package which runs in sandbox. Like Snap, the package runs in most Linux and it’s easy to update. However, it takes more disk space due to run-time libraries.
1. First, press Ctrl+Alt+T on keyboard to open terminal. When it opens, run command to install the flatpak daemon:
sudo apt install flatpak
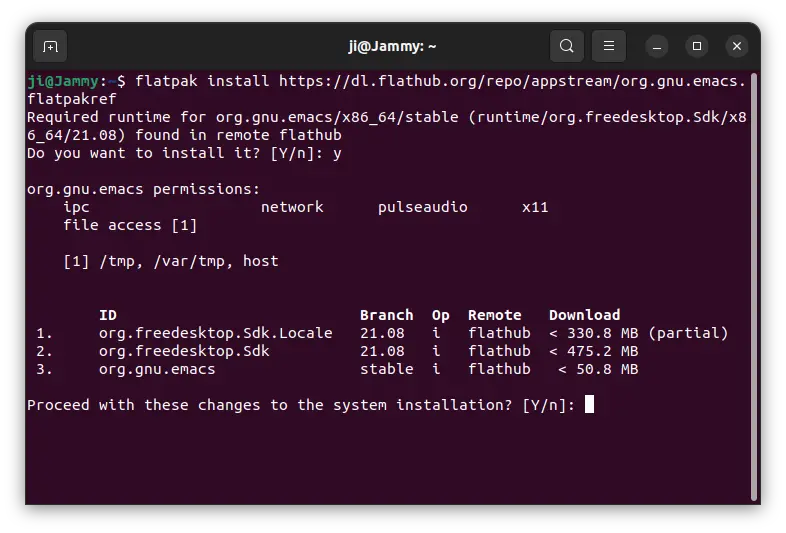
2. Then, install Emacs as Flatpak via command:
flatpak install https://dl.flathub.org/repo/appstream/org.gnu.emacs.flatpakref
How to Remove Emacs text editor
The Emacs Snap, Flatpak and Deb packages can be installed all together in your system. So, there may be duplicated app icons when you try to launch the editor.
To remove the Snap package, either use Ubuntu Software or run command in terminal:
sudo snap remove emacs
To remove the Flatpak package, use command:
flatpak uninstall --delete-data org.gnu.emacs
And clear useless runtime via flatpak uninstall --unused.
To remove the Deb package, run command:
sudo apt remove --autoremove emacs emac-common
And remove the Ubuntu PPA via command:
sudo add-apt-repository --remove ppa:ubuntuhandbook1/emacs