![]()

The wine team announced the new wine development version 6.2 with a few new features and various bug-fixes.
According to the release note, Wine 6.2 updated Mono engine to version 6.0.0, with DirectX support.
Other changes include:
- Support for NTDLL debugger APIs.
- More WinRT support in WIDL.
- Xbox One controller fixes on Mac.
- Bug fixes to Paint.NET, Earth 2160, Foxit Reader, Google SketchUp 13, and many other applications.
How to Install Wine 6.2 in Ubuntu:
The Wine team has made in the Linux packages for Ubuntu 18.04, Ubuntu 20.04, and Ubuntu 20.10. And you can install it by doing the steps below one by one.
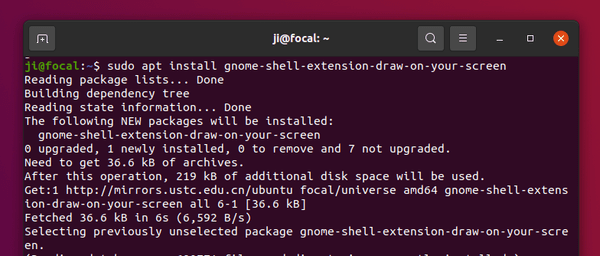
Open terminal either by pressing Ctrl+Alt+T on keyboard, or by searching for ‘terminal’ from system application menu. When it opens, run following steps one by one.
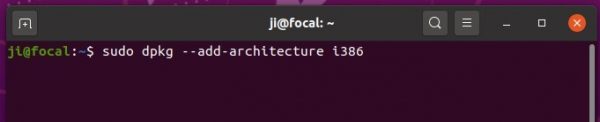
1.) Run command to enable 32 bit architecture (if you don’t have it):
sudo dpkg --add-architecture i386
Type user password (no asterisk feedback) when it asks and hit Enter to continue.

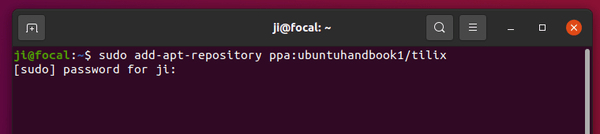
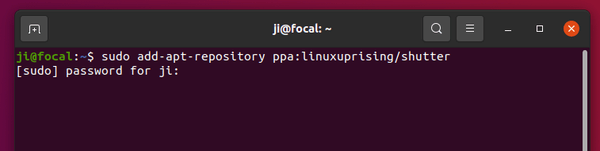
2.) Install the repository key by running command:
wget -O - https://dl.winehq.org/wine-builds/winehq.key | sudo apt-key add -


3.) Add wine repository via command (for Ubuntu 20.04 and Linux Mint 20):
sudo apt-add-repository 'deb https://dl.winehq.org/wine-builds/ubuntu/ focal main'
NOTE: You may replace focal in the code with:
- groovy for Ubuntu 20.10.
- bionic for Ubuntu 18.04 and Linux Mint 19.x


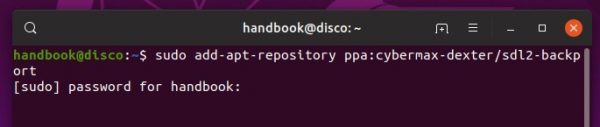
4.) For Ubuntu 18.04 and Linux Mint 19.x only, libfaudio0 library is required to install from a third-party repository by running command:
sudo add-apt-repository ppa:cybermax-dexter/sdl2-backport

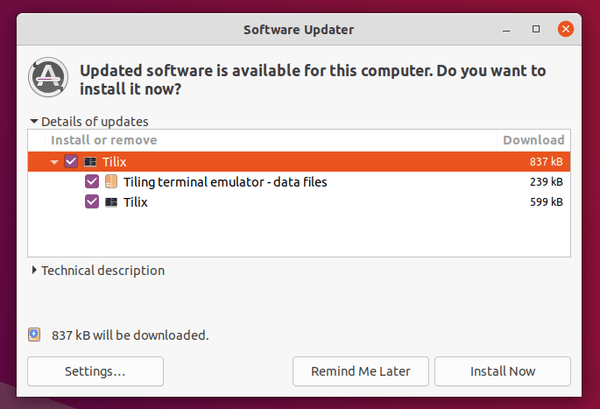
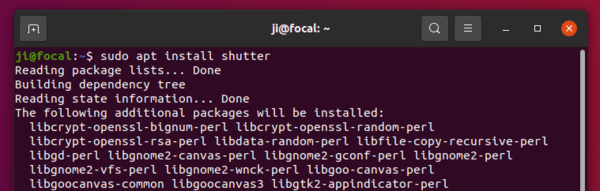
5.) Finally install Wine 6.2 via command:
sudo apt update && sudo apt install --install-recommends winehq-devel


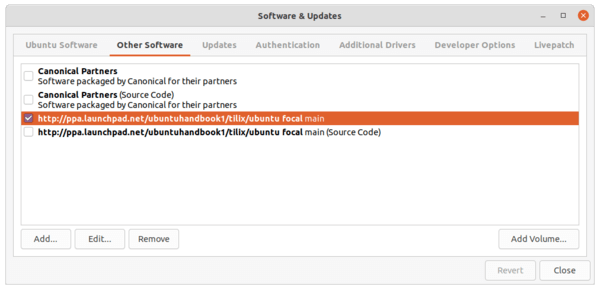
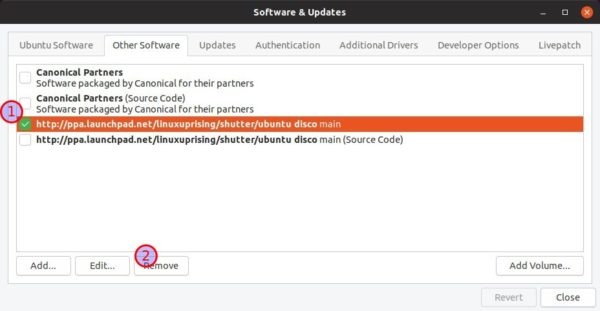
Uninstall wine:
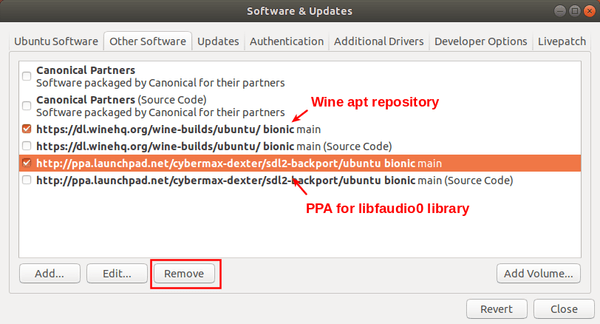
You may remove the PPA by launching Software & Updates utility and navigating to Other Software tab.

To remove wine 6.2, run command in terminal:
sudo apt remove --auto-remove winehq-devel