![]()
No patience with common video editors (e.g., Kdenlive and Openshot) as they can take hours to export a video after trimming / cutting it? Try LosslessCut.
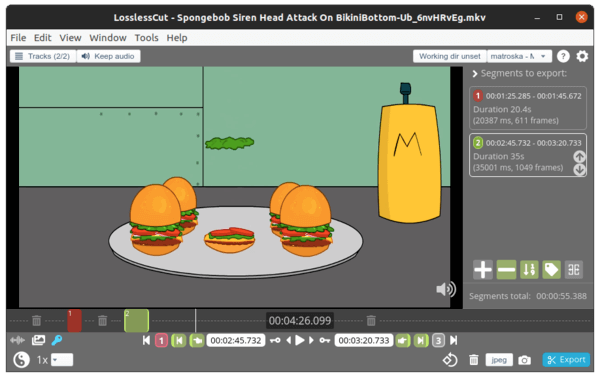
LosslessCut is a cross platform tool for lossless trimming / cutting of video and audio files. The software is extremely fast, it does the job in seconds without losing quality because it simply cuts the data stream and directly copies it over.
With LosslessCut, you can do:
- Losslessly trim or cut out parts of video/audio
- Lossless merge/concatenation of arbitrary files (identical codec parameters)
- Lossless stream editing: Combine arbitrary tracks from multiple files
- Losslessly extract all tracks from a file
- Remux into any compatible output format
- Take full-resolution snapshots from videos in JPEG/PNG format
- Apply a per-file timecode offset in the preview
- Change rotation/orientation metadata in videos
- Powerful timeline with zoom and frame/keyframe jumping
- Auto-saves per project cut segments to file
- View ffmpeg last command log so you can modify and re-run modify recent commands on the command line
- Give labels to cut segments
- Segment panel showing segments with details, export/import cut segments as CSV
- Video thumbnails and audio waveform
- Cut out commercials from a recorded TV show
- Replace audio track
- Include a subtitle into a video
- Extract audio, video, oro subtitle track from video

How to Get LosslessCut in Ubuntu:
There’s no .deb binary package for the software so far. You can either download the appimage or Linux tarball from the link below:
You can choose:
- grab the .appimage package, give executable permission in file Properties, finally run it to launch the software.
- or download the Linux tarball, extract and run the executable file to open the video editor.
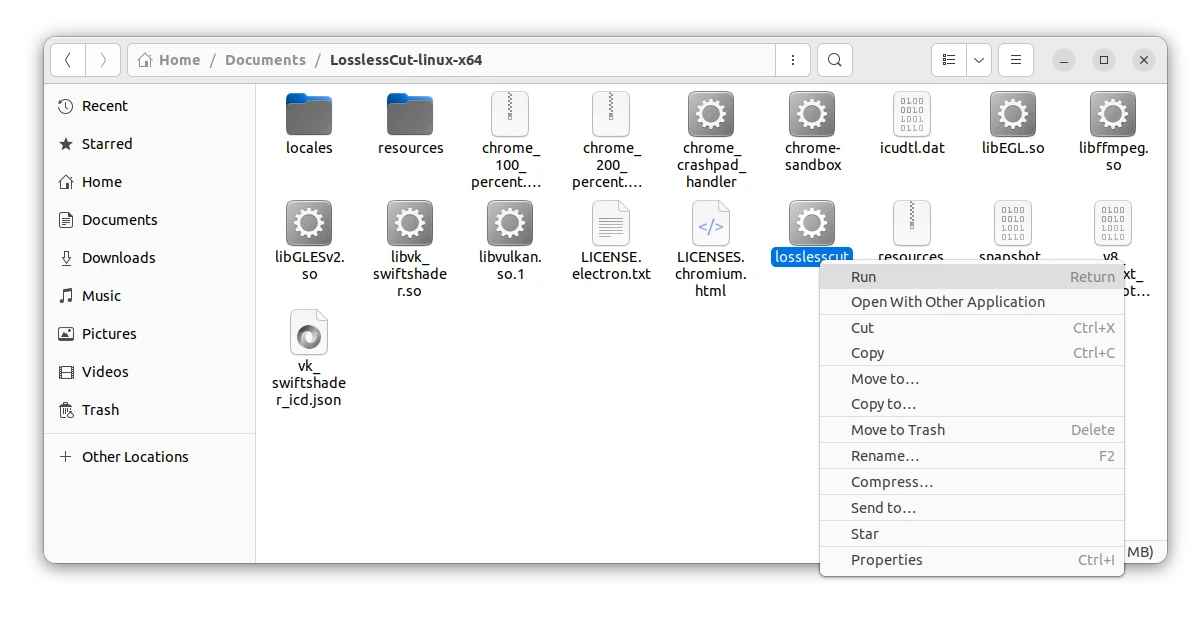
Launch Lossless Cut executable from portable Linux tarball
The software is also available in Ubuntu Software as Snap package. The package version is however lag behind.
For those OK with Linux universal Flatpak package, LosslessCut can be also installed via the flathub repository.