![]()

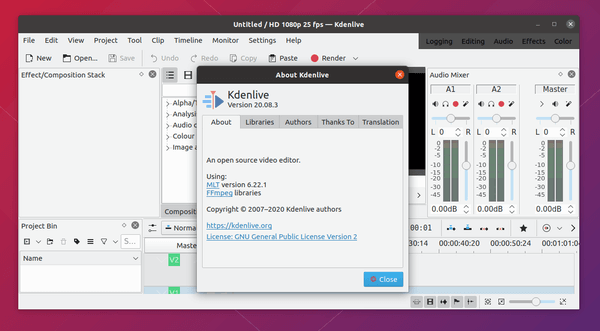
The third and last minor release for Kdenlive video editor 20.08 was released today with many fixes and improvements.
Changes in Kdenlive 20.08.3 include:
- Fix on monitor displayed fps with high fps values.
- Ensure timeline ruler is correctly updated on profile switch.
- When switching project profile and there is only 1 clip in timeline, update the timeline clip duration accordingly to profile change.
- Project archiving: check after each file if archiving works, add option to use zip instead of tar.gz.
- Fix opening project files with missing version number.
- Fix duplicated audio from previous commit.
- Fix playlist clips have no audio regression.
- Fix keyframeable effect params left enabled when selecting a clip, leading to possible crash.
- Don’t allow removing the only keyframe in an effect.
- Fix crash inserting zone over grouped clips in same track.
- Check ffmpeg setting points to a file, not just isn’t empty.
- Qtcrop effect: make radius animated.
- Render widget: avoid misuse of parallel processing.
- Fix resizing clip loses focus if mouse cursor did not get outside of clip boundaries.
- Fix rounding error sometimes hiding last keyframe in effectstack.

How to Install Kdenlive 20.08.3 in Ubuntu 20.04, Ubuntu 20.10:
The kdenlive team ppa has built the latest packages for Ubuntu 20.04, Ubuntu 20.10, Linux Mint 20.
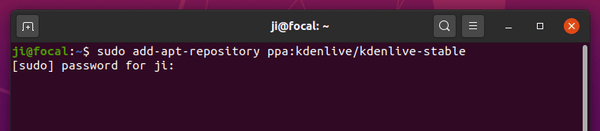
1.) Open ‘terminal’ from your system application menu, and run command to add the PPA:
sudo add-apt-repository ppa:kdenlive/kdenlive-stable
Type your password when it asks (no asterisk feedback) and hit Enter to continue.

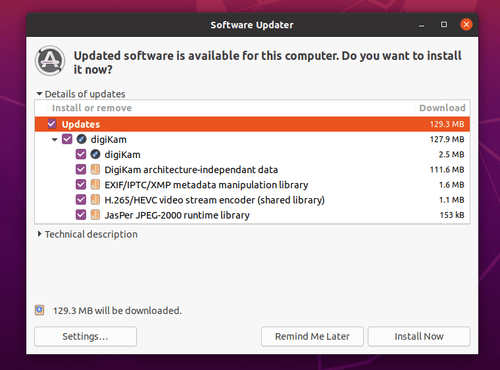
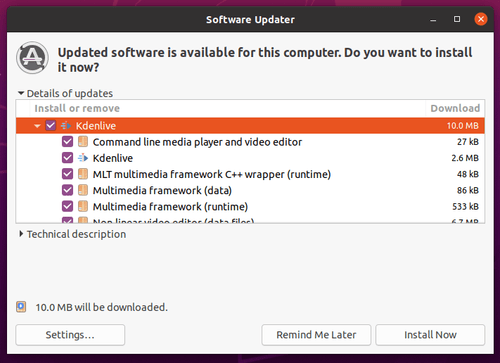
2. ) If an old version of kdenlive was installed, upgrade it via Update Manager:

Or simply run command in terminal to install the video editor:
sudo apt install kdenlive
NOTE for non-KDE users, Kdenlive will be installed along with a large list of KDE libraries.
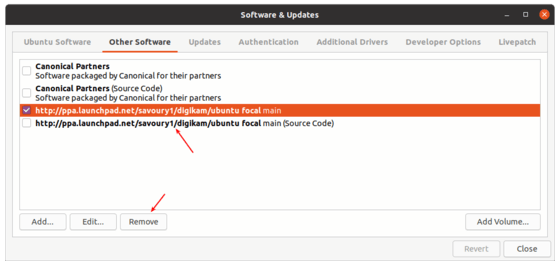
Uninstall:
To purge the PPA as well as downgrade Kdenlive package, run command in terminal:
sudo apt install ppa-purge && sudo ppa-purge ppa:kdenlive/kdenlive-stable
To remove the PPA only, run command:
sudo add-apt-repository --remove ppa:kdenlive/kdenlive-stable
And to remove Kdenlive, run command:
sudo apt remove --autoremove kdenlive kdenlive-data