![]()

This simple tutorial shows how to install the latest KiCad, schematic capture & PCB design software, in Ubuntu 24.10, Ubuntu 24.04, Ubuntu 22.04, Linux Mint via PPA.
KiCad is a free software suite for electronic design automation. It facilitates the design of schematics for electronic circuits and their conversion to PCB designs. KiCad was originally developed by Jean-Pierre Charras. It features an integrated environment for schematic capture and PCB layout design. Tools exist within the package to create a bill of materials, artwork, Gerber files, and 3D views of the PCB and its components.
The new official PPA was created contains the latest packages for 9.0 release series. See here for the new features in the KiCad 9.x.
Install KiCad 9.x from Ubuntu PPA
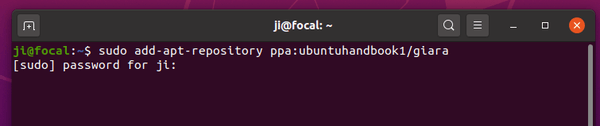
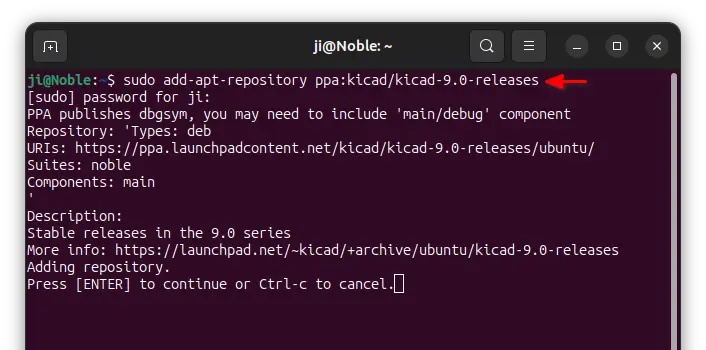
1. Open terminal either from system application launcher, or by pressing Ctrl+Alt+T on keyboard. When it opens, run command to add the PPA:
sudo add-apt-repository ppa:kicad/kicad-9.0-releases
Type user password (no visual feedback) when it asks and hit Enter to continue.
NOTE: KiCad maintains individual PPAs for each release series! When next 10.x release series is out, there may be new PPA for it. So go check this page in case a new PPA is available when you see this tutorial.
2. Then refresh system package via command:
sudo apt update
This step is no longer required as it automatically refresh cache while adding PPA. However, some Ubuntu flavors, e.g., Linux Mint, does NOT.
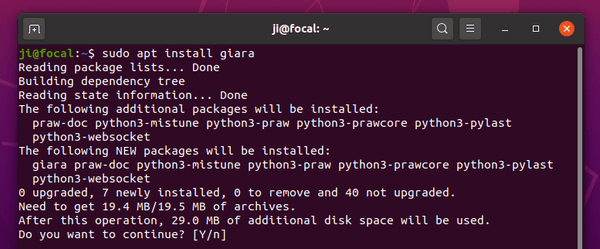
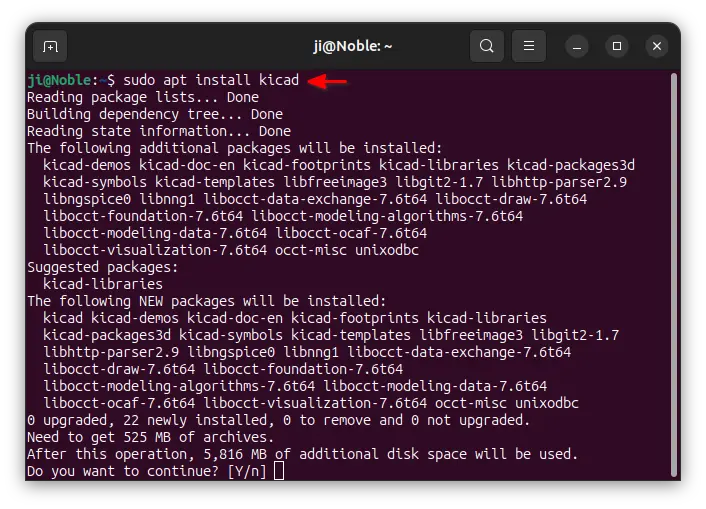
3. Install the KiCad package:
sudo apt install kicad
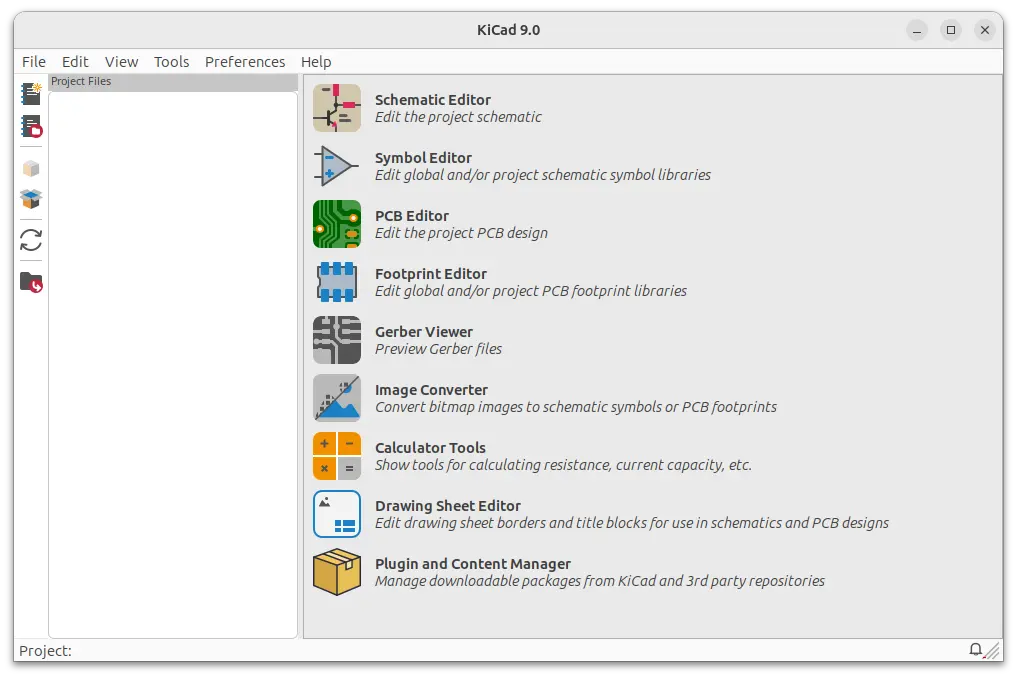
After installation, search for and launch the CAD software from either start menu or GNOME Overview depends on your desktop and enjoy!
Uninstall:
To remove KiCad package, run command:
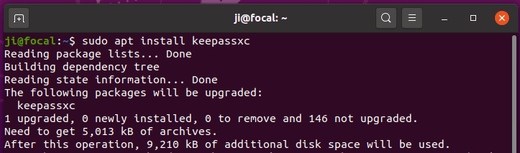
sudo apt remove --autoremove kicad
To remove the PPA, either go to Software & Updates -> Other Software or run command:
sudo add-apt-repository --remove ppa:kicad/kicad-9.0-releases