![]()
Prefer installing Chromium browser via DEB rather than using SNAP package? Here’s how to install Chromium .deb package in Ubuntu 20.04 via PPA.
Since Ubuntu 20.04, Chromium deb in the main repository is empty!! It will automatically install the containerized snap package when you trying to install it via apt command.

For those prefer deb to the universal snap package format, user may install the browser either from Linux Mint repository or using a third-party Ubuntu PPA.
Option 1: Install Chromium using Linux Mint repository:
Linux Mint, the popular Ubuntu based system now maintains the latest Chromium DEB packages in its repositories since the developers does not like Snap.
I’ve written about how to add the Linux Mint repository and install Chromium step by step in another post.
Option 2: Install Chromium via third-party Ubuntu PPA:
Personally, I prefer the package from Linux Mint a bit more. Though, there’s now a trustworthy third-party PPA maintains the latest Chromium package. And, the PPA supports Ubuntu 16.04, Ubuntu 18.04, Ubuntu 20.04 and Ubuntu 21.04 so far. Ubuntu 21.10 is somehow not supported at the moment.
1. Add the PPA
Firstly, press Ctrl+Alt+T on keyboard to open terminal. When it opens, run command to add the PPA:
sudo add-apt-repository ppa:savoury1/chromium
Type user password (no asterisk feedback) when it asks and hit Enter to continue

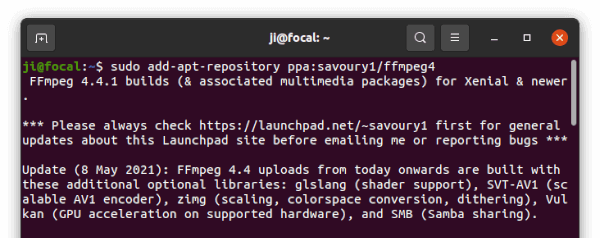
For Ubuntu 20.04 and earlier, the FFmpeg PPA is also required as dependency:
sudo add-apt-repository ppa:savoury1/ffmpeg4
NOTE: Update system ffmpeg library might cause conflict to other packages in your system. It’s NOT recommended for beginners!
2. Update the package cache:
For Ubuntu 18.04 and earlier, user need to manually update the package cache after adding the PPA. To do so, run command in terminal:
sudo apt update
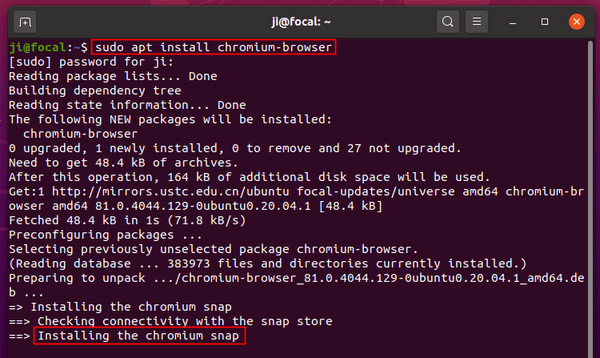
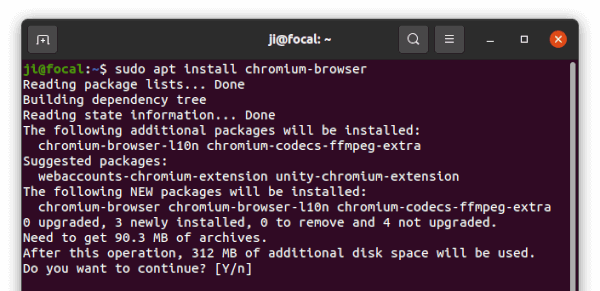
3. Install Chromium package:
Finally, install the Chromium browser package in .deb format via command:
sudo apt install chromium-browser
Keep an eye on terminal output, it should start downloading the package from the PPA. If not, press Ctrl+C on keyboard to stop it.
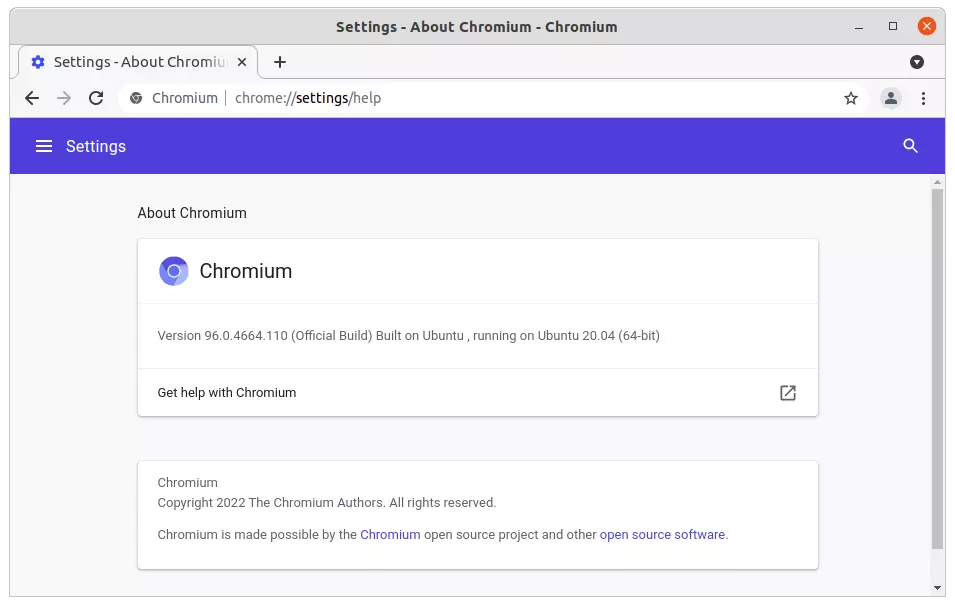
Once installed, search for and open the browser from ‘Activities‘ overview screen. And, check its version in about page.
Remove Chromium:
To remove the web browser, simply open terminal via Ctrl+Alt+T shorcut key and run command:
sudo apt remove --autoremove chromium-browser
And remove the PPA, use command:
sudo add-apt-repository --remove ppa:savoury1/chromium
For the FFmpeg PPA, it’s recommended to purge it which also downgrade all installed packages:
sudo apt install ppa-purge && sudo ppa-purge ppa:savoury1/ffmpeg4
Without downgrading the packages, you may instead remove the PPA using the previous command.