![]()

This simple tutorial shows how to send application shortcut icons to the desktop in Ubuntu 20.04 Gnome Shell.
Want to put working folders and common used applications on your desktop? It’s easy to do this in the default Gnome desktop via following steps.

Method 1: Copy & Paste .desktop files Manually
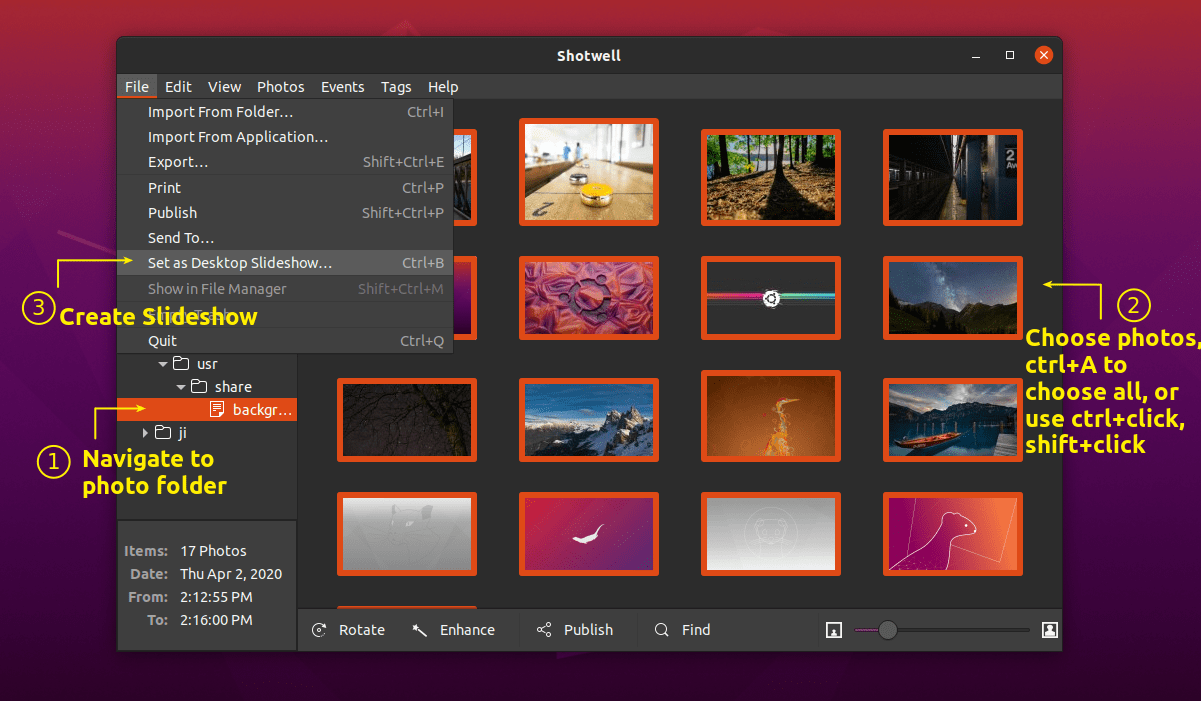
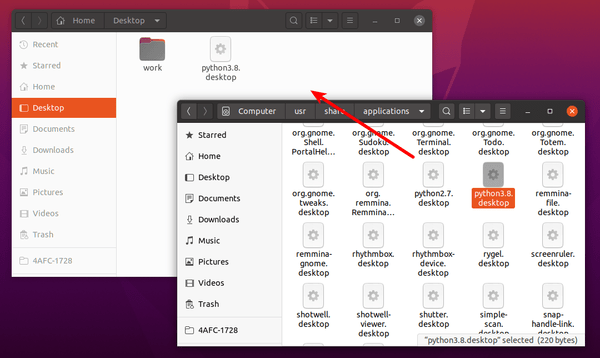
1. First open file browser and navigate to Other Locations > Computer > usr > share > applications. The shortcut files of most installed applications are there.
Open another new file browser window, and navigate to Desktop folder.
Now drag and drop desired applications’ .desktop files to the Desktop folder.

2. Then right-click on the desktop icons one by one and select ‘Allow Launching‘.
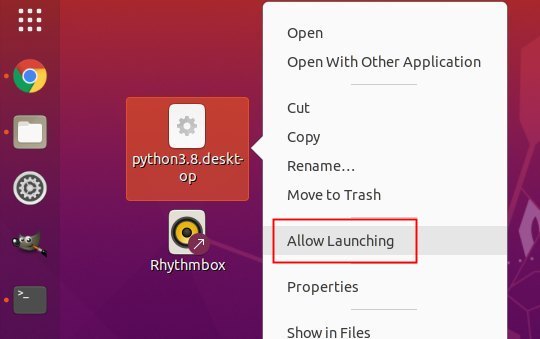

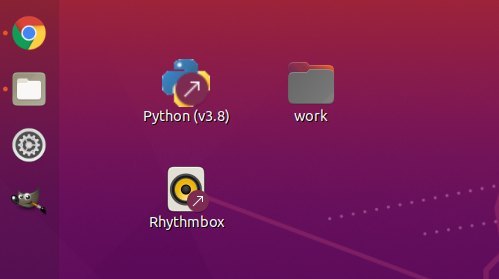
The icons should change, and will launch the applications once you click on them.
Method 2: Use an extension
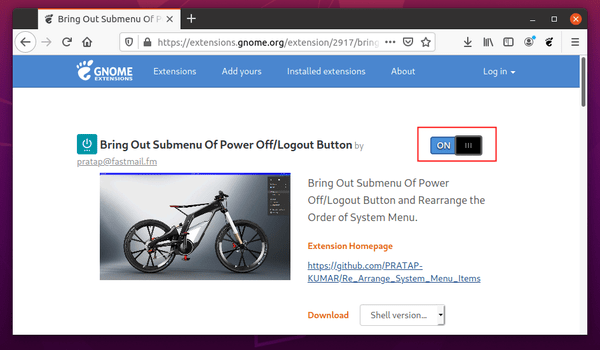
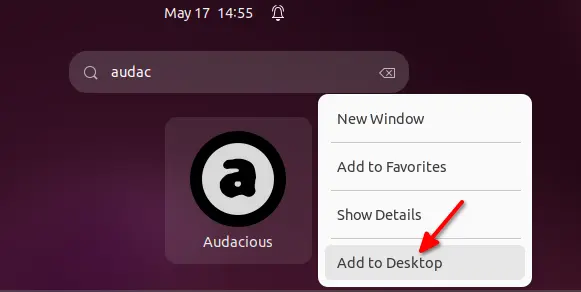
There’s now a Gnome extension to make things easier! With it, user can simply search for an application and right-click on its icon, finally select “Add to Desktop” option to do the job.

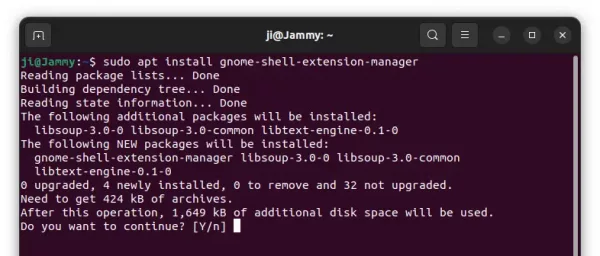
To install the Extension in Ubuntu 22.04, press Ctrl+Alt+T on keyboard to open terminal. Then, run command to install extension manager:
sudo apt install gnome-shell-extension-manager

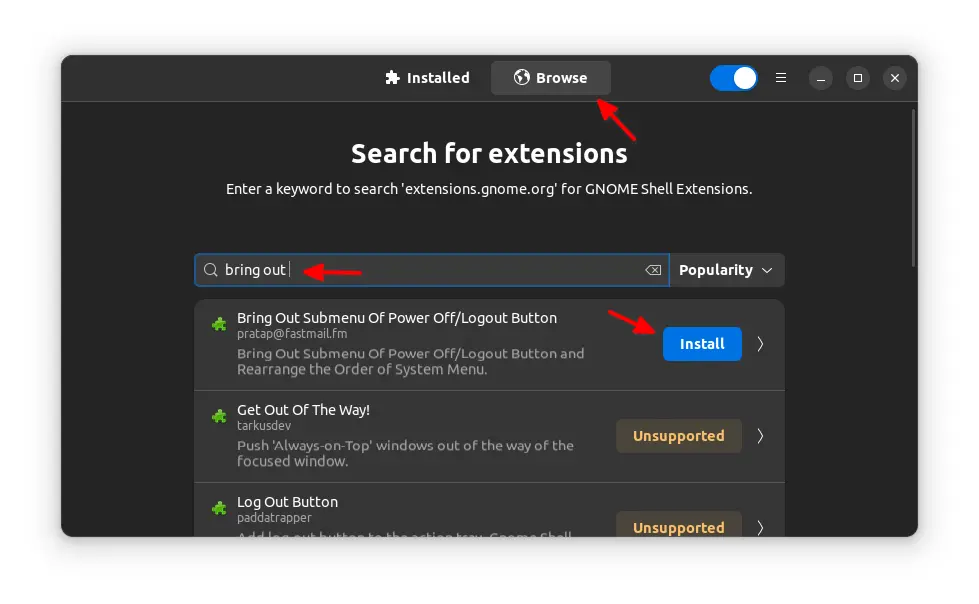
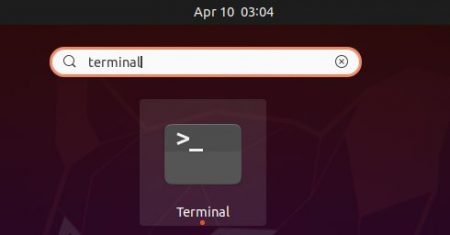
Next, press Windows/Super key on keyboard and then search for and open the extension manager:


Finally, search for and install “Add to Desktop” extension under ‘Browser’ tab and enjoy!


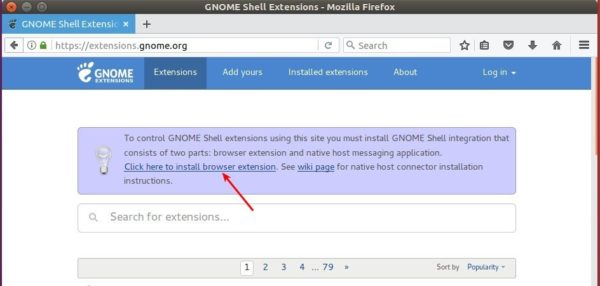
Ubuntu 20.04 user may install the extension by visiting this gnome web page.