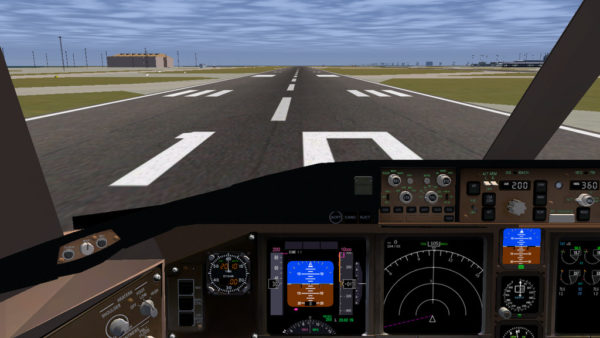
FlightGear Flight Simulator 2020.1 was released a week ago. Now it’s finally made into PPA for Ubuntu 16.04, Ubuntu 18.04, Ubuntu 19.10, Ubuntu 20.04, and their derivatives.
FlightGear 2020.1 was released as current preview release that contains many exciting new features, enhancements and bugfixes.
Enhancements since 2019.1 include a developer preview of the upcoming Compositor graphical rendering framework as a separate pre-built binary, better aircraft carrier support, improvements to both the JSBSim and YASim flight dynamics models, better view options, more efficient and better looking OpenStreetMap buildings and translation of the UI into Polish. Major aircraft updates include the Boeing 777, Airbus A320, Antonov AN-24, F-16, Piper J3Cub, Saab JA37 Viggen, Piper PA28 Cherokee, Bombardier Q-400, Space Shuttle.
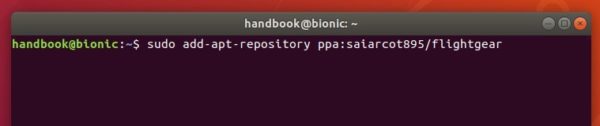
1.) To install the flight simulator, first open terminal either from system application menu or by pressing Ctrl+Alt+T on keyboard.
When terminal opens, run command to add the PPA repository:
This simple tutorial shows how to change the action (e.g., power off, hibernate, do nothing, or lock) when laptop lid is closed in Ubuntu 20.04, Ubuntu 22.04, and Ubuntu 24.04, while it suspends Ubuntu by default.
NOTE: This tutorial is also tested and works in Ubuntu 22.04, and Ubuntu 24.04 with default GNOME desktop environment. It should also works in other Linux uses systemd.
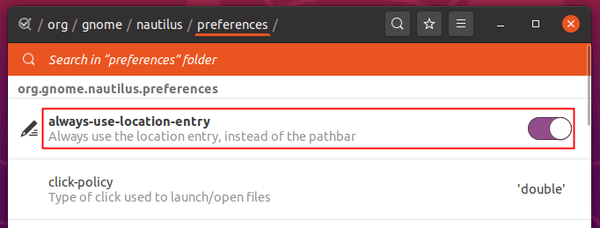
Dconf editor offers options to change the action to take when the laptop lid is closed on AC or power, but it doesn’t work!
Option 1: Edit logind.conf file
So far as I know, you can edit the logind.conf file to change the lid close action. And it should work on all Ubuntu desktop, server, and flavors.
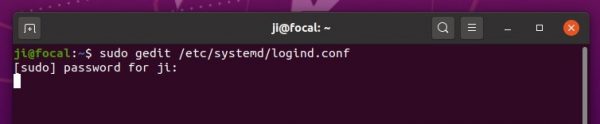
1.) First, press Ctrl+Alt+T on keyboard to open up a terminal window. When it opens, run command to edit the config file:
sudo gedit /etc/systemd/logind.conf
Depends on your Ubuntu edition and desktop environment, replace gedit in command with gnome-text-editor for Ubuntu 24.04 and higher. Or, use mousepad for XFCE, pluma for MATE, or nano command line text editor that works in most desktops.
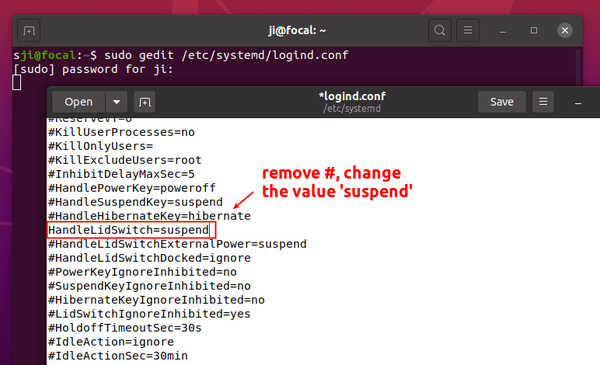
2.) When the file opens, find out the line #HandleLidSwitch=suspend and change it to one of following :
HandleLidSwitch=lock – lock when lid closed.
HandleLidSwitch=ignore – do nothing, some laptops will disconnect Wi-Fi.
HandleLidSwitch=poweroff – shutdown.
HandleLidSwitch=hibernate – hibernate Ubuntu.
NOTE: hibernation feature does NOT work out-of-the-box in Ubuntu, you have to enabled it first if need.
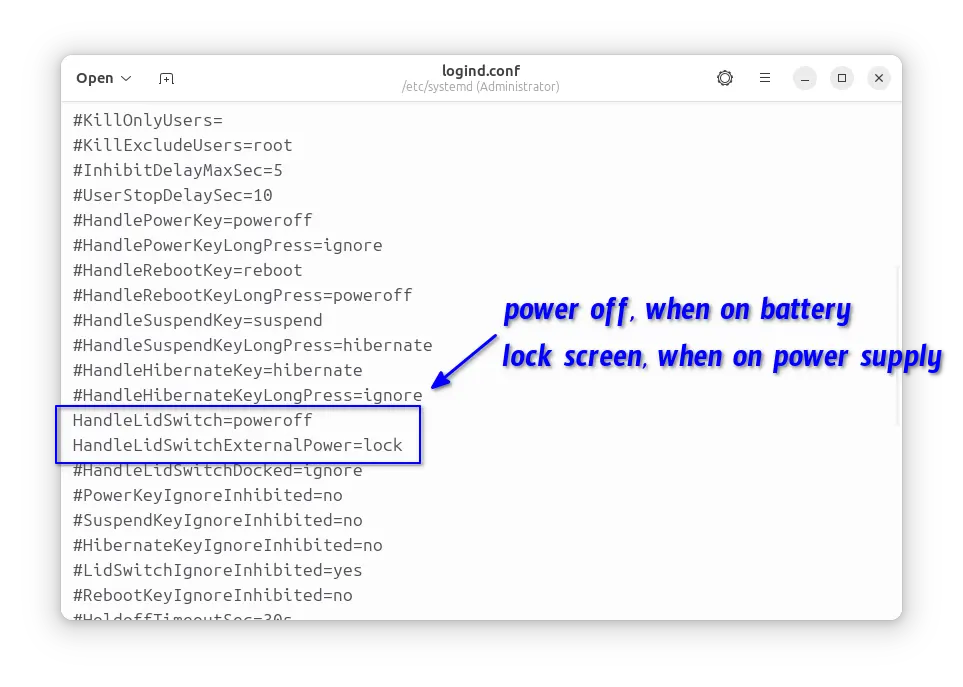
3.) Set lid close action when running on power supply or in docking station.
For choice, you may also uncomment ‘HandleLidSwitchExternalPower‘ and/or HandleLidSwitchDocked lines by removing # at their beginning, and change the value to lock, ignore, poweroff, or hibernate.
So the changes will also apply when your laptop is running with power supply, in a docking station, or with external displays.
4.) After saved the file (for nano, press Ctrl+S then Ctrl+X). Finally apply changes by running command to restart systemd-logind service:
systemctl restart systemd-logind.service
In current Ubuntu releases, the last command will log user out. But for Ubuntu 22.04 and higher, it’s better to restart computer instead.
Note: You have to do previous steps every time you want to change the action. And ‘Suspend when laptop lid is closed‘ option in Gnome Tweaks will no longer work before you comment (add # at the beginning) the line in /etc/systemd/logind.conf.
Option 2: Use A Drop-in under /etc/systemd/logind.conf.d
The first option works good in my case, but it’s recommended to create “drop-ins” in the /etc/systemd/logind.conf.d/ directory. So defaults can be easily restored by deleting main file and all drop-ins.
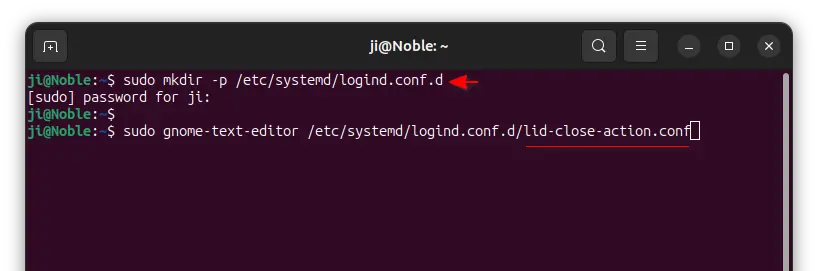
1. First, press Ctrl+Alt+T to open terminal. Then, run command create the directory in case it does not exit:
sudo mkdir -p /etc/systemd/logind.conf.d
2. Next, run command to create a ‘drop-in'(custom config file), for example lid-close-action.conf, under that directory:
UPDATE: For Ubuntu 22.04 and Ubuntu 24.04, there’s now a graphical tool to do the job, see this tutorial for details.
This simple tutorial shows how to easily change the login screen background wallpaper or solid color in Ubuntu 20.04 Gnome desktop.
There’s no setting option to change GDM3 login screen background unless hacking on the the style sheet file, though it was fairly straightforward to edit the content in Ubuntu 18.04 and Ubuntu 19.10.
In Ubuntu 20.04, you have to extract the css file from current theme’s .gresource file, then edit the content and recompile to create the new .gresource file, and finally set it as default.
Change Login screen background via script:
Thankfully, there are a few scripts in Github to make things simple. And here’s the one that works on Ubuntu 20.04, Ubuntu 20.10, and Ubuntu 21.04.
1.) First open terminal via Ctrl+Alt+T key combination and run command to install the required libraries:
sudo apt install wget libglib2.0-dev-bin
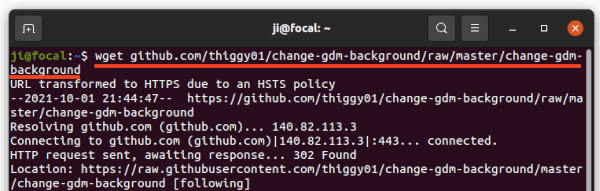
2.) Then download the script via wget command line downloader:
3.) After downloaded the script, add executable permission to the file by running command:
chmod +x change-gdm-background
4.) And finally run command to set your photo image as login background:
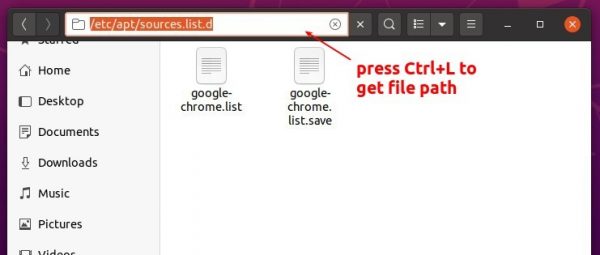
sudo ./change-gdm-background /PATH/TO/IMAGE
Besides typing the path to image manually, you can type “sudo ./change-gdm-background” in terminal, then hit space bar to input a blank space, and finally drag & drop the image from file manager to terminal window.
Type user password (no visual feedback) when it asks and hit Enter. IMPORTANT: After successfully changed the login screen background, it asks whether to restart GDM to apply changes. Answer yes will log out current session, so it’s important to backup your work before hitting enter!
3.(Optional) To restore changes, run command:
sudo ./change-gdm-background --restore
Save the script for future use:
If you like the script and want to keep it for user later, run command to copy it to /usr/local/bin directory:
sudo cp change-gdm-background /usr/local/bin
After that, you can run the script any time in terminal window via:
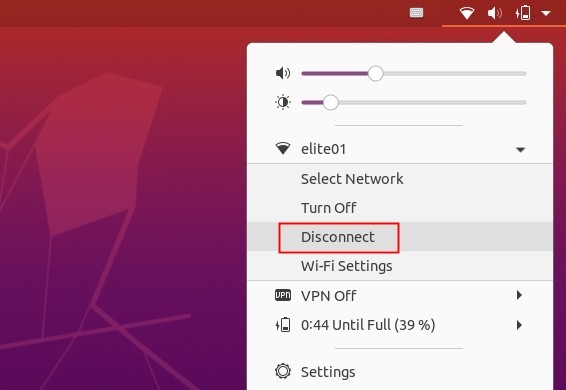
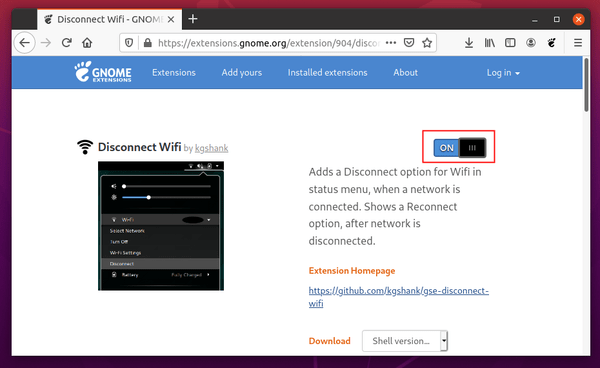
The default Gnome desktop lacks an option to disconnect current wifi connection. For those who want the function in Ubuntu 20.04, a gnome shell extension is available to do the job.
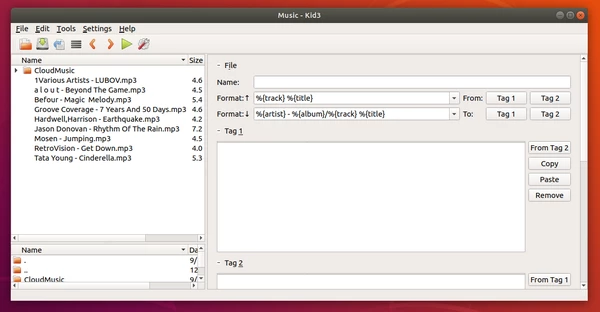
Kid3 audio tag editor released new version 3.8.3 today. Here’s how to install it in Ubuntu 20.04, Ubuntu 19.10, Ubuntu 18.04, and Ubuntu 16.04.
Kid3 3.8.3 comes with new keyboard shortcuts to navigate between the file and tag sections, 2 new scripts to apply English title capitalization to tags and transliterate ID3v1 tags to ASCII.
Other changes include:
Korean and Swedish translations.
Dark mode and custom themes improvements.
Support dragging multiple header rows in import table
Rename read-only files
Handbook updates and many bug-fixes.
How to Install Kid3 3.8.3 in Ubuntu:
The official Kid3 PPA has been updated with the new packages for all current Ubuntu releases, Linux Mint and derivatives.
1. Open terminal either from application launcher or by pressing Ctrl+Alt+T on keyboard. When it opens, run command to add the PPA:
sudo add-apt-repository ppa:ufleisch/kid3
Type user password (no asterisk feedback) when it prompts and hit Enter to continue.
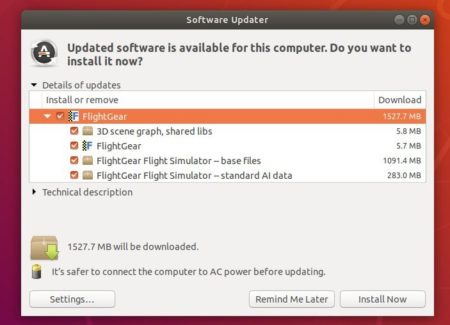
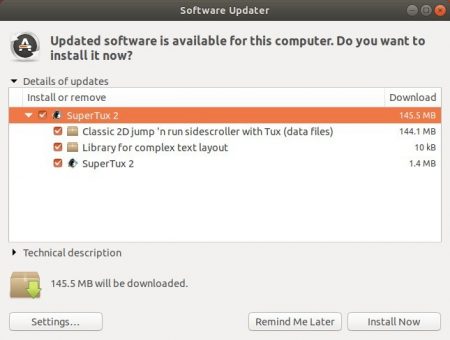
2. If an old version was installed, upgrade Kid3 using Software Updater:
or run commands one by one in terminal to install or upgrade to the latest tag editor:
sudo apt update

sudo apt install kid3-qt
You may replace kid3-qt with kid3 in the code for KDE integration, or with kid3-cli for the command-line interface
Uninstall
To remove the PPA repository, either open Software & Updates -> Other Software tab, or run command:
The lock screen background option was removed from settings since Ubuntu 20.04. Now, it uses desktop wallpaper with blur effect as the background for the lock screen.
For those who still want to change the lock screen background, then there’s an extension that supports GNOME from version 3.26 to 47. Meaning all current Ubuntu releases, Fedora, and other Linux with GNOME are supported.
NOTE: This tutorial only works for the default GNOME Desktop!
Option 1: Use Extension Manager
For Ubuntu 22.04, Ubuntu 24.04 and higher, there’s a popular “Extension Manager” app available in system repository for install and manage extensions in default GNOME desktop.
1. First, launch App Center or Ubuntu Software. Then, search for and install the “Extension Manager” app:
Install Extension Manager in Ubuntu Software/App Center
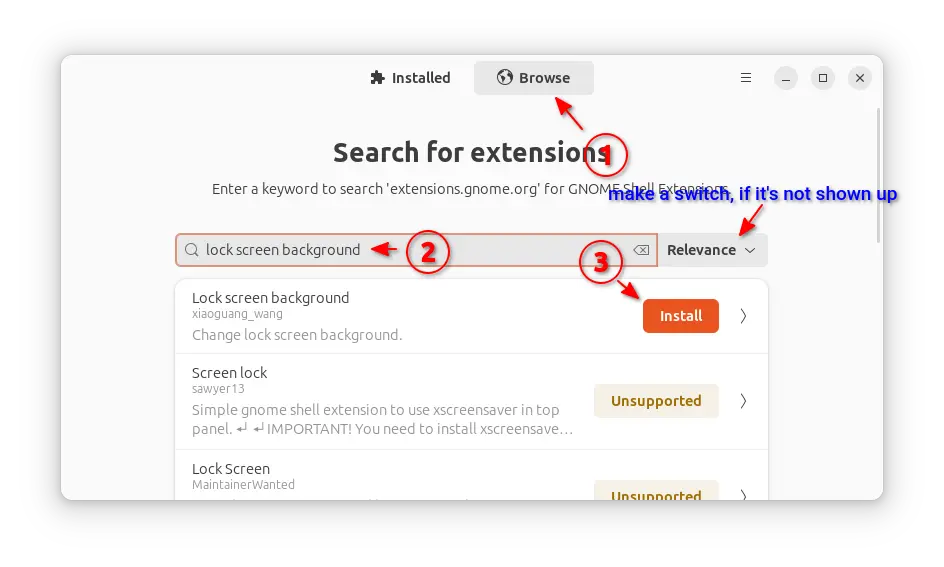
2. Then, launch the “Extension Manager” app, navigate to “Browse” tab. Finally, search & install the “lock screen background” extension.
Tips: Try switching the filter if it does not show you that extension. Or, use Option 2 to install it using web browser.
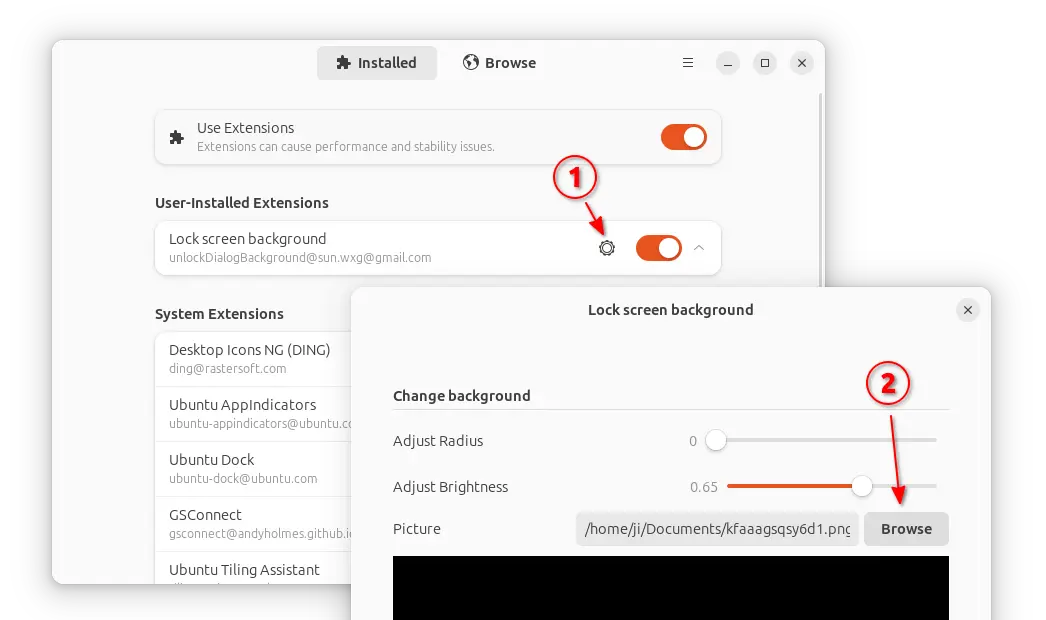
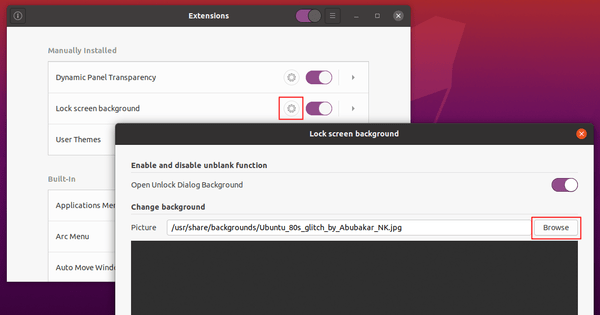
3. Once installed, switch back to “Install” tab, and click on the setting icon for that extension. Finally, click on “Browse” button in pop-up dialog and choose an image file for the login background.
Option 2: Use web browser
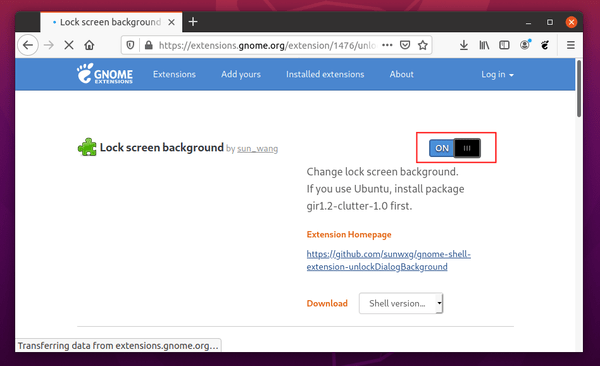
Extension Manager is not available in system repository for old Ubuntu 20.04 and earlier. In the case, you may use your web browser to install the extension.
1.) Open terminal by pressing Ctrl+Alt+T on keyboard. When it opens, run command to install the agent package as well as Gnome Extensions app:
Finally, use the ON/OFF toggle to install the extension.
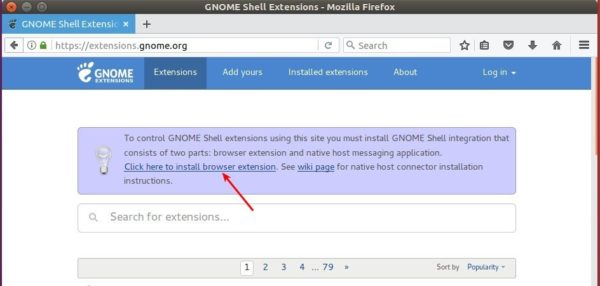
Don’t see the toggle switch? Try clicking the link text “click here to install browser extension” and follow the pop-ups to install the browser extension. Then, refresh the page.
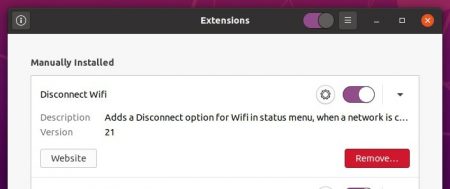
3.) Finally, launch GNOME Extensions app or Gnome Tweaks > Extensions, go to the extension settings page, and finally set a picture for lock screen background.
Looking for Linux drives of Canon printers and multifunction devices? Here’s easy way to install the ScanGear MP2, Cnijfilter2, and UFRII drivers in Ubuntu 24.04, Ubuntu 22.04, and Ubuntu 20.04 via PPA.
Thanks to Thierry Ordissimo, the guy maintains an Ubuntu PPA that contains official Canon drivers for Linux.
The most recent version added G6000, G6080, TS5300, TS5380, TS6300, TS6380, TS7330, TS8300, TS8380, TS8330, XK60, TS6330, TS3300, and E3300 series support in ScanGear MP2 driver. And E3300, G5000, G5080, G6000, G6080, GM2000, GM2080, TR703, TS3300, TS5300, TS5380, TS6300, TS6330, TS6380, TS700, TS708, TS7330, TR8300, TS8330, TS8380, XK60 support in the IJ print driver.
And a large list of devices were added support in the UFRII driver, they include:
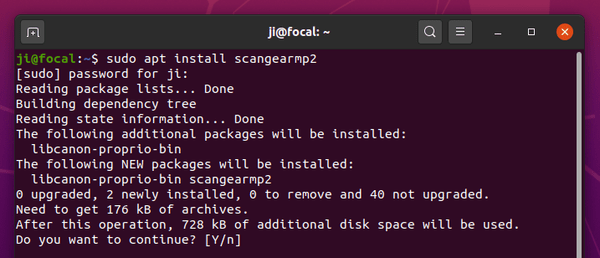
Type your password (no asterisk feedback) for sudo prompt and hit Enter to continue.
2.) To install the ScanGear MP driver, run command:
sudo apt install scangearmp2
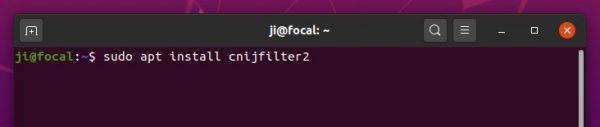
To install IJ printer driver, run command:
sudo apt install cnijfilter2
3.)To install UFRII or LIPSLX printer driver for Canon LBP/iR printers, install one of following packages for your devices via apt command:
cnrdrvcups-lipslx
cnrdrvcups-ufr2-uk
cnrdrvcups-ufr2-us
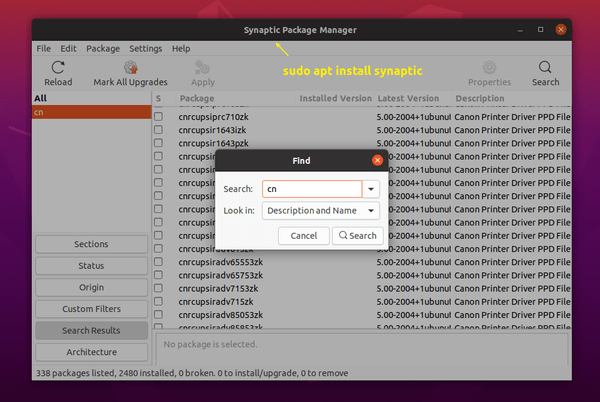
There are also a list of PPD (PostScript Printer Description) files available in the PPA, either install one via apt command or use Synaptic to search for your printer.
Mozilla Firefox 76 was released today with improved online account protections and Zoom support.
Firefox 76 features Lockwise password manager improvements, including protection to saved passwords in “Logins and Passwords” page, display vulnerable password alert and website breach alert, and automatically generate secure, complex passwords to more sites.
Other changes include:
Picture-in-picture: double-click to go full-screen, again to reduce the video size.
Audio Worklets support: allow audio processing like VR and gaming, join Zoom calls without additional downloads
WebRender now available by default on modern Intel laptops with a small screen for Windows.
And various security fixes. See release note for more.
Download / Install Firefox 76 in Ubuntu:
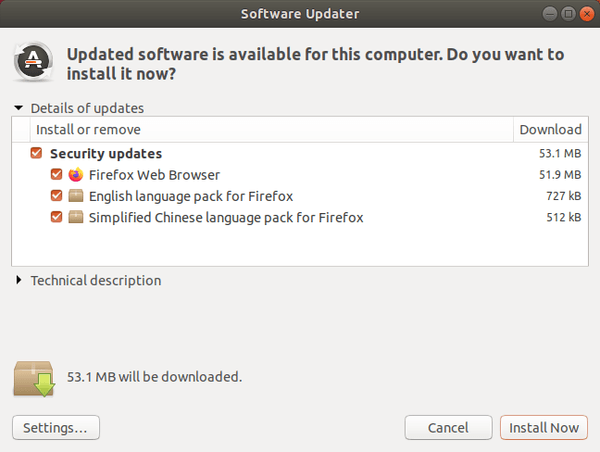
If you prefer upgrading the pre-installed Firefox package, v76 package will be available in a few days for all current Ubuntu releases. At that time, upgrade Firefox via Software Updater (Update Manager):
And Firefox snap and flatpak packages, both run in sandbox, are now updated for Ubuntu 18.04 and higher.