![]()

MPV, an open-source MPlayer nd MPlayer2 based media player, released version 0.31 today.
Changes in MPV 0.31 include:
- Allow configurable swapchain color space for native HDR output
- Add mechanisms for better logging as preperation for console.lua
- Introduce a pseudo key name that grabs all text input
- Add grab zone for resizing window with mouse
- Implement pseudo client side decorations via OSC
- Add video filter using vo_gpu’s renderer
- Added console.lua: interactive REPL for input commands
- Display Santa hat for idle logo in December
- Add option to autoselect known good hwdec implementations
- Peplace old event tap for media key support with MediaPlayer
- Remove Apple Remote support
- Many fixes and minor enhancements


How to Install MPV 0.31 in Ubuntu:
Although it’s not available at the moment of writing, you can add the Doug McMahon’s PPA in Ubuntu 18.04, and receive MPV package updates once published via Software Updater.
1.) Open terminal either by pressing Ctrl+Alt+T on keyboard or by searching for ‘terminal’ from application menu. When it opens, run command to add the PPA:
sudo add-apt-repository ppa:mc3man/mpv-tests
Type user password (no asterisk feedback) when it prompts and hit Enter.


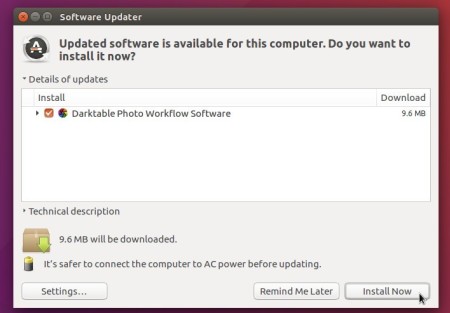
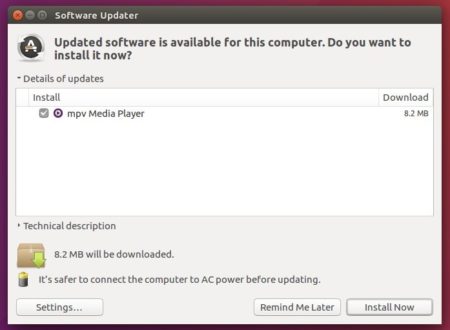
2.) If a previous version of MPV was installed, launch Software Updater and you’ll see new MPV package available to upgrade.

Or run command one by one in terminal to install (upgrade) MPV:
sudo apt install mpv
Uninstall:
To downgrade MPV to the stock version in Ubuntu main repositories, run command to purge the PPA:
sudo apt install ppa-purge && sudo ppa-purge ppa:mc3man/mpv-tests
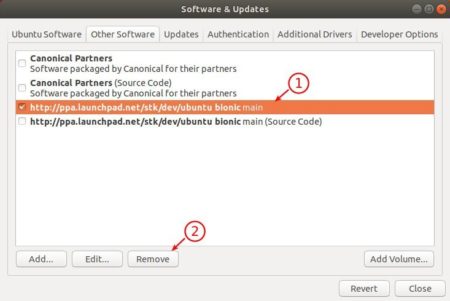
To remove the PPA only, go to Software & Updates -> Other Software tab.
To simply remove MPV media player, either use Ubuntu Software or run command in terminal:
sudo apt remove --autoremove mpv