


PyCharm IDE 2019.1 was released yesterday with many new features and improvements. Here’s how to install it in Ubuntu.
PyCharm 2019.1 release highlights:
- Completely redesigned Jupyter Notebooks support
- Improved quick documentation for HTML and CSS.
- Navigate quickly to recent locations, rather than files.
- Python 2.6 and 3.4 are no longer supported.


How to Install PyCharm 2018.3.1 in Ubuntu:
Jetbrains offers official Snap package for Linux desktop, which keeps the IDE always up-to-date.
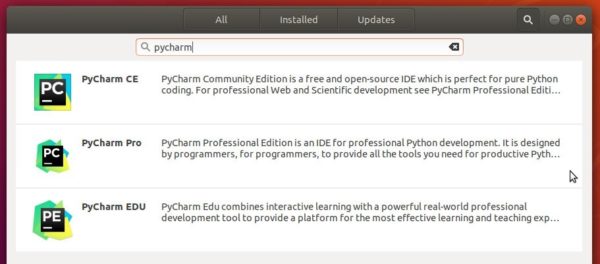
For Ubuntu 18.04 and higher, simply open Ubuntu Software, search for and install pycharm packages:

For Ubuntu 16.04, open terminal (Ctrl+Alt+T) and install snapd daemon via command:
sudo apt install snapd snapd-xdg-open


Then install PyCharm snap package via command:
sudo snap install pycharm-community --classic
In the command replace pycharm-community with pycharm-professional for the professional edition.


Uninstall:
To remove the PyCharm snap package, either use Ubuntu Software or run command in terminal:
sudo snap remove pycharm-professional pycharm-community


good post