
The fifth bug-fix release for the lightweight Parole media play 1.0 series was released a day ago. Here’s how to install it in Ubuntu 18.04, Ubuntu 19.04, and Ubuntu 19.10.
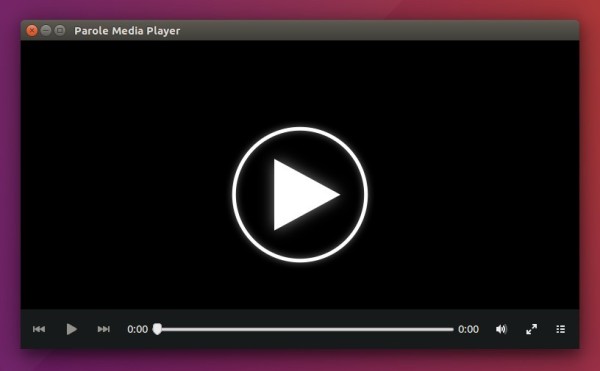
Parole is a simple media player for Xfce desktop that is based on the GStreamer framework, and designed with simplicity, speed and resource usage in mind.
Parole 1.0.5 is a small release with translation updates and following bug-fixes:
- Fix creation cleanup of thumbnails
- Fix volume hotkeys in fullscreen
- Fix compiler warnings

How to Install Parole 1.0.5 in Ubuntu:
The unofficial PPA has made the new release packages for Ubuntu 18.04, Ubuntu 19.04, and Ubuntu 19.10.
1. Open terminal either via Ctrl+Alt+T or by searching for “Terminal” from application menu. When it opens, run command to add the PPA:
sudo add-apt-repository ppa:ubuntuhandbook1/apps
Type user password (no asterisk feedback) when it prompts and hit Enter to continue.


2. Then either upgrade the media player via Software Updater utility:
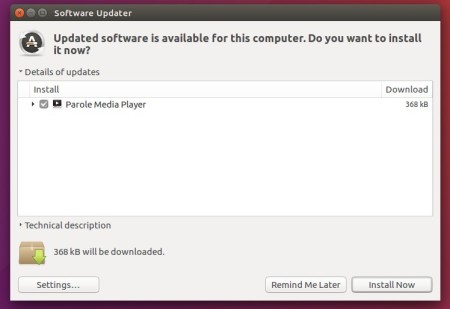

or run following commands to install / upgrade it:
sudo apt update

sudo apt install parole
For those who don’t want to add PPA, grab the .deb package from HERE.
Uninstall:
You can remove the PPA repository either via Software & Updates utility under Other Software tab, or by running command in terminal:
sudo add-apt-repository --remove ppa:ubuntuhandbook1/apps
To remove Parole media player, either use Ubuntu Software or run command:
sudo apt remove --auto-remove parole