MuseScore, free music composition and notation software, released version 3.3 a day ago with new feature, many improvements and bug-fixes.
MuseScore 3.3 release highlights according to the release note:
- Complete palettes redesign
- Note Input workflow improvements
- Native support for Roman numeral analysis and Nashville notation
- Multiple improvements to the Plugin API
- And various bug-fixes.

How to Install MuseScore 3.3 in Ubuntu:
APPIMAGE:
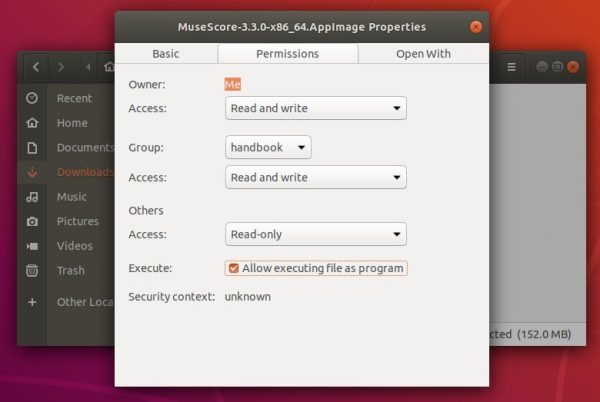
You can now download the Appimage (non-install single executable) package while Ubuntu PPA and snap packages are not updated at the moment.
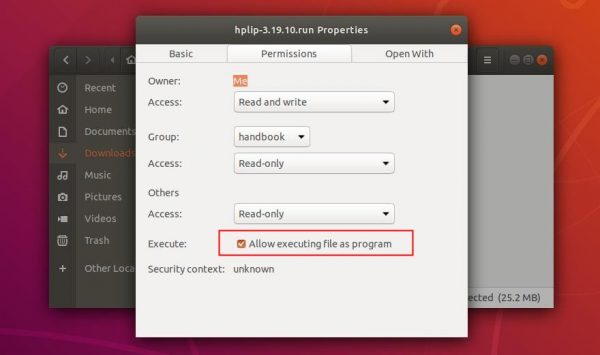
Right-click the Appimage, go to Properties -> Permissions -> tick the box says ‘Allow executing file as program’, finally run it to launch MuseScore 3.3:

Native Ubuntu .deb package:
There’s a community maintained PPA repository contains most recent MuseScore .deb packages for Ubuntu 18.04, Ubuntu 19.04, and Ubuntu 19.10.
NOTE: The PPA is not updated at the moment, check the previous PPA link before getting started.
1. Open terminal (Ctrl+Alt+T) and run command to add the PPA:
sudo add-apt-repository ppa:mscore-ubuntu/mscore3-stable


2. Then install the scorewriter via command:
sudo apt install musescore3
Snap package (Official):
MuseScore offers official Snap package (runs in sandbox), though it’s not updated at the moment.
Open Ubuntu Software, search for and install musescore package. And it will be updated automatically once the developer team published the 3.3 package into the snap store.
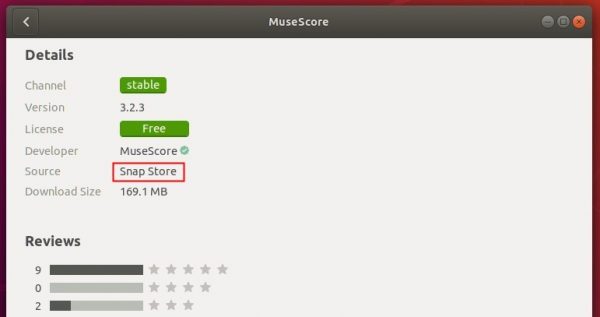

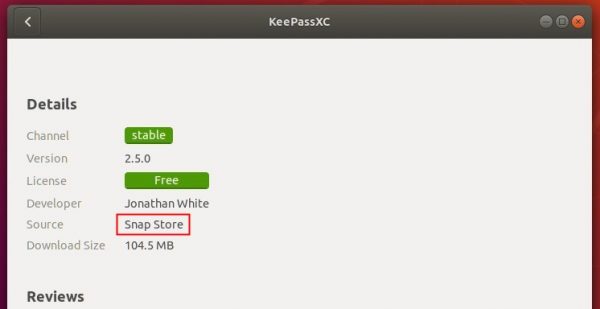
Note there are 2 or 3 MuseScore packages in Ubuntu Software. Select install the one from Snap Store.